Software Overview
43
HP TouchSmart Video
With HP TouchSmart Video, make your own videos using the built-in webcam, play the videos, and then
upload them to YouTube (not available in some countries/regions). YouTube requires an Internet
connection.
HP TouchSmart Video also allows you to play videos from your own video camera, and upload them to
YouTube or burn them onto a CD or DVD to share. You can access videos stored anywhere on your hard
drive.
HP TouchSmart Video supports the following video file formats: .mpg, .mpeg, .dvr-ms, .wmv, .asf, and .avi.
Webcam and microphone
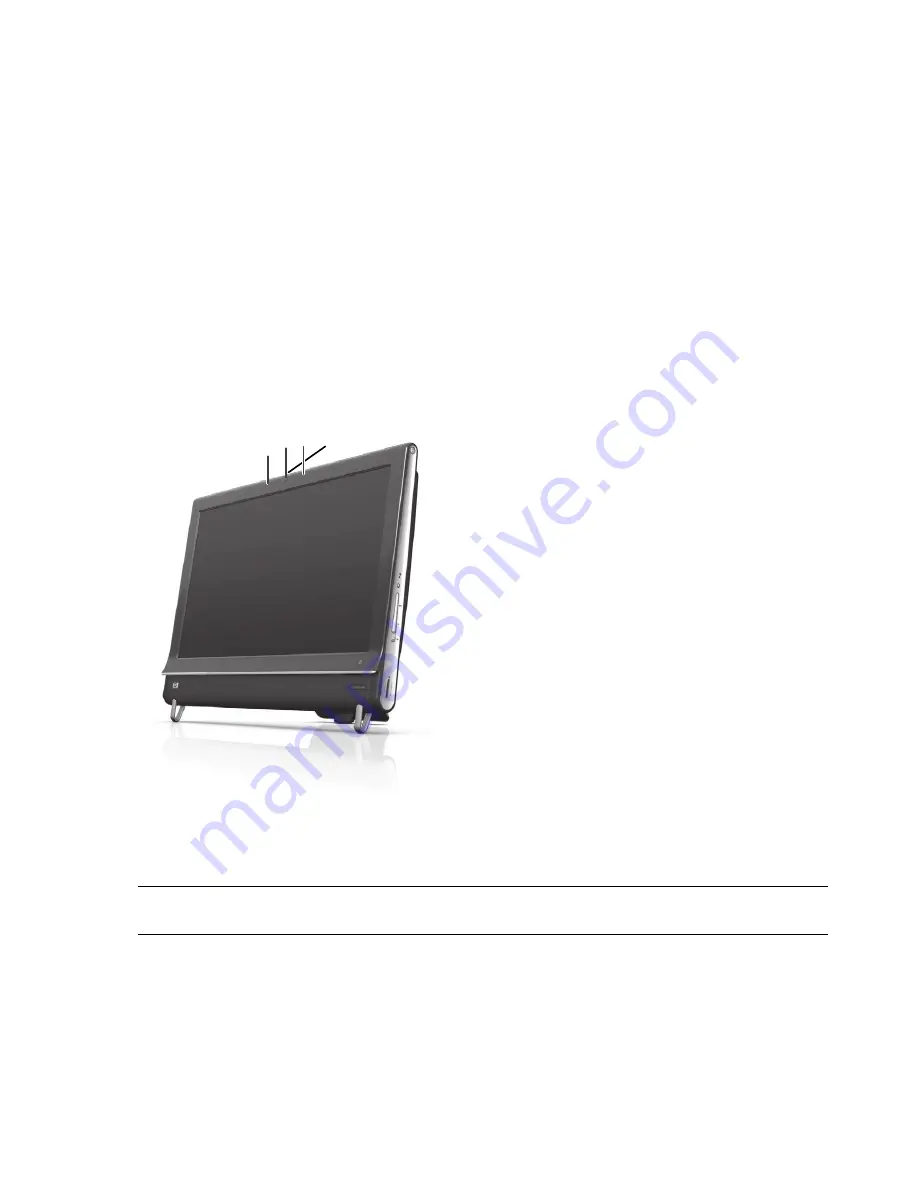
A built-in webcam and microphone array are located at the top of your computer. Use them to capture
videos and have video chats and conference calls using instant messaging software (download the instant
messaging software of your choice; it is not included with HP TouchSmart).
The webcam (
A
) and microphones (
B
) are at the top center of the computer. To adjust the viewing angle of
the webcam shot, tilt the screen, or use the webcam adjustment lever (
C
) just behind the webcam. For
optimal sound recording, you should be within one-half meter (2 feet) from the HP TouchSmart computer.
Capturing webcam video and snapshots
Use HP TouchSmart to record video and take snapshots. Use the YouTube button to upload videos.
Outside HP TouchSmart software, you can also use CyberLink YouCam software (select models only) to
capture webcam video and snapshots. CyberLink YouCam allows you to add special effects to your videos,
e-mail videos to your friends, and upload your videos to YouTube.
To use CyberLink YouCam:
Tap the
Start
button, tap
All Programs
, tap
CyberLink YouCam
, tap
CyberLink YouCam
; then tap
Tutorials
, or tap the
Help
icon (
?
) to access the Help menu.
NOTE:
The YouTube Web site is not available in all countries/regions. YouTube requires Internet
connection, and you must set up an account.
A
B
B C
Содержание TouchSmart 600-1000 - Desktop PC
Страница 1: ...使用手冊 ...
Страница 17: ...歡迎使用 11 2 將連接線繞過整線器 C 並穿過電腦背面 3 裝回接頭外蓋時 將外蓋右邊緣的三個勾對齊電腦上的插槽 然後壓下直到外蓋卡回定位 然後 將 連接線穿進塑膠板與支架底部之間的開放區域 D C D ...
Страница 52: ...46 使用手冊 功能依型號而異 ...
Страница 56: ...50 使用手冊 功能依型號而異 ...
Страница 67: ...User Guide ...
Страница 104: ...32 User Guide Features may vary by model ...
Страница 124: ...52 User Guide Features may vary by model ...
Страница 132: ...60 User Guide Features may vary by model ...


