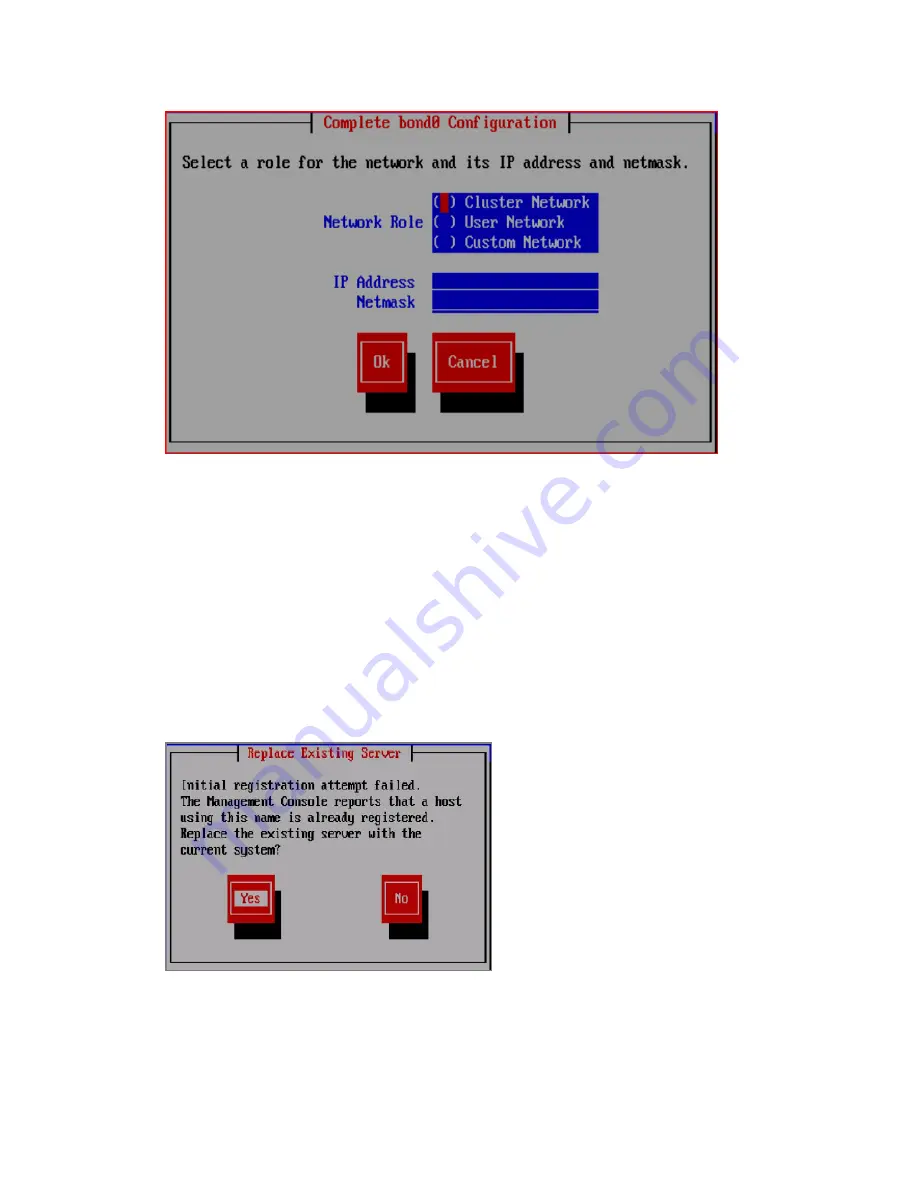
14.
To complete the
bond0
configuration, enter a space to select the Cluster Network role. Then
enter the IP address and netmask information that the network will use.
Repeat this procedure to create a bonded user network (typically
bond1
with
eth1
and
eth2
)
and any custom networks as required.
15.
When you have completed your entries on the File Serving Node Configuration Menu, select
Continue
.
16.
Verify your entries on the confirmation screen, and select
Commit
to apply the values to the
file serving node and register it with the management console.
17.
If the hostname specified for the node already exists in the cluster (the name was used by the
node you are replacing), the Replace Existing Server window asks whether you want to replace
the existing server with the node you are configuring. When you click
Yes
, the replacement
node will be registered.
18.
After the server is registered, you will be asked whether you want to configure a passive agile
management console on the node. If the node being restored previously hosted the agile
management console, install the passive management console.
100 Recovering a file serving node
Содержание StorageWorks x9300
Страница 99: ...13 When the Configure Network dialog box reappears select bond0 Configuring a file serving node manually 99 ...
Страница 123: ...English notice Estonian notice Finnish notice French notice Waste Electrical and Electronic Equipment directive 123 ...
Страница 124: ...German notice Greek notice Hungarian notice Italian notice 124 Regulatory compliance and safety ...
Страница 126: ...Slovakian notice Slovenian notice Spanish notice Swedish notice 126 Regulatory compliance and safety ...


