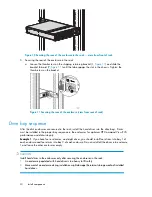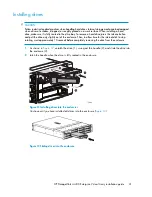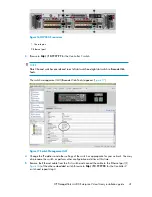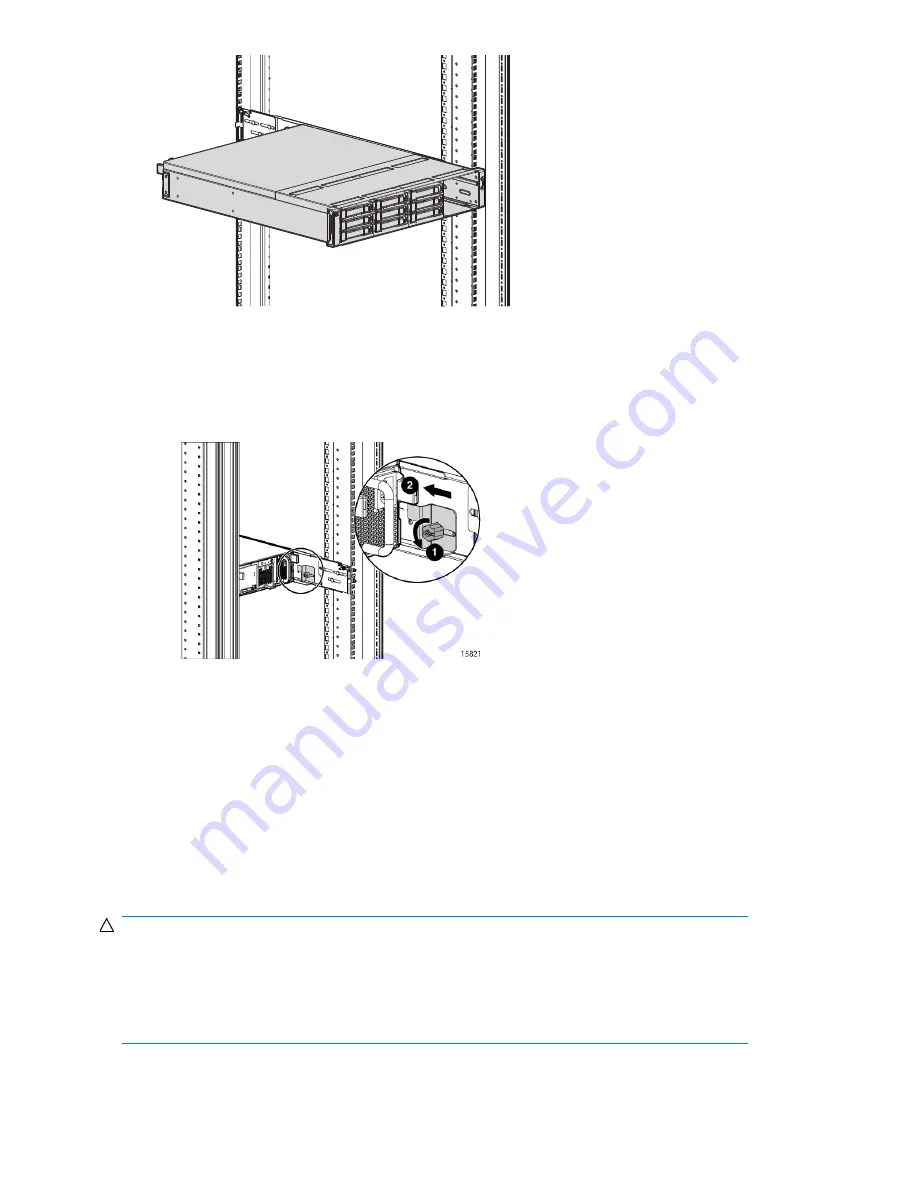
Figure 10 Securing the rear of the enclosure in the rack — view from front of rack
5.
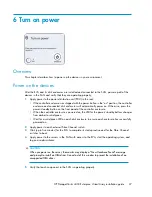
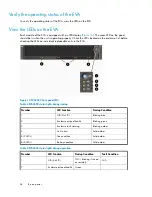
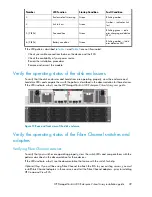
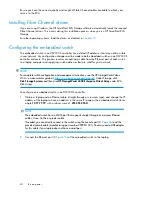
Securing the rear of the enclosure in the rack:
a.
Loosen the thumbscrew on the shipping retaining bracket (1,
) and slide the
bracket forward (2,
) until the tab engages the slot in the chassis. Tighten the
thumbscrew on the bracket.
Figure 11 Securing the rear of the enclosure (view from rear of rack)
Drive bay sequence
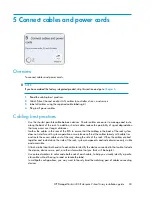
After the disk enclosures are secured in the rack, install the hard drives into the drive bays. Drives
must be installed in the proper bay sequence in the enclosures for optimum HP Command View EVA
performance and data integrity.
Example 1
: If you have four enclosures, and eight drives, you should install four drives into bay 1 of
each enclosure and four drives into bay 2 of each enclosure. Do not install all the drives into enclosure
1 and leave the other enclosures empty.
CAUTION:
Install hard drives in the enclosures only after securing the enclosures in the rack:
1.
An enclosure populated with hard drives is too heavy to lift safely.
2.
Movement of an enclosure during installation might damage the internal storage media of installed
hard drives.
Install components
30
Содержание StorageWorks 4400
Страница 15: ...Figure 3 Installation checklist HP StorageWorks 4400 Enterprise Virtual Array installation guide 15 ...
Страница 16: ...Figure 4 Installation checklist cont d About this guide 16 ...
Страница 20: ...Review and confirm your plans 20 ...
Страница 24: ...Remove product from packaging 24 ...
Страница 36: ...Connect cables and power cords 36 ...
Страница 48: ...Configuring management servers using HP SmartStart EVA Storage 48 ...
Страница 50: ...Configuring application servers for Windows using HP SmartStart EVA Storage 50 ...
Страница 78: ...Configuring non Windows application servers 78 ...

