
Folder, Printer, and Share Management
77
NAS 1500s and 500s Administration Guide
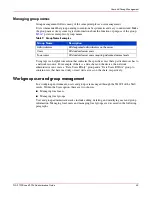
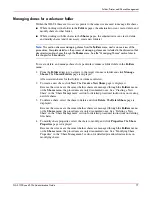
Managing shares for a volume or folder
Within the WebUI, there are two access points to the same screens used to manage file shares:
■
While working with a folder in the Folders pages, the administrator can create, delete, and
modify shares for that folder.
■
While working with file shares in the Shares pages, the administrator can create, delete,
and modify shares (and if necessary, create new folders).
Note:
This section discusses managing shares from the
Folders
menu, and is an overview of the
procedures. Complete details on the process of managing shares are included in the discussion that
documents creating shares through the
Shares
menu. See the “Managing Shares” section later in
this chapter for these details.
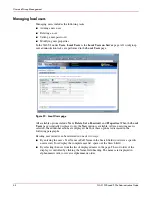
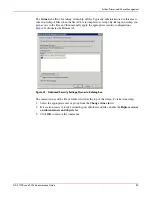
To create, delete, and manage shares for a particular volume or folder while in the Folders
menu:
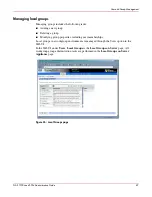
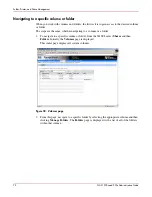
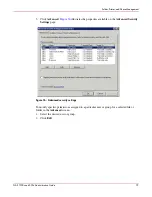
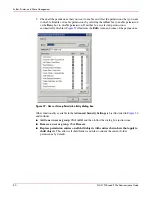
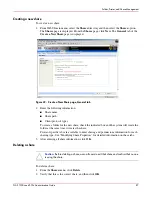
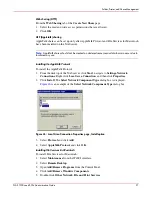
1. From the Folders directory, navigate to the target volume or folder and click Manage
Shares. The Shared Folders page is displayed.
All associated shares for that folder or volume are listed.
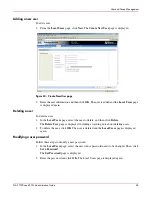
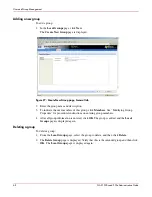
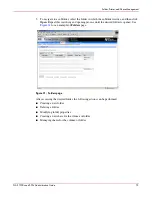
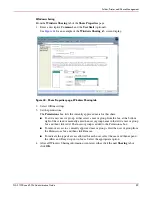
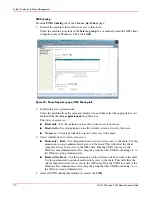
2. To create a new share, click New. The Create a New Share page is displayed.
Because the screens are the same whether shares are managed through the Folders menu
or the Shares menu, the procedures are only documented once. See “Creating a New
Share” in the “Share Management” section for detailed procedural instructions on creating
new file shares.
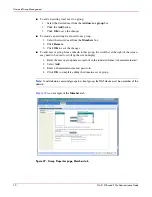
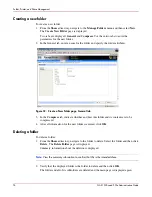
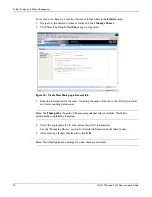
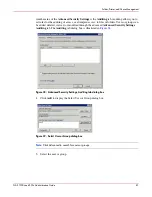
3. To delete a share, select the share to delete and click Delete. The Delete Share page is
displayed.
Because the screens are the same whether shares are managed through the Folders menu
or the Shares menu, the procedures are only documented once. See “Deleting a New
Share” in the “Share Management” section for detailed procedural instructions on deleting
file shares
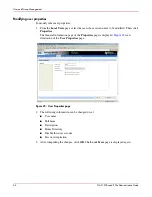
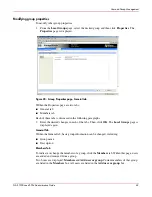
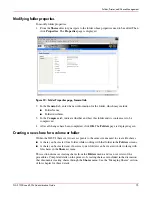
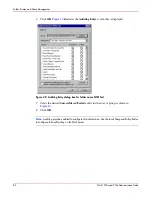
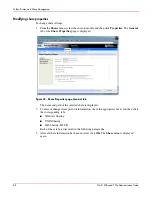
4. To modify share properties, select the share to modify, and click Properties. The Share
Properties page is displayed.
Because the screens are the same whether shares are managed through the Folders menu
or the Shares menu, the procedures are only documented once. See “Modifying Share
Properties” in the “Share Management” section for detailed procedural instructions on
modifying shares.