


Removal and replacement procedures 79
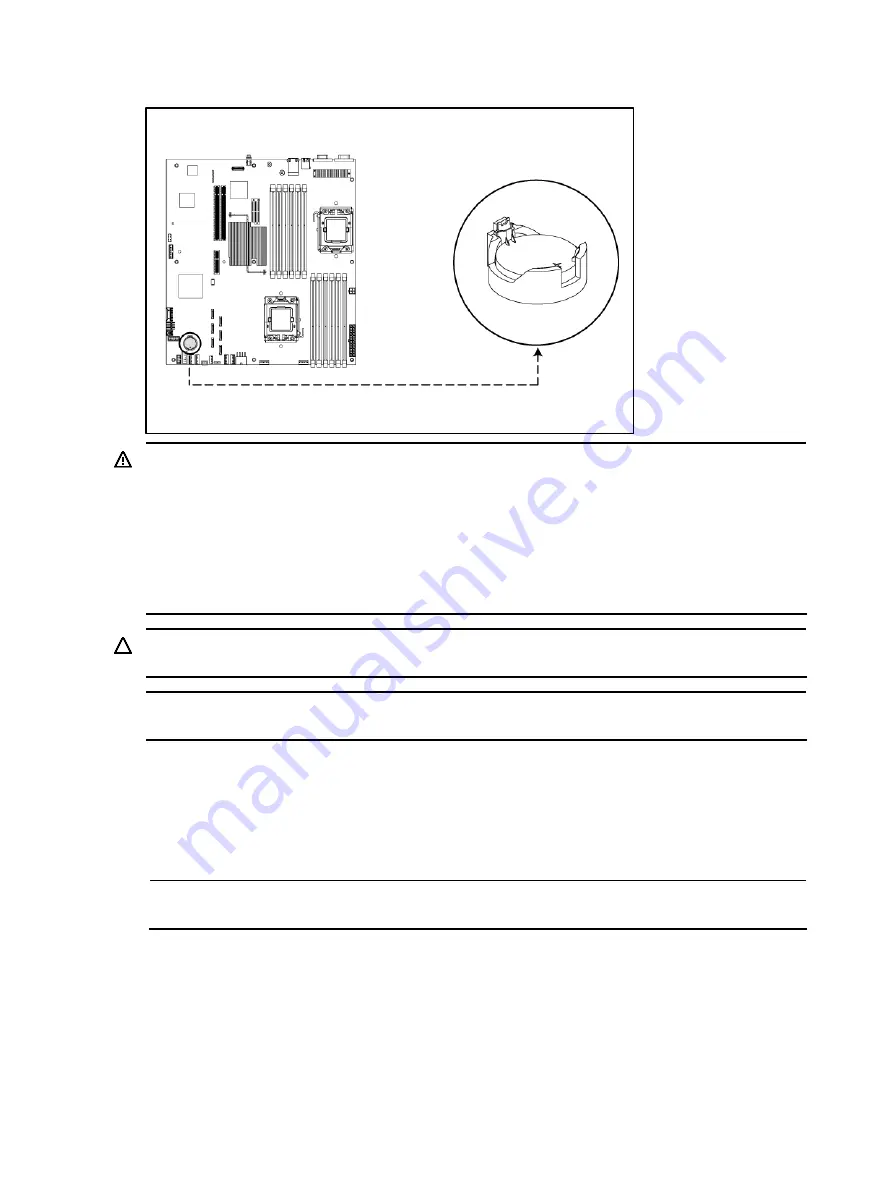
Figure 67
System Battery Location
WARNING:
Note the following reminders when replacing the system battery:
•
Replace the system battery with the same type as the system battery recommended by HP. Use of
another system battery may present a risk of fire or explosion.
•
A risk of fire and chemical burn exists if the system battery is not handled properly. Do not
disassemble, crush, puncture, or short external contacts, or expose the system battery to
temperatures higher than 60°C (140°F).
•
Do not dispose of used system battery in water or fire. Dispose of used system battery according
to manufacturer's instructions.
CAUTION:
Loss of BIOS settings occurs when the system battery is removed. You must reconfigure
BIOS settings whenever you replace the system battery.
NOTE:
If the server no longer automatically displays the correct date and time, you may need to
replace the system battery. Under normal usage, system battery life is five to ten years.
To replace the system battery:
1.
Power down the server.
2.
Disconnect the power cord(s).
3.
Unlock the server if necessary and remove the top cover as described in the section “System
cover”.
NOTE:
If the expansion board is installed to the PCI cage, remove the PCI cage before releasing the
battery. Refer to the “PCI cage” section in this chapter for detailed procedures.
4.
Release the battery from its holder by squeezing the metal clamp that extends above one edge of
the battery. When the battery pops up, lift it out.
5.
To insert the new battery, slide one edge of the replacement battery under the holder’s lip with
the positive side up. Push the other edge down until the clamp snaps over the other edge of the
battery.
Содержание ProLiant DL160se - G6 Server
Страница 12: ...Customer self repair 12 ...
Страница 13: ...Customer self repair 13 ...
Страница 14: ...Customer self repair 14 ...
Страница 15: ...Customer self repair 15 ...
Страница 20: ...Illustrated parts catalog 20 ...
Страница 55: ...Removal and replacement procedures 55 Figure 31 Reinstalling the Backplane 3 Install all cables ...