


2
Getting to know your computer
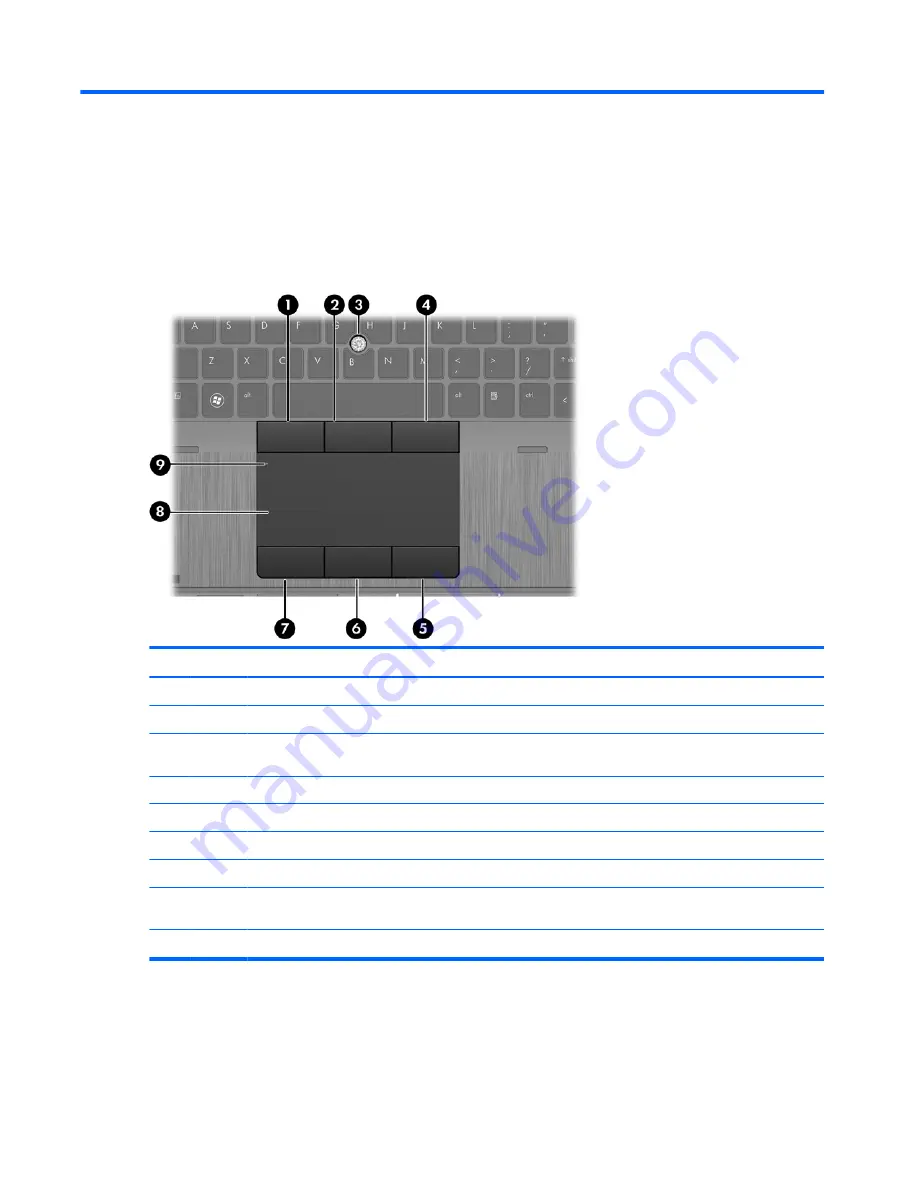
Top
TouchPad
Component
Description
(1)
Left pointing stick button
Functions like the left button on an external mouse.
(2)
Center pointing stick button
Functions like the center button on an external mouse.
(3)
Pointing stick
Moves the pointer and selects or activates items on the
screen.
(4)
Right pointing stick button
Functions like the right button on an external mouse.
(5)
Right TouchPad button
Functions like the right button on an external mouse.
(6)
Center TouchPad button
Functions like the center button on an external mouse.
(7)
Left TouchPad button
Functions like the left button on an external mouse.
(8)
TouchPad zone
Moves the pointer and selects or activates items on the
screen.
(9)
TouchPad on/off button
Turns the TouchPad on and off when it is double-tapped.
4
Chapter 2 Getting to know your computer
Содержание EliteBook 8570w
Страница 1: ...Getting Started HP Notebook ...
Страница 4: ...iv Safety warning notice ...
Страница 8: ...viii ...


