11
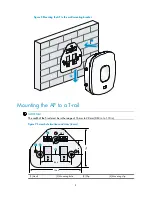
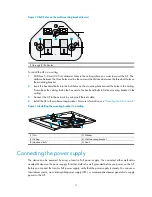
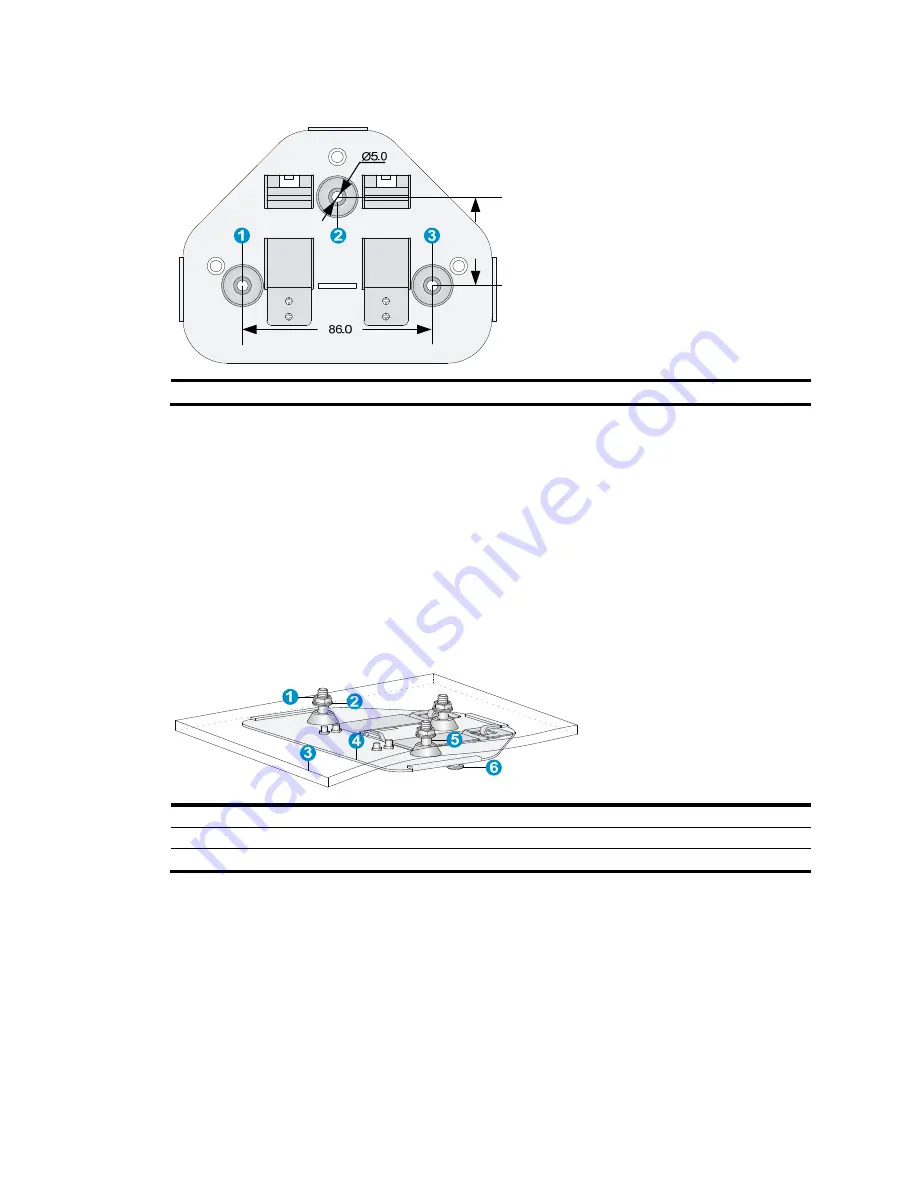
Figure 13
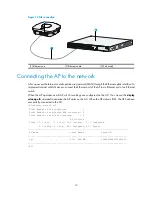
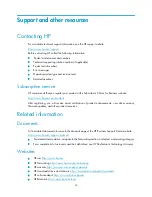
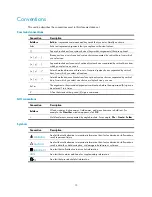
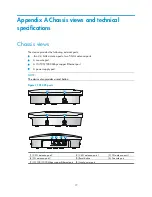
Bolt holes on the wall-mounting bracket (in mm)
(1) through (3) Bolt holes
To install the AP on a ceiling:
1.
Drill three 5.0 mm (0.20 in) diameter holes in the ceiling where you want to mount the AP. The
distance between the three holes must be the same as the distance between the three bolt holes on
the mounting bracket.
2.
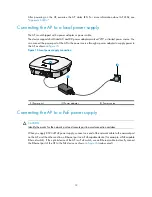
Insert the hex-head bolts into the bolt holes on the mounting bracket and the holes in the ceiling.
From above the ceiling, fasten the hex nuts to the hex-head bolts to fix the mounting bracket to the
ceiling.
3.
Connect the AP to the network by using an Ethernet cable.
4.
Install the AP to the wall-mounting bracket. For more information, see "
Mounting the AP on a wall
."
Figure 14
Installing the mounting bracket to a ceiling
(1) Nut
(2) Washer
(3) Ceiling (4) Wall-mounting bracket
(5) Hex-head bolt
(6) Hook
Connecting the power supply
The device can be powered by using a local or PoE power supply. You can select either method as
needed. Make sure the power supply for either method is well grounded before you power on the AP.
Before you connect the local or PoE power supply, verify that the power supply is steady. You can use a
local power source, an uninterruptible power supply (UPS), or a user-supplied power generator to supply
power to the AP.
40.0


