23
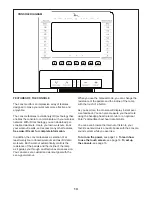
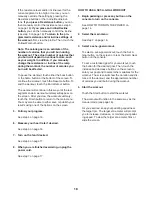
4. Calibrate the incline of the ramp.
Touch the Calibrate Incline button. Then, touch the
Begin button to calibrate the incline of the ramp.
The ramp will automatically rise to the maximum
incline level, lower to the minimum incline level,
and then return to the starting position. This will
calibrate the incline. Press the Cancel button to
cancel the calibration and return to the mainte-
nance mode. When the incline is calibrated, touch
the Finish button.
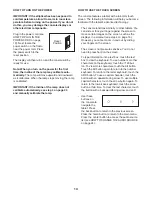
IMPORTANT: Keep pets, feet, and other objects
away from the elliptical while the incline is
calibrating.
5. View machine information.
Touch the Machine Info button to view information
about your elliptical. After you view the information,
touch the back button.
6. Find keycodes.
This option is intended to be used by service
technicians to identify whether a certain button is
working correctly.
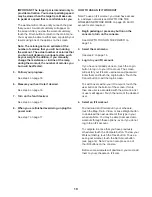
7. Register the elliptical on iFit.com.
This option is intended to be used by the owner of
the elliptical to view and track the usage history of
the elliptical on iFit.com.
Touch the Register Equipment button, enter your
club token, and then touch the Submit button.
8. Enter club token.
This option is intended to be used by the owner of
the elliptical. Touch the Enter Token button, enter
your club token, and then touch the Submit button.
9. Exit the maintenance mode.
To exit the maintenance mode, press the back
button.
HOW TO USE THE WIRELESS NETWORK MODE
The console features a wireless network mode that
allows you to set up a wireless network connection.
Note: You must have your own wireless network and
an 802.11b/g/n router with SSID broadcast enabled
(hidden networks are not supported).
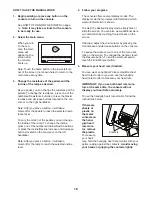
1. Select the settings main menu.
See step 1 on page 20.
2. Select the wireless network mode.
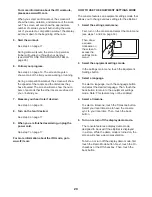
In the settings main menu, touch the Network
Setup button and then touch the Wireless Network
button to enter the wireless network mode.
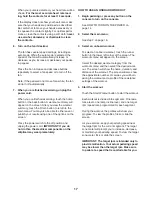
3. Enable Wi-Fi.
Make sure that the Wi-Fi checkbox is marked with
a green checkmark. If it is not, touch the Wi-Fi
menu option once and wait for a few seconds. The
console will search for available wireless networks.
4. Set up and manage a wireless network
connection.
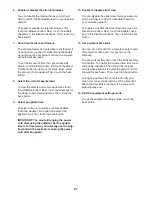
When Wi-Fi is enabled, the screen will show a list
of available networks. Note: It may take several
seconds for the list of wireless networks to appear.
Make sure that the checkbox on the Network
notification menu option is marked with a green
checkmark to have the console notify you when a
wireless network is within range and available.
Note: You must have your own wireless network
and an 802.11b/g/n router with SSID broadcast
enabled (hidden networks are not supported).
When a list of networks appears, touch the desired
network. Note: You will need to know your network
name (SSID). If your network has a password, you
will also need to know the password.
Содержание HF-XT9800-I
Страница 4: ...4...
Страница 5: ...5 UTS all STANDARD SERVICE PLANS...

