Rapid Eye™ Multi-Media DVR Installation Guide
Document 800-02607V3 Rev A
53
11/09
Hard Disk Report
The SMART report is not a cause for alarm. It is a suggestion that the hard disk should be
replaced. Contact an authorized Honeywell dealer to obtain a mounted hard disk for your
Multi-Media DVR (see
Removing a Drive in the DVR
To remove a hard drive:
1.
Turn power off by holding the Power button down for 5 seconds.
2.
Unlatch the front panel.
3.
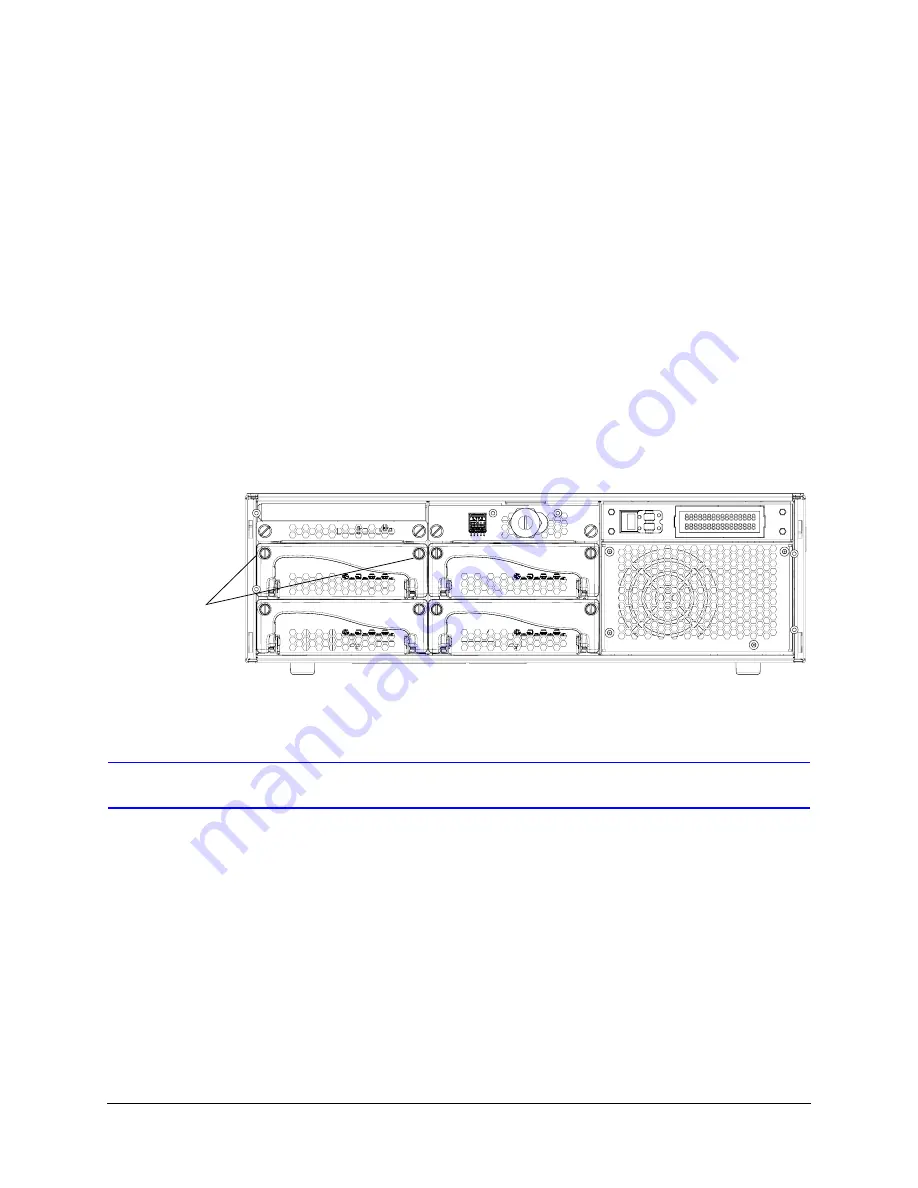
Loosen the screws of the drive you wish to remove.
4.
Slowly pull the drive out of the case until it is free of the slot.
Figure 5-2
Removing a Drive on a Rapid Eye DVR
Hardware Options
A Rapid Eye Multi-Media DVR interfaces with hardware such as:
•
Public display monitor (see next section).
•
Cameras, and domes that pan-tilt-zoom (PTZ). See
.
•
Alarm sensors, connected to a Multi-Media DVR’s inputs. See
.
•
Relay triggered devices, including locks, gates, warning sirens, and so on, that
connect to the outputs of a Multi-Media DVR. See
•
Relay triggered device for system monitoring. See
.
•
Point-of-sale hardware, with text messaging over serial communications, or any other
device with serial communication capability. See
Screws securing
upper left drive
Содержание Rapid Eye
Страница 1: ...Document 800 02607V3 Rev A 11 09 Installation Guide Rapid Eye Multi Media Digital Video Recorder ...
Страница 2: ......
Страница 3: ...Installation Guide ...
Страница 14: ...14 Contents ...
Страница 16: ...16 Figures ...
Страница 18: ...18 Tables ...
Страница 74: ...74 Site Information Checklists Control Outputs Output Description 1 2 3 4 5 6 7 8 ...
Страница 76: ...76 Site Information Checklists Point of Sale POS Hardware Type Name Model Data Text of Interest ...
Страница 80: ...80 ...
Страница 81: ......


