Applicator Interface Kit Installation Guide
13
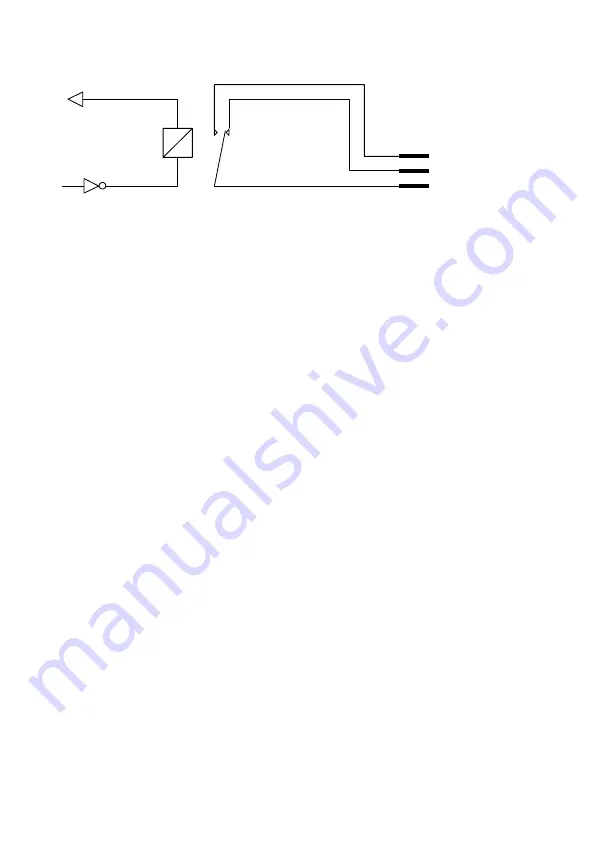
Simplified schematics of a relay OUT port
Applicator Interface Port Functionality
The Applicator Interface port contains IN and OUT signals which can be read
and set by APIs provided by the printer. This interface can be used to coordinate
and control sequence of activities and actions taken between the printer and a
connected external applicator in a production environment. Signals that
activate or reprints a label to be printed, or signals of error events like media or
ribbon out allows an automated production line environment using a printer
and applicator.
Not all signals are available and supported by all the styles. Some port styles
may not support all the signals.
Configuring Applicator Port Settings
The applicator interface supports three different applicator modes:
• Z-Style: Choose this mode for a Zebra-type applicator.
• S-Style: Choose this mode for a Sato-type applicator.
• I-Style: This mode combines Z-Style or S-Style settings with the ability to
trigger external I/O systems via the External Error port.
You can configure applicator port settings from the web browser interface or in
Setup Mode through printer.
Web Browser Interface
1. Open a web browser on your PC.
2. In the address bar, type the IP address of your printer and press Enter. The
printer web page appears.
3. Click
Login
.
4. Type you Username and Password and then click
Login
. The default value
for Username is
itadmin
and the default value for Password is
pass
.
5. Click the
Configure
tab.
VCC
REL no
REL nc
REL com


