18
sample draw probe with a finger, then
squeeze the aspirator bulb. If there are no
leaks in the sample draw kit components,
the bulb should stay deflated for a few
seconds.
3. Secure the calibration adapter (with the
sample draw assembly attached) to the
MultiPro by inserting the tab and
tightening the knurled screw into the brass
nut at the bottom of the adapter.
4. Insert the end of the sample probe into the
location to be sampled.
5. Squeeze the aspirator bulb to draw the
sample from the remote location to the
sensor compartment.
To ensure accurate readings while
using the manual sample draw kit, it is
necessary to squeeze the bulb once for
every one foot of sampling hose for the
sample to first reach the sensors, and
then to continue squeezing the bulb
once per second for an additional 45
seconds or until readings stabilize. As
an example, if 10 feet of tubing is used,
it will be necessary to draw the sample
in by squeezing the bulb continuously
for a minimum of 55 seconds or until
readings stabilize.
6. Note the gas measurement readings.
CAUTION: Hand-aspirated remote
sampling only provides continuous gas
readings for the area in which the probe is
located while the bulb is being
continuously squeezed. Each time a
reading is desired, it is necessary to
squeeze the bulb a sufficient number of
times to bring a fresh sample to the sensor
compartment.
3.2
Motorized sample draw pump
Use only part number 54-
49-102 sample draw pump with the
MultiPro.
A motorized sample-draw pump is available
for the MultiPro for situations requiring
continuous "hands free" remote monitoring.
Use of the motorized sample draw pump
allows the MultiPro to continuously monitor
remote locations. The pump is powered by
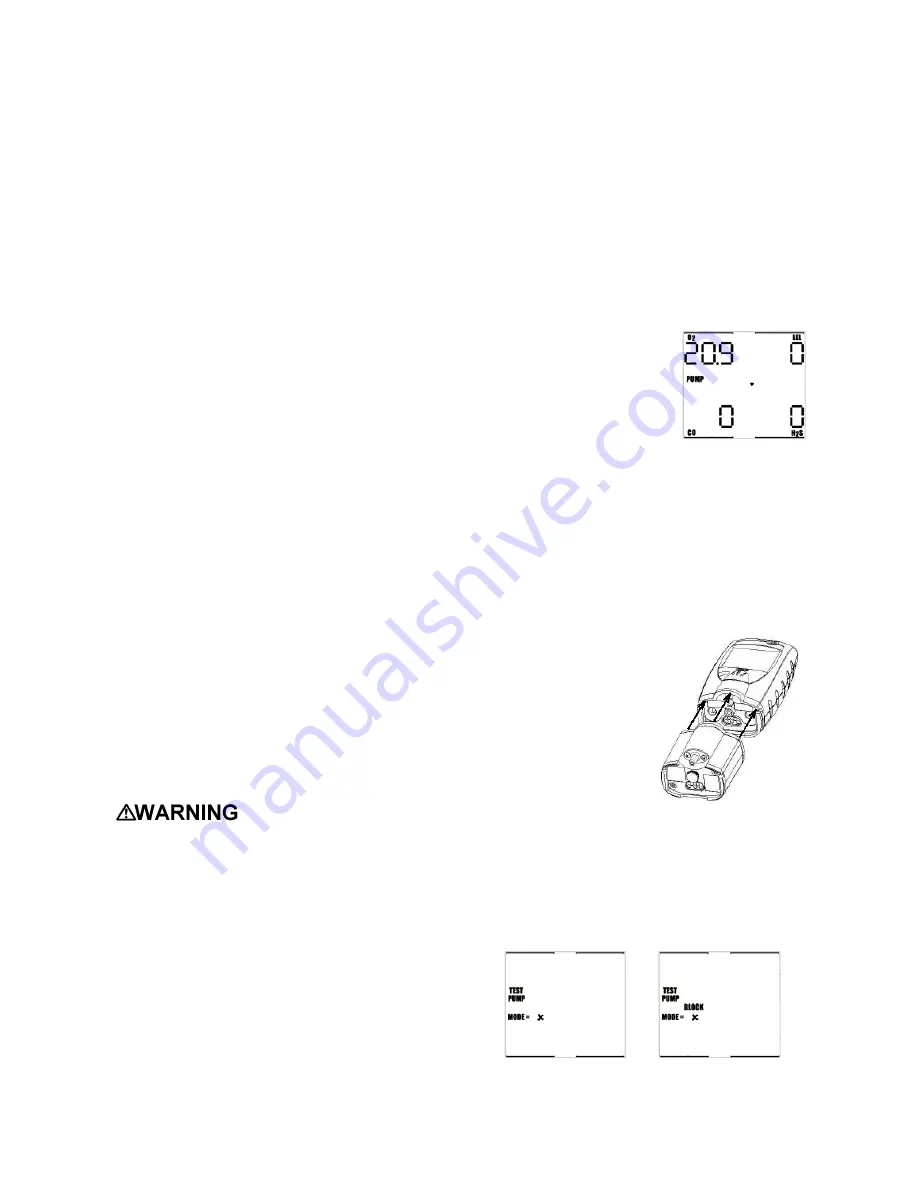
the MultiPro battery. When the pump is
attached to the instrument, “PUMP” will be
shown on the display in the current gas
readings screen.
Note: The maximum amount of tubing that
can be used with the motorized sample
draw pump is 50 feet.
To ensure accurate readings while using
the continuous sample pump, it is
necessary to allow the pump to draw the
sample for one second for every one foot
of sampling hose plus an additional 45
seconds or until readings stabilize. For
example, with 10’ of tubing, it will be
necessary to allow a minimum of 55
seconds for the sample to be drawn into
the sensor chamber and for the readings
to stabilize.
MultiPro instruments are
designed to automatically
recognize the pump
whenever it is attached to
the instrument. If the
pump is attached when
the MultiPro is turned off,
the instrument will automatically initiate the
pump start up sequence when the instrument
is turned on. If the pump is attached while the
instrument is running, the MultiPro will
automatically initiate the pump test sequence
before returning to the current gas readings
screen.
3.2.1 Starting the motorized sample
pump
First attach the
probe and tubing
to the pump,
then secure the
pump (with the
sample draw
assembly
attached) to the
MultiPro by
inserting the tab
and tightening the knurled screw on the pump
into the instrument casing.
Note: The sample probe assembly must
be attached to the pump when the pump is
attached to the instrument.
Once the pump is recognized, the pump test
sequence will be initiated automatically.
→
Block the sampling inlet by placing a finger
over the end of the sample probe assembly.
Содержание MultiPro
Страница 1: ......


