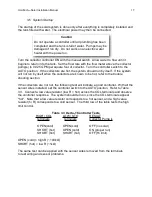
It is very important to leak test and flush the collector lines before final connection to the
tank. The tank is easily filled and maintained with the boiler drain valve at the bottom of
the tank. A union can be installed in the
collector return line as another fill point. An
autofill system is offered as an option.
Electrical power requirements for the system
are based on the number of options installed on
the tank. On residential systems, the low
power consumption of each component means
that a 15 to 20 amp, 110 VAC circuit will be
adequate for all standard systems. A separate
electrical circuit and breaker are recommended
to isolate the solar system from being
accidentally cut off by other appliances tripping
the breaker.
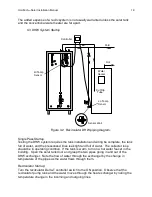
After all piping has been completed, flushed,
and leak tested, and the wiring finished, the
system startup procedure can begin. Make
sure the pressurized domestic hot water line
and standard water heater are purged and filled
with water.
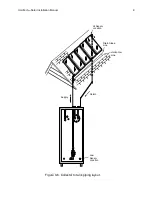
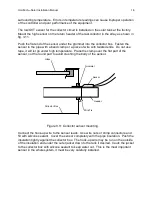
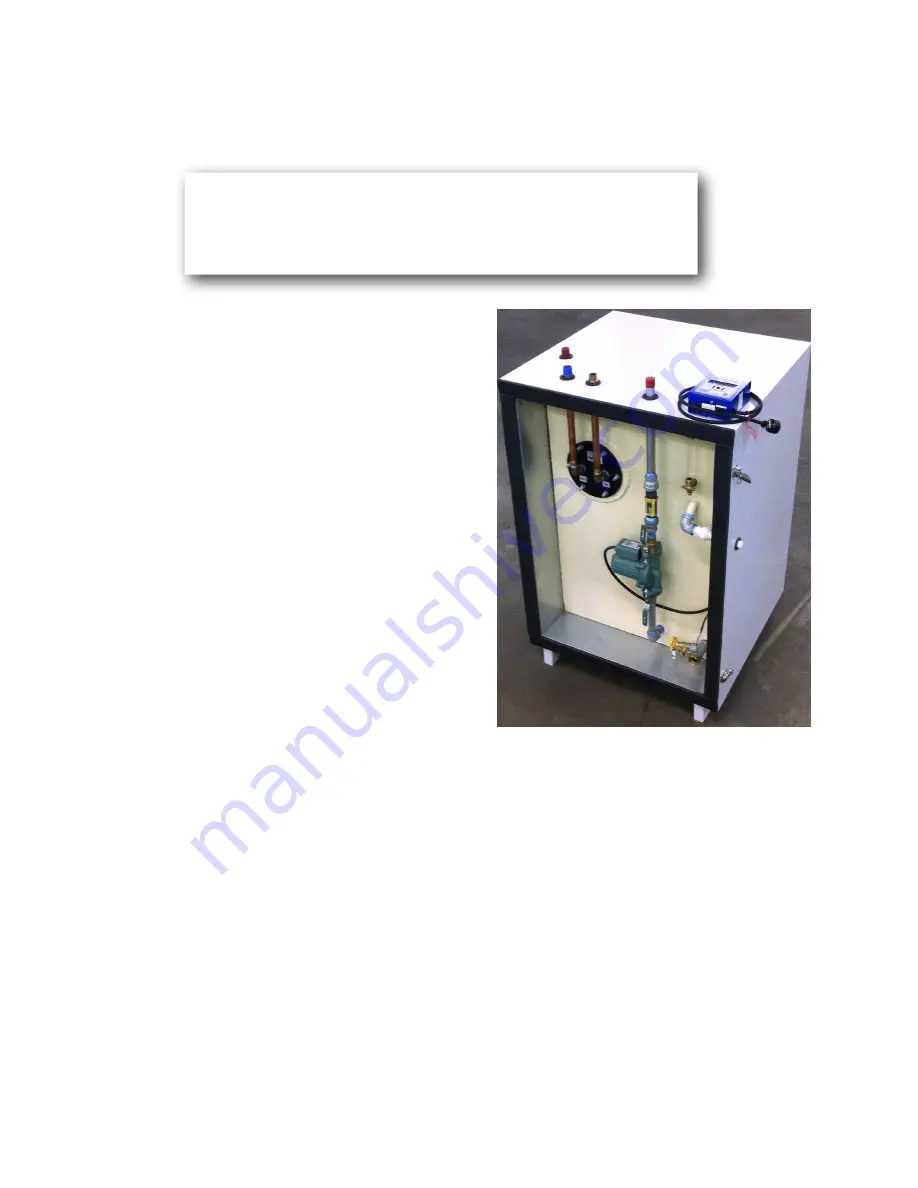
Fill the tank using the boiler drain valve at the bottom
of the tank, or a union in the collector return line. See
fig. 2.1. A hose with female fittings on both ends, such as a washing machine hose, is
required for the boiler drain connection,.
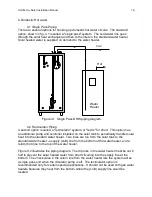
Fill the tank until the water level is at the bottom of the site glass on the tank. Check for
leaks in piping or weld seams. Then add the WT-1 water treatment in the ratio of 1
gallon WT-1 to 250 gallons of water as shown in table 2.1. For domestic hot water only
systems, the tank may be filled to the top of the site glass. This leaves several inches
of air gap at the top of the tank.
HoloTech
tm
Solar Installation Manual
5
NOTE
Do not apply power to the controls until all plumbing and
wiring is complete and the tank has been filled with water.
Figure 2.1 80 Tank Face.
Door is Removed


