Last updated: 08/13/20108 Rev. 9
29
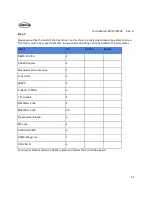
Step 9:
Let us add some peripherals.
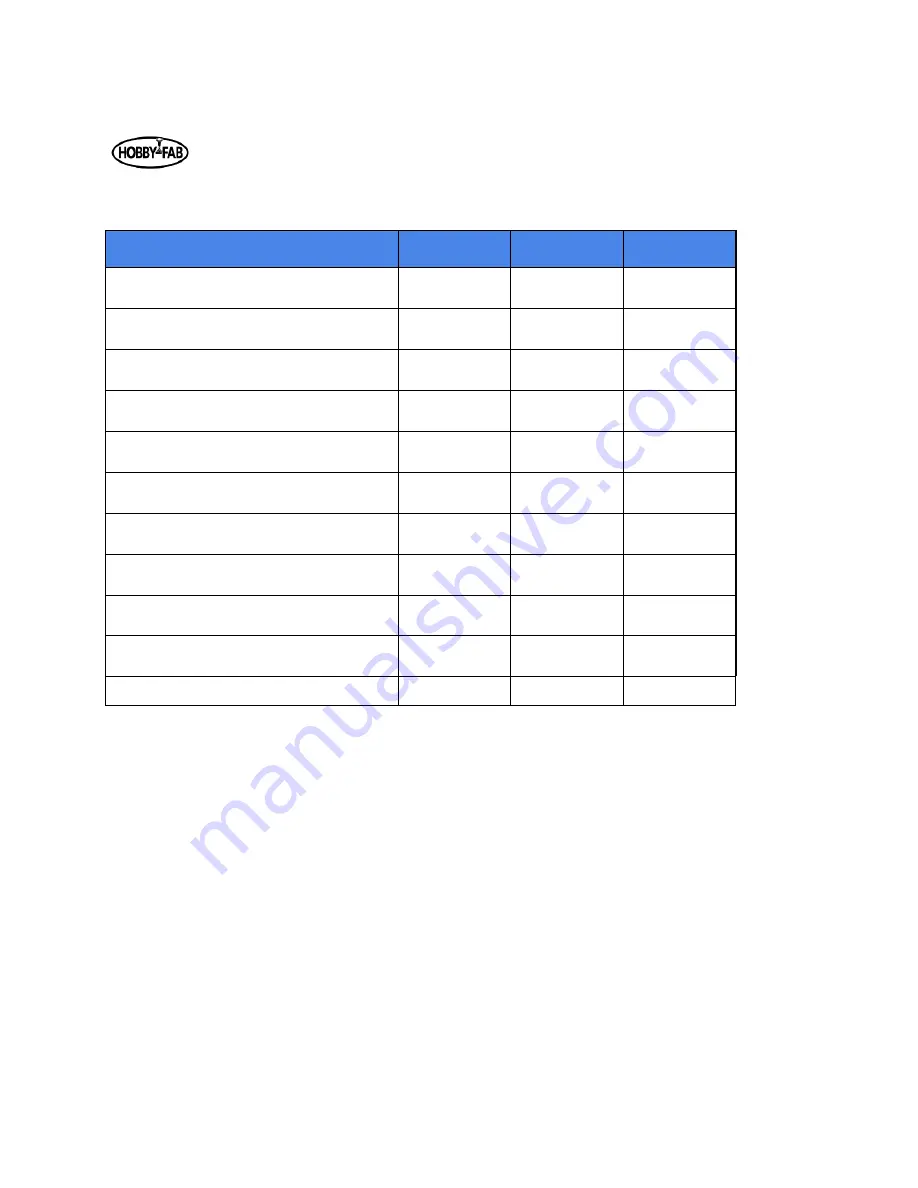
Step 9
Qty
Smw3d
Builder
3/16" ID 5/16" OD vinyl tubing
30
4 pole wire 18 to 22g
36
3 pole wire (typically 16g)
18
15mmx30mm cable chain
2
M5 drop-in T-nut
1
M5 x 10mm bolt
1
9mm spacer
2
Water pump
1
M5x20mm bolt
1
Sheathing 10mm
10
M5 x 25mm bolt
1
Figure out where you want your electronics and water reservoir. It is highly advised they are not in the
same location.
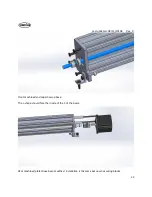
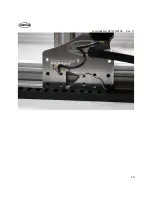
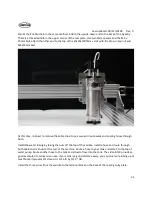
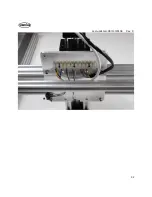
Run the cable chain down either the left or right side of the build. Mount one end to the y gantry plate.
One plate will have a threaded hole in the middle of the hobby-fab logo, this is for the Y cable chain.
Reduce the Y cable chain to half the shipped length. You will need to remove one end of the cable chain.
If you remove the proper end, you will be left with a hole in the side of the cable chain where the mount
end was “tabbed” in. Use this hole, a
9mm spacer, and M5x20mm bolt. Mount this end upside down
and cable chain extending facing the front. Mount the other end right side up with a wood screw to the
spoiler board, again aimed towards the front.
Содержание R7
Страница 6: ...Last updated 08 13 20108 Rev 9 6 Limit switch and barrier block shown installed ...
Страница 19: ...Last updated 08 13 20108 Rev 9 19 ...
Страница 27: ...Last updated 08 13 20108 Rev 9 27 ...
Страница 28: ...Last updated 08 13 20108 Rev 9 28 ...
Страница 30: ...Last updated 08 13 20108 Rev 9 30 ...
Страница 32: ...Last updated 08 13 20108 Rev 9 32 ...

