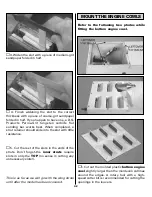
still hot, carefully use a paper towel or a cloth to
wipe away as much of the residual “caramelized”
soldering flux as possible.
❏
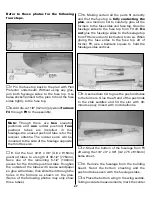
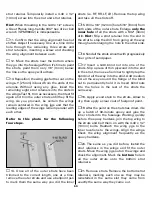
8. Carefully examine the joint from all angles.
If necessary, reheat and add or remove solder
as needed. This photo shows what the soldered
joint should look like.
❏
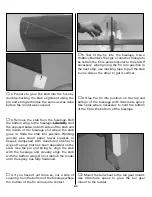
9. Solder the other side of the gear the same
way. After the solder has cooled, remove the
landing gear and
thoroughly
clean the wire to
remove all residual soldering flux. If necessary,
re-sand with fine sandpaper.
❏
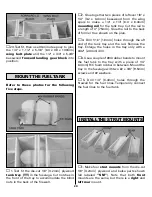
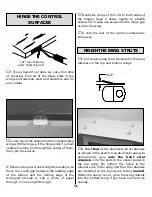
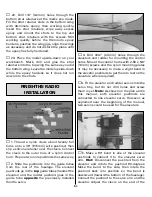
10. Test fit the wheels on the landing gear
with a 3/16" [4.8mm] wheel collar on both sides
of each wheel. File a flat spot on the wire for the
set screw in the outer wheel collar that holds on
the wheels. Cut off the excess wire that
protrudes from the wheel collars. If you choose
to do so, the landing gear wire may be painted
at any time.
The wing struts will be cut to approximate
length and prepared for mounting now, but will
be finished and mounted after the model has
been covered.
❏
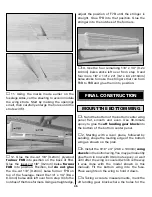
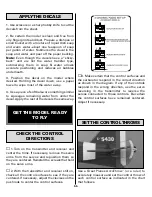
1. Using the patterns provided on the plan,
cut all eight
wing struts
from the 18" [460mm]
airfoil-shaped basswood sticks.
Note:
The
patterns for the wing struts on the plan are
approximately 1/8" [3mm] longer than the
required finished length, so there is no need to
cut them longer than the pattern.
❏
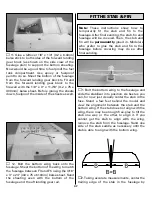
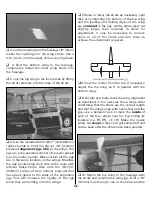
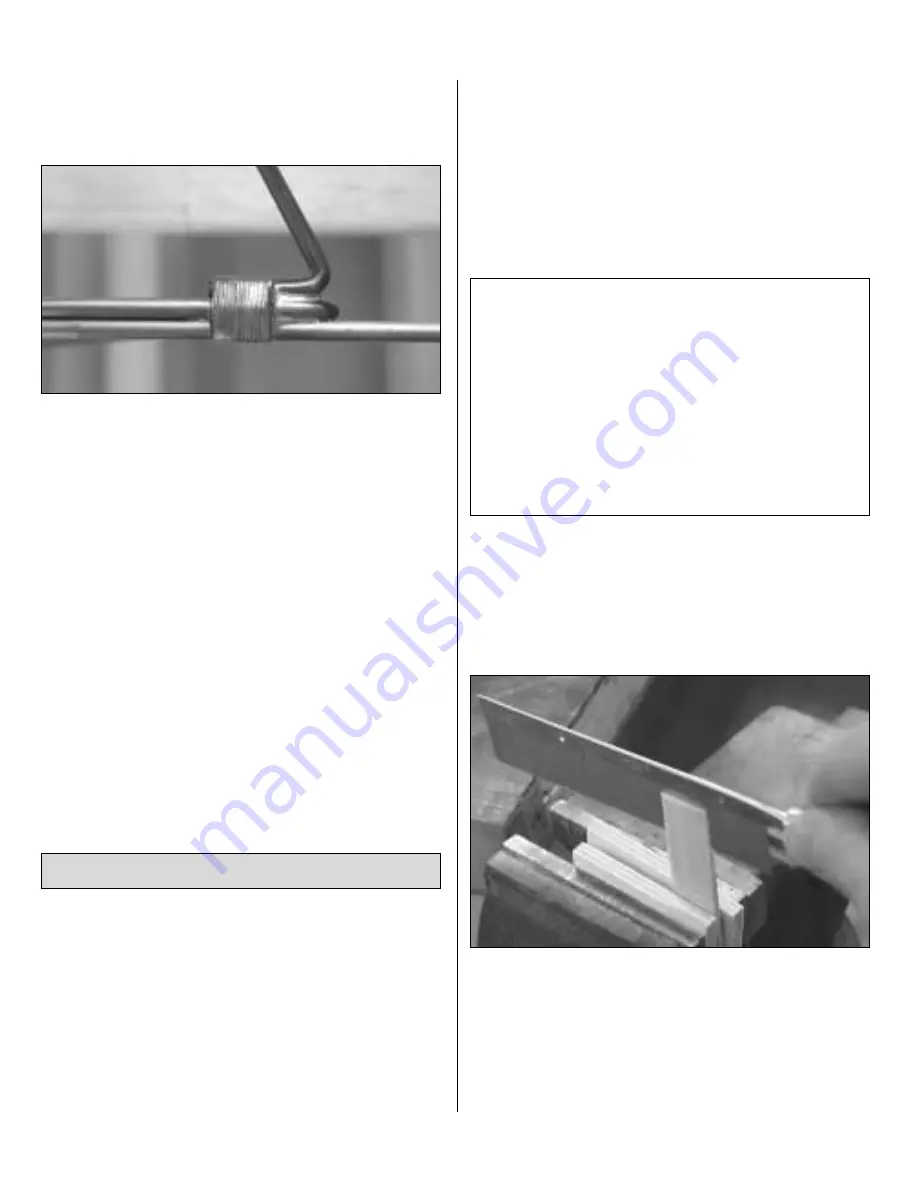
2. Proceeding with care, use an X-Acto #240
razor saw (XACR1440) or similar coarse-tooth
hobby saw to cut a 3/4" [20mm] deep slot in the
end of one of the struts for the aluminum
strut
retainers
. As shown in the photos, a vice
mounted to a workbench is indispensable for
this. Use pieces of scrap wood to protect the strut.
Note:
The procedure of cutting the slots in
the ends of the struts for the aluminum strut
retainers may appear to be laborious, but if
you approach it methodically, take your time
and work accurately, it’s really not that
difficult. In the end you’ll have a job well
done with twelve (gulp) neatly cut slots in the
ends of the struts. To start, you could practice
by cutting slots in the short pieces left over
from the previous step.
PREPARE THE WING STRUTS
41
Содержание Dynaflite S.E.5a
Страница 9: ...9 Die Drawing...
Страница 10: ...10 Die Drawing...

