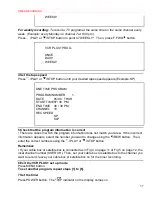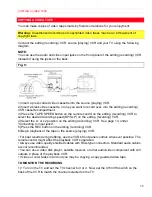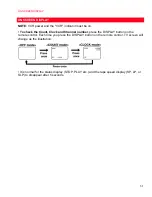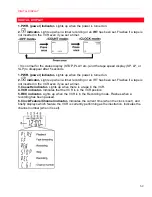
TIMER RECORDING
49
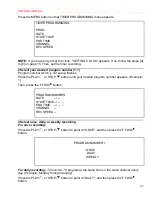
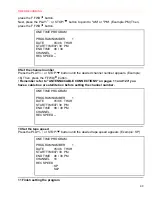
Press the F.FWD/ button. Program 1 is now completed.
• To set another program, repeat steps [2] to [11].
• Press the RESET/EXIT button to return to original mode.
12 Set the timer
Press the POWER button to turn off. The "
" indicator appears on the VCR's digital display.
• Please see "HINTS FOR TIMER RECORDING" for more information.
HINTS FOR TIMER RECORDING
• If there is a power failure or the VCR is unplugged for more than 30 seconds, the clock
setting and all timer settings will be lost.
• If the tape runs out before the end time, the VCR will switch to the Stop mode immediately,
eject the tape and the VCR power will be turned off. The "
" indicator will flash.
• If a tape is not inserted or the erase-protection tab is removed, the "
" indicator flashes and
timer recording cannot occur. Please inset a recordable tape.
• The TV that is connected to your VCR may be turned ON or OFF when the VCR is in the
timer-record mode.
TIMER PROGRAM EXTENSION
To shift the time schedule of a One Time Program.
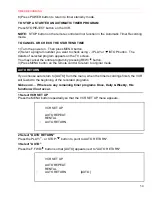
1) Turn the power on. Then, press the MENU button.
2) Select the program number which you want to shift forward using the PLAY/ or
STOP/ button. The details of the selected program appears on the TV screen.
3) Press the REC button on the remote control when a program number is blinking. Each
additional push will shift forward the start/end time for recording by 10 minutes. It can be shift
forward for up to 24 hours.
When the recording is already in progress, each additional push will shift forward the end time
for recording by 10 minutes. It can shift forward up to 23:50 from the start time. In this case,
the recording speed will automatically be set to SLP mode.
If you want to cancel while the setting, press the PAUSE button on the remote control. The
recording time returns to the original time.
4) Press the RESET/EXIT button to exit the setting menu.
NOTES:
• You can shift the time schedule of a One Time Program only.
• When you press the PAUSE button to cancel the setting while the recording is already in
progress, the recording speed will stay in SLP mode.
TO CORRECT AN AUTOMATIC TIMER PROGRAM
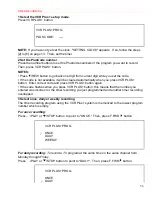
1) Turn the power on.
2) Repeat steps [1] to [3] on page 24.
3) Go to the digit you want to change by using the F.FWD/ button or REW/ button.
4) Enter correct numbers using
/PLAY or
/STOP button.
5) Press MENU button on the remote control to return to original mode.


