Basic Recording
44
Basic Recording from a TV
Follow the instructions below to record a TV program.
Recording starts immediately and continues until the
disc or tape is full or you stop the recording.
11
Switch on the Recorder, select the device (VCR
or DVD) for Recording and load a recordable
disc or tape.
Also make sure that the TV input is set to this
recorder.
If you load a completely blank DVD-RW disc, Disc
Initialize menu will appear, to select a desired
Recording Mode to initialize the disc (See page 27).
2
2
Set a recording mode as necessary by pressing
REC MODE repeatedly.
DVD: XP(High quality), SP (Standard quality),
LP (Low quality), EP (Extended quality)
VCR: SP (Standard Play), LP (Long Play)
3
3
Use PROG/TRK (
3
/
4
) on the remote control to
select the TV channel to record.
4
4
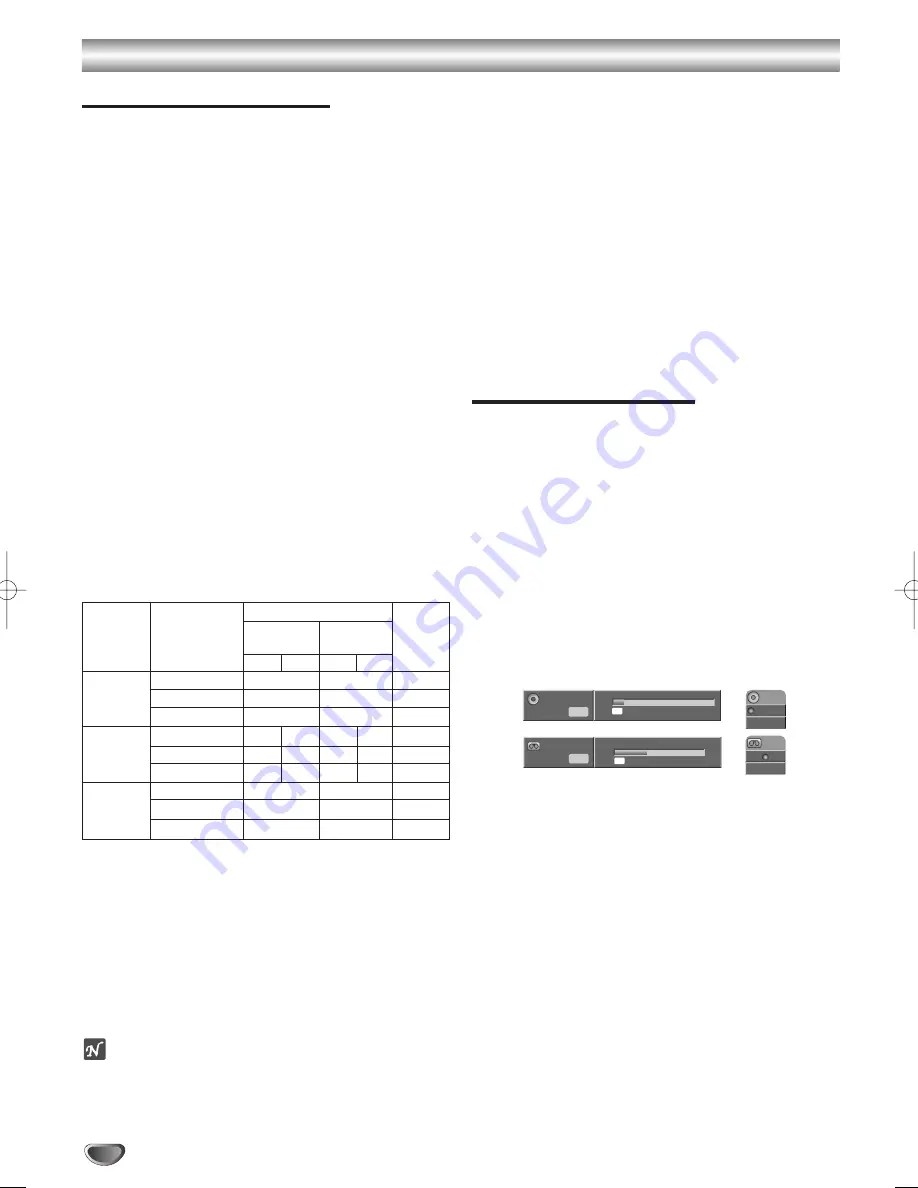
Use AUDIO to select the audio channel to
record.
The table below shows what will be recorded on the
different settings for different types of broadcast.
The last column (Monitor Audio) shows what you’ll
hear as it is recording.
5
5
Press REC (
¥
) once.
Recording will start. (The REC indicator lights in the
display window.)
• Recording continues until you press STOP (
∫
) or the
disc (or tape) is full.
• To record for a fixed length of time, see Instant Timer
Recording on right.
6
6
Press STOP (
∫
) to stop recording.
otes
• Neither the record mode nor channel can be changed
during recording or recording pause.
• No VCR playback can be viewed during DVD
recording.
• If the recorder is turned on when a disc is inserted or
a disc is already placed in the recorder, it will take
about a minute for the recorder to read the disc.
• DVD playback can be viewed during VCR recording.
• If you wish to view DVD playback while recording on
VCR, insert a DVD into this recorder: The recorder
output will automatically switch to DVD, and playback
will start.
• When programs are recorded, title names will
automatically be entered (Title 1, Title 2, Title 3 ... in
the order that recordings took place).
• If any program is deleted from a disc on which
multiple programs were recorded, a program recorded
later could have the same title.
• Title names can be changed anytime (see page 60).
Instant Timer Recording
Instant Timer Recording allows you to make a recording
easily of a preset length without using the program
timer.
11
Follow steps 1-5 as shown left (Basic Recording
from a TV).
2
2
Press REC (
¥
) repeatedly to select the
recording time length.
Recording starts after the first press.
DVD: Each subsequent press increases the
recording time by 10 minutes within free space.
VCR: Each subsequent press increases the
recording time by 30 minutes. Please confirm the
VHS tape has enough remaining time to be
recorded before recording.
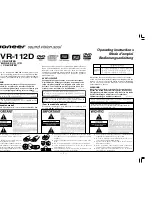
Instant Timer Record Menu
Checking the Recording Time
Press REC (
¥
) or DISPLAY once to check the recording
time. The recalled setting will automatically return to the
TV screen for a moment. Also, remaining time of
recording is shown in the display window.
To Extend the Recording Time
The recording time can be extended anytime by
pressing REC (
¥
).
Each subsequent press increases the recording time by
10 minutes (DVD) within free space or 30 minutes
(VCR).
TV
Selected Audio
Broadcast Audio
Monitor
Broadcast
VR mode or
Video, +R or Audio
Audio
Tape
+RW mode
L Ch
R Ch
L Ch
R Ch
STEREO
STEREO/MAIN
STEREO
STEREO
STEREO
STEREO/SUB
STEREO
STEREO
STEREO
MONO/MAIN
MONO
MONO
MONO
MAIN+SUB
STEREO/MAIN
MAIN
SUB
MAIN MAIN MAIN
STEREO/SUB
MAIN
SUB
SUB
SUB
SUB
MONO/MAIN
MAIN
SUB
MAIN MAIN MAIN
MONO
STEREO/MAIN
MONO
MONO
MONO
STEREO/SUB
MONO
MONO
MONO
MONO/MAIN
MONO
MONO
MONO
VCR
120min Rec.
DVD
00:09:05
30min Rec.
MONO
Input: PR 09
0:17:32
SP
MONO
Input: PR 09
2H 01M Free
SP
K-DV-RV8500E(UK) 7/28/05 16:03 Page 44


