95
8. Other Functions
3) After setting the time, e
Y
ents and parameters, click the
[Register]
to add the
new e
Y
ent.
Click the
[Delete]
button when you want to delete an e
Y
ent.
Click the
[Delete All]
button when you want to delete all the e
Y
ents in the
currently selected program.
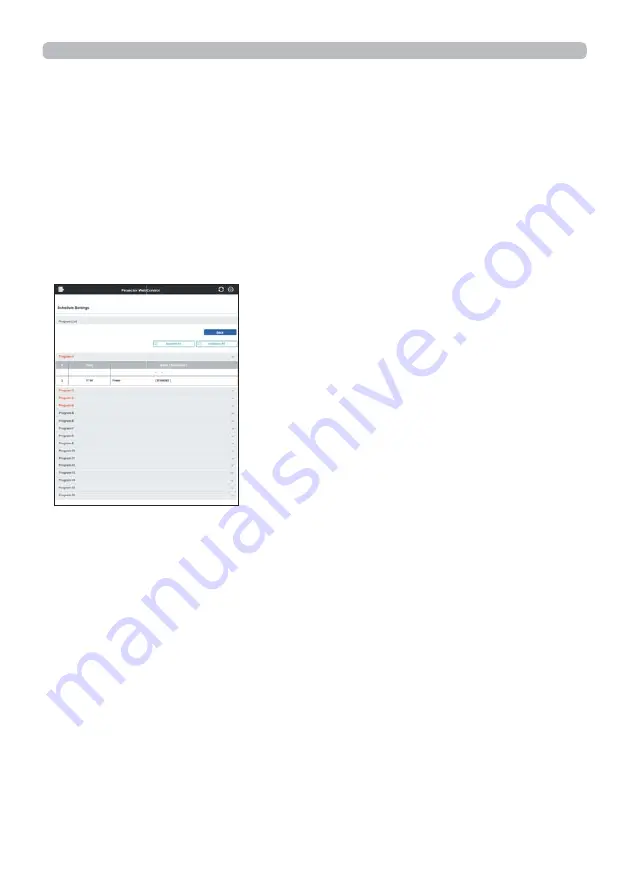
4) When you want to edit the program with other number continuously, select the
program you want to edit in dropdown list and click the
[Select]
button.
5) Click the
[Back]
button to go back to schedule management screen after
¿
nishing the program setting.
Click the
[Program List]
button to display the program list screen.
In this screen, the e
Y
ent information registered in each program number can be
con
¿
rmed.
The procedure to assign the program set in the step 1)
a
5) to the schedule is
described in the following.
6) Click the checkbox of the schedule to be executed
e.g. Click the checkbox of
“Monday”, when it is to be executed on Mondays) in the schedule management
screen.
7) Select the program to be executed in dropdown list.
You can con
¿
rm the e
Y
ent information registered in each program in the
program list on the bottom of the screen.
When setting the Speci
¿
c date No.1
a
10, enter the date
month/day).
8) Click the [Apply] button to sa
Y
e the schedule settings in the projector.
Repeat step 6)
a
8) similarly to set the schedule you want to execute.
The schedule settings are now complete.
Finally, con
¿
rm the time stored in the projector is correctly set.


