P A G E 0 8-16
HORIZONTAL & VERTICAL SIZE A D J U S T M E N T PROCEDURE DP-8 5 C H A S SIS
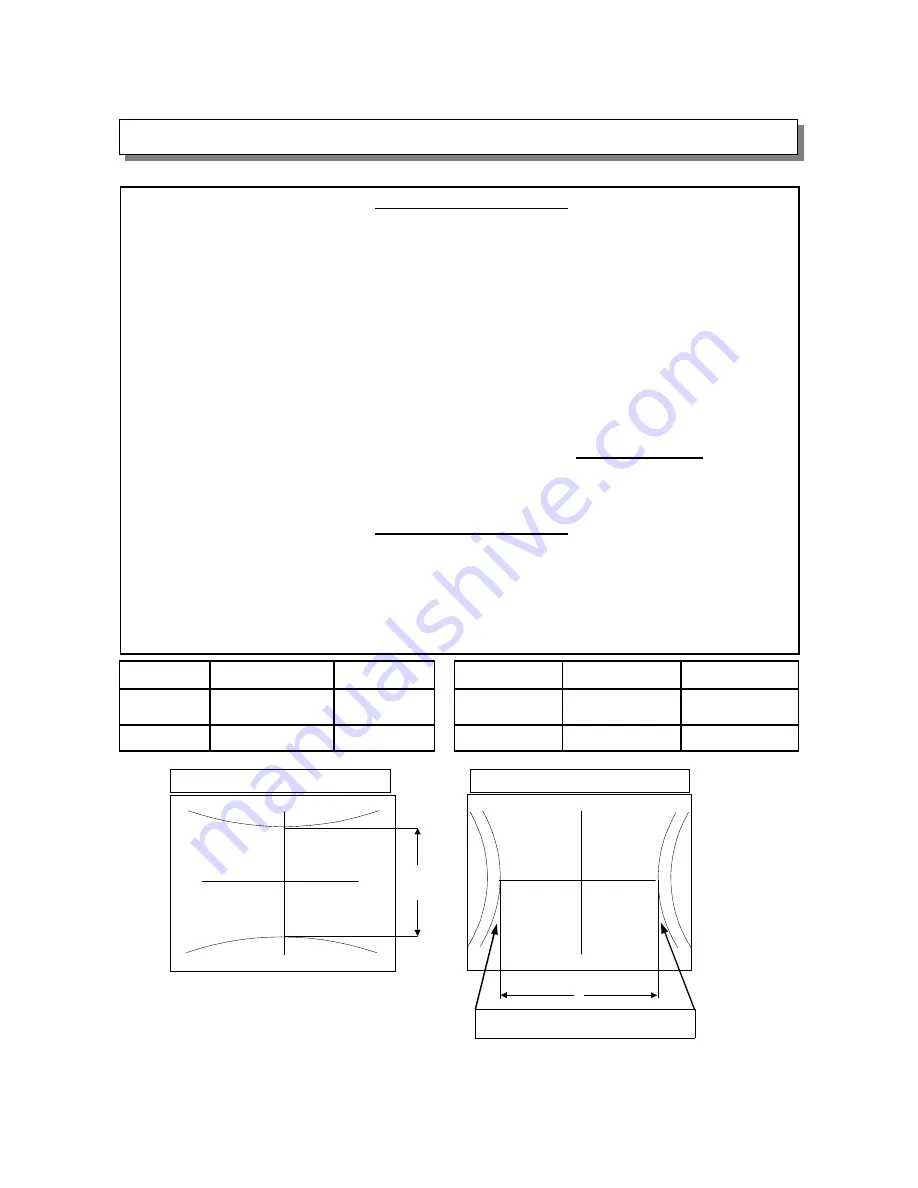
V ERTIC A L SIZE:
(Display Mode FULL or
S M O O T H/WIDE as Depicted)
1 ) Install the correct O v e rlay
d e p e n d a n t u p o n t h e D i s-
play M o d e b eing adjusted.
2 ) Input an y N T S C S i g n al.
3 ) D i g i t a l C o n v e r g e n c e R A M
should be cleared. W i t h
P o w er Off, press and hold
the
Service Only Switch
o n
the Deflection P W B , t h e n
press
Power
.
(See Page 0 8-
2 5 ) .
4 ) Project only the Green
raster.
5 ) Press the
“EXIT”
b u t t o n o n
r e m o t e c o n t r o l 5 t i m e s t o
exit D C A M a n d a c c e s s
turner video.
6 ) E n t er
I
2
C Service Mode and
choose Item [8] (VSIZ-F)
•
FOR S M O O T H/WIDE M O D E
•
[Smooth/ W ide select Item
[13] (VSIZ-S)]
6 ) Adjust data val ue using left
and right cursor on remote
control until raster matches
t h e t o p a n d b o t t o m m a r k
on the overlay.
7 ) Press the
“MENU”
k e y o n
remote control to exit Ser-
v i c e M e n u .
HORIZONTAL SIZE:
(Display Mode FULL or
S M O O T H/WIDE as Depicted)
1 ) Enter
I
2
C Service Mode and
choose Item [7] (HSIZ-F)
•
FOR S M O O T H/WIDE M O D E
•
Smooth/Wide select Item
[12] (HSIZ-S)
2 ) Adjust data value usin g left
and right cursor until the
5 t h line from center
m a t c h e s t h e l i n e s i n d i c a t e d
on the left and right hand
side of the overla y.
3 ) Press the
“MENU”
k e y o n
remote control to exit Ser-
v i c e M e n u .
NOTE: Centering magnet may
be moved to facilitate.
Distance is important, not cen-
tering.
NOTE: There are t w o different
overlays used during this proc-
ess.
Alternate Method:
Adjust Horizontal and Vertical
Size until the size matches the
chart belo w .
VERTICAL
Full Mode
Smooth Mode
HORIZONTAL
Full Mode
Smooth Mode
Size of Screen
Distance of
l
Distance of
l
Size of Screen
Distance of
l
Distance of
l
61 Inch
770 +/- 5mm
690 +/- 5mm
61 Inch
1130 +/- 5mm
1115 +/- 5mm
l
VERTICAL SIZE
l
Note: Use 5th line from Center.
HORIZONTAL SIZE


