DS-PRI120 Security Radar User Manual
UM DS-PRI120 091720NA
19
4.
Optional:
Click
to delete radar or click
to edit radar parameters:
Menu
Description
Hot Spot Name
Radar name
Hot Spot Color
Color of radar name
Hot Spot Icon
The
default
icon cannot be changed
Apply to Other Radar Hot Spots
After checking, the changes will be synchronized to other radars.
5.
Click
Finish
in the upper right corner of the map to exit the editing mode, and the radar is fixed.
6.
Optional:
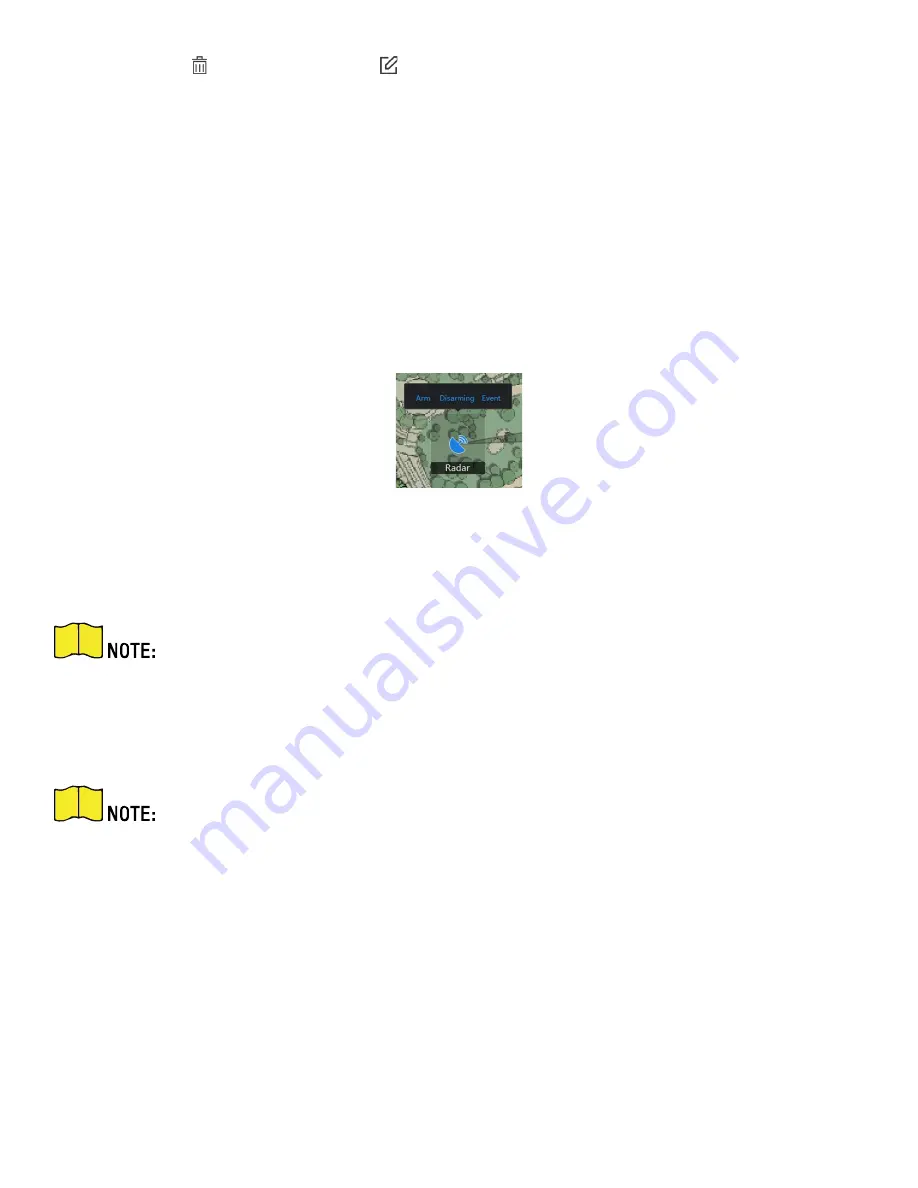
After exiting the editing mode, click the radar icon and a menu appears above the radar icon.
Figure 4-14 Radar Menu
Menu
Description
Arm
Open the arming mode of the radar detection area.
If there is a target in the warning zone when arming, a prompt will appear:
There are
targets in the zone, enable mandatory arming?
Click
OK
to arm.
Disarm
Close the arming mode of the radar detection area.
Event
Search and play back alarm events.
For details, see
View Alarm Information
.
7.
Optional:
After exiting editing mode, click
Arm/Disarm
→
Arm all Radars
or
Arm/Disarm
→ Disarm all
Radars
in the upper right corner of the map to arm/disarm all radars on the map.
8.
In editing mode, you can calibrate the map.
1)
Click
Edit
to enter the editing mode.
2)
Click
Radar Settings → Map Calibration
.
3)
Ask two calibration staff personnel to move into the radar detection area. Select their tracks on the
detection area. Calibrator staff personnel stop at calibration points and the system will generate two
markers at the track terminals. Click
OK
on the pop-up window to confirm the track terminal or click
Delete
to select a new track.


