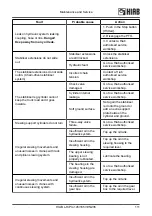
Side 1
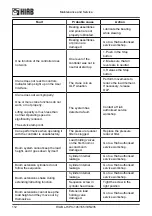
Side 2
The two Spring/Roll pins (8) and (9) should be in place and nearly flush with the outer edge of the
hook nut (6) on both sides. (See the pictures
Side 1
and
Side 2
).
• Do an inspection of the spring-loaded safety Latch (2). The Latch must close the entire throat
opening.
• Do an inspection of the Clevis/Link Shaft (3), Clevis/Links Shaft nut (7) and Cotter/Safety pin (4)
are in place.
• Do an inspection of the Plane bearing/Washer (5) or the Swivel (10) that is in good conditions.
• Do a general inspection for deformation and operation of the remaining items: clevis, swivels,
washers, nuts, pins…
• Lubricate the hook according to the chapter "Lubrication of the hooks".
DANGER
In the event of damage or worn to prevent a safety risk:
• Do not use the hook.
• Have the damage repaired immediately by a Hiab authorised service workshop.
Add-on equipment and separate accessories (hoist etc.)
• Check the cables, cable connections, the cable guides and the attachment points for the add-on
equipment.
• Maintain all add-on equipment, separate accessories, auxiliary equipment etc. according to the
instructions supplied with it.
Electronic components
• Check that these are in good condition.
• Make sure that the horn works correctly.
• Do a check of the LEDs on the User Interface.
LED Test on the UI box:
Maintenance and Service
HIAB L-HiPro 145/165/195/235
97

