Model HCH-930/932
2-6. CLEANING WATER VALVE
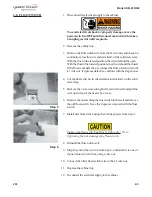
16. Replace the coil and press it firmly against the body.
(Continued)
17. Position the coil terminals so they line up with the outlet of the
water valve.
18. Position the coil retainer with open side up, and fasten with the 2
screws removed earlier.
19. Remount the water valve and reconnect the tubing in reverse
order of disassembly.
20. Reconnect the wires to the valve.
21. Replace the cabinet top.
22. Reconnect the water supply tubing to the water strainer and turn
on the water supply.
23. Reconnect the electrical supply to the cabinet.
2-7. REPLACING WATER VALVE
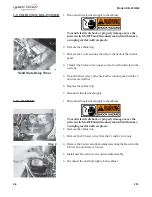
1. Follow steps 1 through 8 of section 2-6.
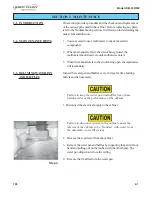
To avoid electrical shock or property damage, move the
power switch to OFF and disconnect main circuit breaker,
or unplug cord at wall receptacle.
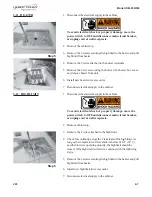
2. Remove the brass fitting from the outlet side of the water valve.
3. Install the fitting, just removed, on the outlet side of the new valve.
Place pipe sealant on the threads of the fittings.
4. Mount the new water valve and connect the tubing to the outlet
side in reverse order of disassembly.
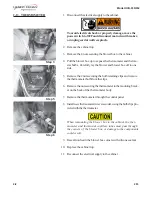
5. Reconnect the wires to valve.
6. Replace cabinet top.
7. Reconnect water supply tubing to the water strainer and turn on
water supply.
8. Reconnect electrical supply to the cabinet.
2-4
203
Содержание HCH-930
Страница 1: ...TECHNICAL MANUAL Henny Penny Heated Holding Cabinet Model HCH 930 Model HCH 932...
Страница 2: ......
Страница 4: ...ii 703...
Страница 8: ...Model HCH 930 932 THIS PAGE INTENTIONALLY LEFT BLANK 1 4 703...
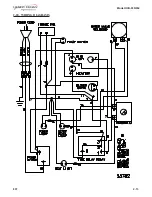
Страница 21: ...Model HCH 930 932 807 2 13 2 20 WIRING DIAGRAMS...
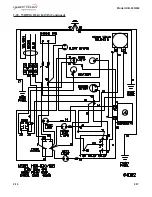
Страница 22: ...Model HCH 930 932 2 14 807 2 20 WIRING DIAGRAMS Continued...
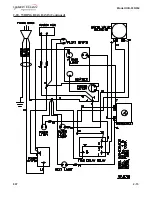
Страница 23: ...Model HCH 930 932 807 2 15 2 20 WIRING DIAGRAMS Continued...
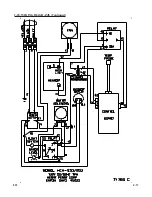
Страница 24: ...2 20 WIRING DIAGRAMS Continued 2 16 807...
Страница 25: ...2 20 WIRING DIAGRAMS Continued 807 2 17...


