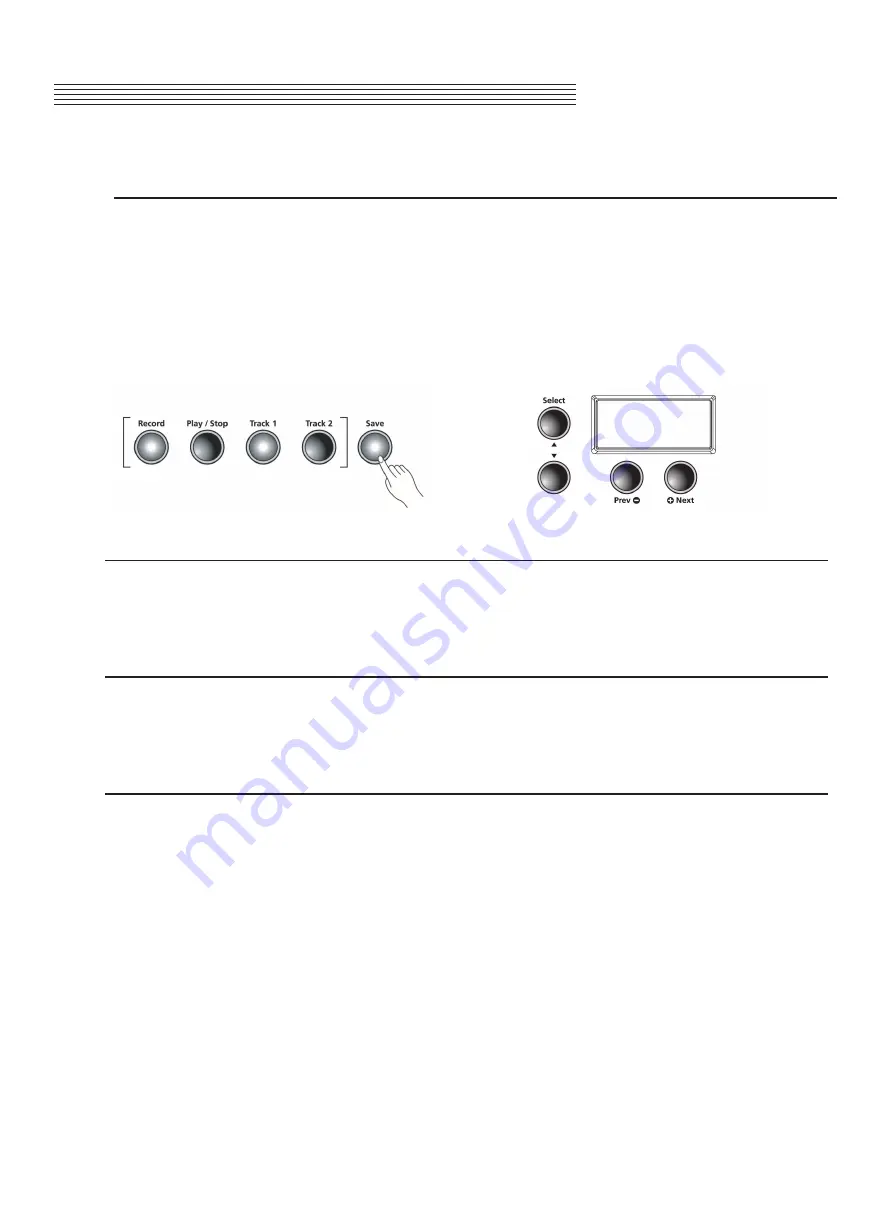
Recording Track 2
Press the
[Track 2
] button, then the
[Record]
button. The display scrolls RECORD READY message.
Press the
[Play/Stop]
button to begin recording Track 2. (Track 1 is playing while recording Track 2.) Press
the
[Play/Stop]
button again when you are finished.
The
[Save]
button’s LED is flashing and the display shows SAVE RHYTHM AS Ux (AS:(U1 – U20).
Press the
[Save]
button and Track 2 is now saved in one of the user song presets. Simply press
play to listen back to your recording.
To change to another user preset U1 – U20, press the [+Next] button to
advance to a different User Preset Number and Press the save button to store it. X represents the user song
location number of Track 1).
Editing & Finding a Song
Press the “User” Button located to the far left of the Rhythm bank. Press the
[Prev-]
or
[+Next]+
button
to scroll through the list of User Presets (U1 – U20) to find your saved song. Press the “Play” button
to preview your saved song. You are now ready for editing.
Erasing / Recording over Tracks
Select the user recorded song and press the button for the track you need to erase. Press the
[Play/Stop]
button, then press the
[Record]
button and start playing. Press the
[Play/Stop]
button when you are finished
and press the
[Save]
button to save the song.
Punch-Ins
Punching in is a way to correct mistakes on a recording without re-recording the entire track.
Select the user recorded song and press the button for the track you need to change. Press the
[Play/Stop]
button. Your song begins to play. When it reaches the part you need to correct, press the
[Record]
button and
play the note(s) you need to punch-in the recording. After the punch-in, press the
[Play/Stop]
button. If you
don’t press the
[Play/Stop]
button after you Punch-In, you will erase the remaining portion of the track.
Chapter 10
RECORDING
39
SAVE
RHYTHM AS


