Digital PEN User Guide
Procedure by HCL Infosystems Limited-Product Engineering Group Page 26 of 31
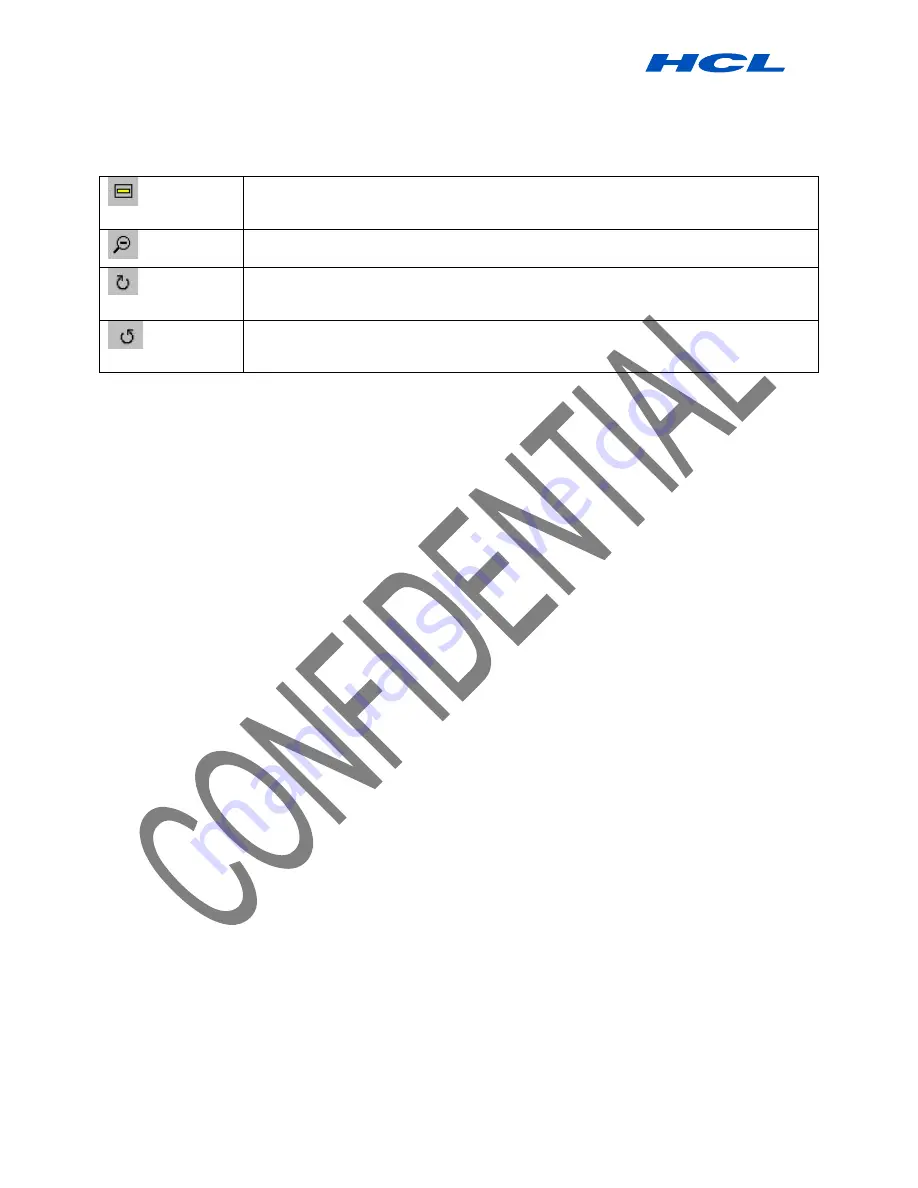
ZOOM TO FIT - Returns the note view to the
original size
ZOOM OUT – Reduces the note view
ROTATE RIGHT – Rotates the entire note image
180° to the right
ROTATE LEFT – Rotates the entire note image
180° to the left
Editing Notes
Once a note is open in the Note Editor, you can only edit elements of the note (pen strokes, etc.) after
they have been selected. Once you have selected the area you want to edit, you can delete it, change the
color and/or width of the pen strokes, etc. You can also add figures and drawings into the note using the
various drawing features (insert circle, line, highlight, text, etc). These new elements can also be edited
after you insert them.
To start editing a note
1. While working on a note, or in the
Note Manager
select the note and click the
Edit Note
button,
–Or–
right-click the note and, in the shortcut menu, click
Edit Note
.
-Or-
Double click a note in the note view mode. The Note Editor window opens displaying the selected note.
2. Use the
Select Area
button in the Tools Toolbar or the
Select
option from the Tools Menu to select a
particular stroke or group of strokes,
–or–
in the
Edit
menu, click
Select All
to select the entire note.
NOTE
: While editing, you can still use your pen to continue sketching on
the note.
Sending Notes
You can send any note by email or over the local network. An emailed note appears as a JPEG
attachment to the recipient. In order to send a note by local network, the recipient must have the
NOTETAKER software installed and running on his/her PC. Notes can be sent by email or network from
both the
Note
window and the
Note Manager
.
Sending notes by email
The NOTETAKER uses your default email client to send notes as email.
To send a note immediately after you have completed it:


