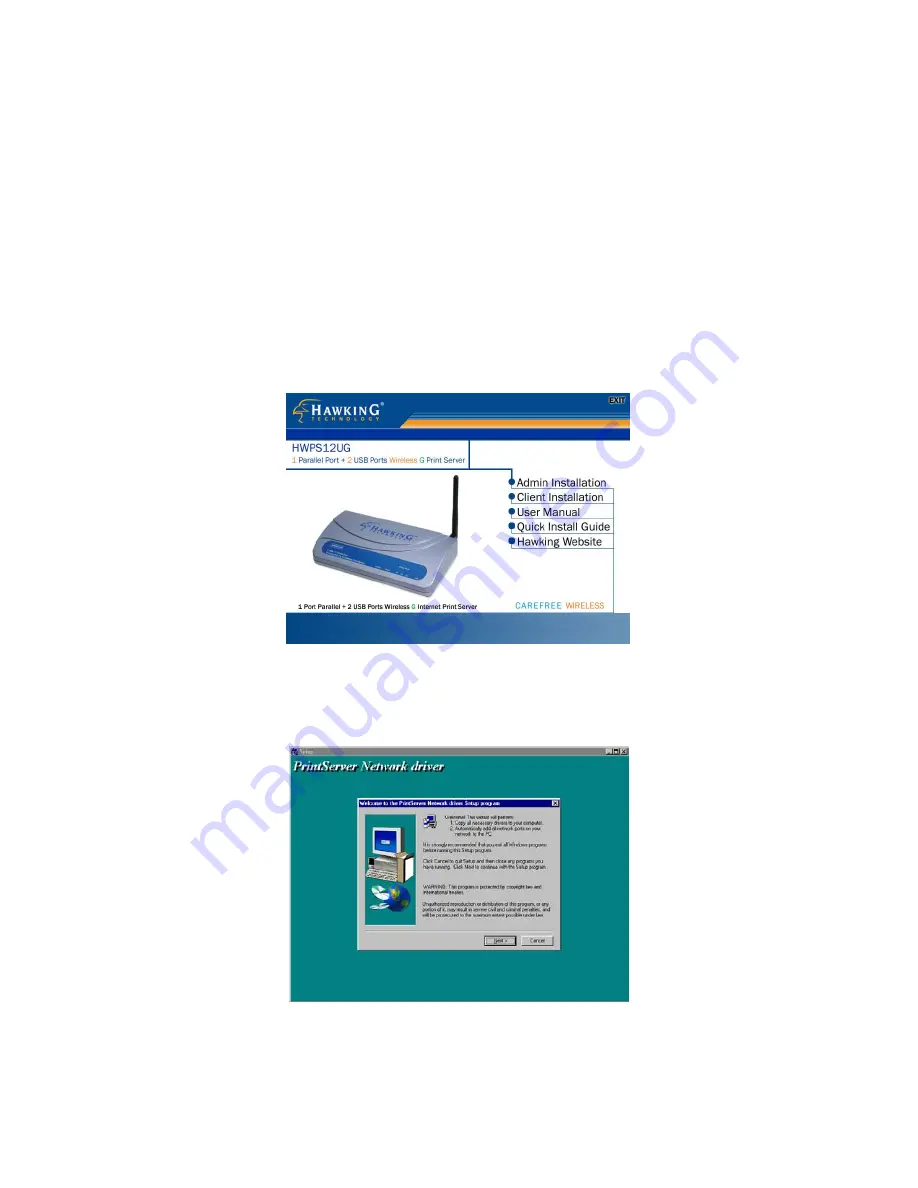
3.4 Client Installation and Setup
1. Insert the CD shipped along with the HWPS12UG into your CD-ROM
drive. The Autorun.exe program will execute automatically. If it does not
start automatically, run Autorun.exe manually from your CD-ROM drive’s
root directory.
2. The
"Installation Manager"
will be displayed on the screen as follows.
3. Click “
Client Installation”
and the “
Utilities Setup
” window will be
displayed.
4. Click “
Next
” and specify the destination folder where the utilities will be
installed.
Содержание HWPS12UG
Страница 1: ......
Страница 6: ...1 Introduction to the HWPS12UG...
Страница 20: ...3 Windows Peer to Peer Network...
Страница 41: ......
Страница 42: ...4 Windows NT 2000 Network...
Страница 47: ...5 NetWare Network...
Страница 55: ...6 UNIX System Network...
Страница 65: ...7 Configuration Utility...
Страница 79: ...7 9 TCP IP Configuration...
Страница 88: ...Click Set to save the wireless configuration...
Страница 90: ...Step 2 Select to enable the required printing protocol Please refer to section 7 8 for detailed information...
Страница 92: ...Step 5 Setup AppleTalk printing Please refer to section 7 5 for detailed information...
Страница 94: ......
Страница 96: ...8 Web Management...
Страница 100: ...8 3 2 Printer This page lists printer information for all printers connected to each of the HWPS12UG s ports...
Страница 103: ...8 3 5 AppleTalk This page lists the HWPS12UG s AppleTalk settings including AppleTalk Zone Names and your Printer Type...
Страница 121: ......
Страница 122: ...9 IPP Printing...


