2.
Select
Add Acct/Group
.
3.
Select
Add Group
(or type
2
).
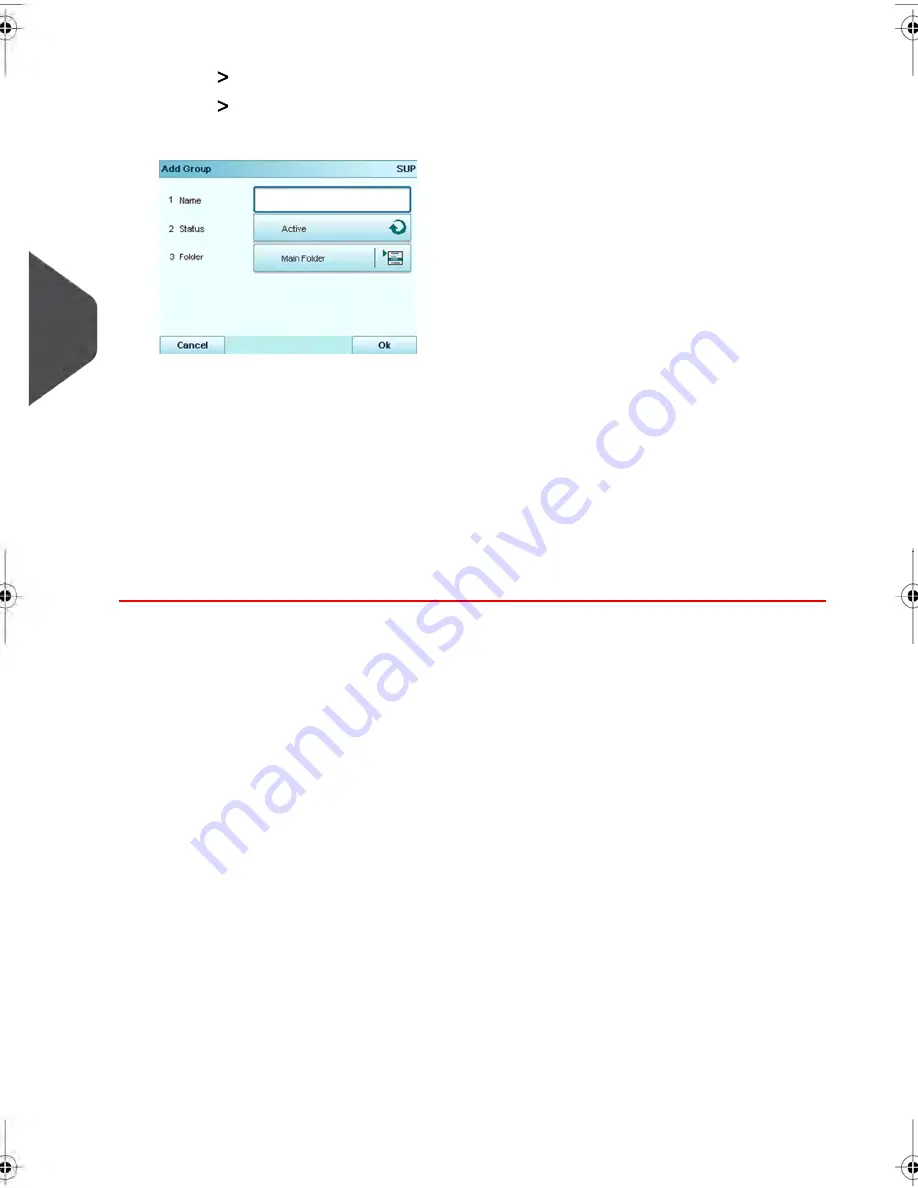
The Add group window appears.
4.
Enter the Group Name by using the keypad.
5.
Select the Group Status (active or inactive). The screen then displays the current
status of the Group you have selected.
6.
To put the current Group into a Subgroup, select the Folder button, select a group in
the list and press
[OK]
.
7.
On the Add group Screen, press
[OK]
.
The Group creation summary Screen is displayed.
8.
Press
[OK]
to create this group.
Editing Groups
Follow the steps outlined below to change the Name, the Status and the Parent Group of
a Group.
134
| Page 134 | jul-08-2013 06:34 |
5
Managing
Accounts
and
Assigning
Rights
Содержание IN750 Series
Страница 1: ...IN750 Series MAILING SYSTEM USER S GUIDE...
Страница 2: ...A0018952 B 09 09 2013...
Страница 6: ......
Страница 8: ......
Страница 16: ......
Страница 18: ......
Страница 31: ...Power connectors Nota Power connectors are shown in section Connectors on page 22 2 Meet Your Mailing System 25...
Страница 34: ......
Страница 109: ...How to Change the Label Roll 1 Press the button located on the ELD side 2 Open the ELD 3 Processing Mail 103...
Страница 110: ...3 Move the two maintainer apart to disengage the Label Roll 4 Remove the Label Roll 104 3 Processing Mail...
Страница 114: ...The Label Dispenser can hold up to 40 labels 108 3 Processing Mail...
Страница 116: ......
Страница 122: ......
Страница 124: ......
Страница 160: ......
Страница 162: ......
Страница 190: ......
Страница 227: ...Geodesic map 8 Configuring your Mailing System 221...
Страница 228: ...Geodesic codes 222 8 Configuring your Mailing System...
Страница 246: ......
Страница 262: ......
Страница 264: ......
Страница 284: ......
Страница 298: ......
Страница 305: ......
Страница 306: ...A0018952 B 09 07 2013...


