


22
SYSTEM CONFIGURATION
System Configuration
The
REC OUT
line gives you the opportunity to
select which type of signal is directed to the
Record Output jacks
(associated with the
Tape
$
,
Video 1
and
Video 2
sources).
The default setting is
ANALOG
, which will send
the analog signal from any source to all three
sets of analog record outputs.
In cases where you wish to have the output of a
digital source selected as the record output feed,
while the
➞
cursor is next to the
REC OUT
line, press the
‹
/
›
Navigation Button
E
so
that
DSP DOWNMIX
appears in highlighted
video. When this indication is shown, the DPR will
feed a downmixed, analog version of a Dolby
Digital or DTS encoded signal to the Record
Output jacks (associated with the
Tape
$
,
Video 1
and
Video 2
sources and the
Video 5 jacks when they are configured as an
output). This enables you to make an analog
recording (where permitted by copyright laws) of
the soundtrack from a digital source.
As a reminder, to ensure that a signal feed is
always available to the record output jacks, we
recommend that an analog connection be made
as a fallback for all digital sources. This is key
with sources such as cable set-tops to ensure
that a record feed will continue in the event that
the digital audio stream is not available when
channels are changed.
When all needed adjustments have been made,
press the
¤
Navigation Button
E
until
the
➞
cursor is next to
BACK T O MASTER
MENU
to continue with the system
configuration.
Audio Setup
This menu allows you to configure the tone con-
trols and to turn the upsampling on or off. If you
do not wish to change any of those settings at
this time, proceed to the next menu screen.
However, to make configuration changes to those
parameters, make certain that the
MASTER
MENU
is on the screen with the
➞
cursor point-
ing to the
AUDIO SETUP
line, and press the
Set Button
F
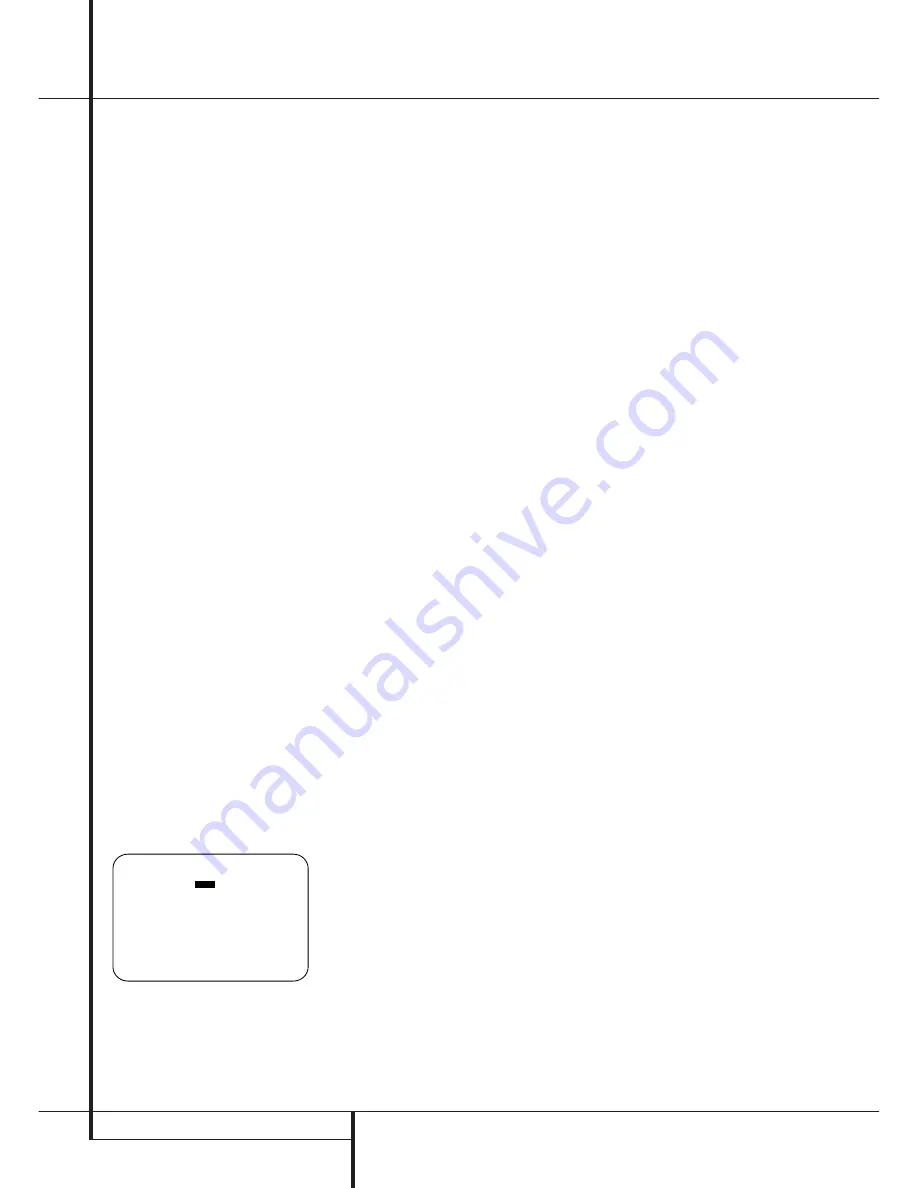
. The
AUDIO SETUP
menu
(Figure 3) will appear.
Figure 3
The first line controls whether or not the bass/tre-
ble tone controls are in the signal path. The nor-
mal default is for them to be in-line, but if you
wish to remove them from the circuit for “flat”
response, first make certain that the
➞
cursor is
pointing to the TONE line on the menu and press
the
‹
/
›
Navigation Button
E
so that
OUT
is highlighted in reverse video.
If you wish to leave the tone controls in the sig-
nal path, the amount off boost or cut for bass
and treble may be adjusted by pressing the
⁄
/
¤
Navigation Button
E
so that the
➞
cursor is
next to the line for the setting you wish to adjust.
Next, press the
‹
/
›
Navigation Button
E
until the desired setting is shown.
This menu also includes a setting to turn the
unit’s upsampling feature on or off. In normal
use, this feature is turned off, which means that
digital sources are processed at their native sam-
ple rate. For example, a 48kHz digital source will
be processed at 48kHz. However, the DPR allows
you to upsample the incoming 48kHz signals to
96kHz for added resolution.
To take advantage of this feature, press the
⁄
/
¤
Navigation Button
E
so that the
➞
cursor is
next to the
UPSAMPLING
line and press the
‹
/
›
Navigation Button
E
so that
O N
is
highlighted in reverse video. Note that this fea-
ture is only available for the Dolby Pro Logic,
Dolby Pro Logic II and Pro Logic IIx Music and
Movie modes.
Speaker Optimizer
The Speaker Optimization function is critical to
ensure optimal performance of the DPR, as it tells
the digital amplifier section how to best match its
operation to your specific speakers. Note that this
adjustment is electronic, not electrical, and unlike
the “8-ohm/4-ohm” switches on older analog
amplifiers, you do not need to turn the DPR off to
change the setting. However, we do suggest that
you do not have any program material playing
through the DPR when the setting is changed.
Before making this adjustment you will need to
find the impedance specification for your
speakers. This information is often found on a
label attached to the speaker, and it is usually
shown in the owner’s manual that came with
your speakers. If you cannot find the information
for your speakers, consult the manufacturer’s Web
site or customer service department.
In cases where the speakers in a system have
different impedance ratings, such as 8 ohms for
the front left/right and center speakers and 6
ohms for the surround speakers, use the setting
for the front speakers, as they are used most
often for all types of program material.
If you cannot determine the speaker’s impedance,
there is no harm in using the factory default
setting of 8 ohms, as most home speakers are in
that range. However, if it appears that your
system’s performance in the highfrequency range
sounds constricted at high volume levels, you
may want to experiment with the 6-ohm or 4-
ohm setting.
If your speakers match the factory default setting
of 8 ohms, no further adjustment is needed,
and you may exit this menu by pressing the
¤
Navigation Button
E
so that the
➞
cursor is
pointing to the
BACK T O MASTER MENU
line and then press the
Set Button
F
. If you
do need to change the setting, press the
‹
/
›
Navigation Button
E
until the desired
impedance setting appears.
When all desired changes have been made on
this menu, press the
⁄
/
¤
Navigation Button
E
so that the
➞
cursor is next to the
BACK
T O MAIN MENU
line and press the
Set
Button
F
.
Speaker Setup
This menu tells the DPR which type of speakers
are in use. This is important as it adjusts the set-
tings that decide whether your system will use
the “5-channel” or “6-channel/7-channel”
modes, as well as determining which speakers
receive low-frequency (bass) information.
For each of these settings use the
LARGE
set-
ting if the speakers for a particular position are
traditional full-range loudspeakers.
Use the
SMALL
setting for smaller, frequency-
limited satellite speakers that do not reproduce
sounds below 200Hz. Note that when “small”
speakers are used, a subwoofer is required to
reproduce low-frequency sounds. Remember that
the “large” and “small” descriptions do not refer
to the actual physical size of the speakers, but to
their ability to reproduce low-frequency sounds. If
you are in doubt as to which category describes
your speakers, consult the specifications in the
speakers’ owner’s manual, or ask your dealer.
This menu screen also allows you to enter the
settings for the DPR’s Quadruple Crossover fea-
ture that allows a different crossover point to be
used for the front left/right, center, surround and
surround back speakers. In systems where full-
range or tower speakers are used for the front
soundstage or where different brands or models
are in use at the various speaker positions, this
feature allows you to custom tailor the bass man-
agement and redirection circuits with a precision
not previously possible.
At last, this menu also makes you chose if the
speaker setting will be the same for each input
source (
GLOBAL
), or will be set differently for
each input (
INDEPENDENT
).
* A U D I O S E T U P *
T O N E
:
I N
O U T
B A S S
: 0
T R E B L E
: 0
U P S A M P L I N G : # # #
S P K R O P T I M I Z E R : 8 O H M
B A C K T O M A S T E R M E N U
→


