80_
setup
setup
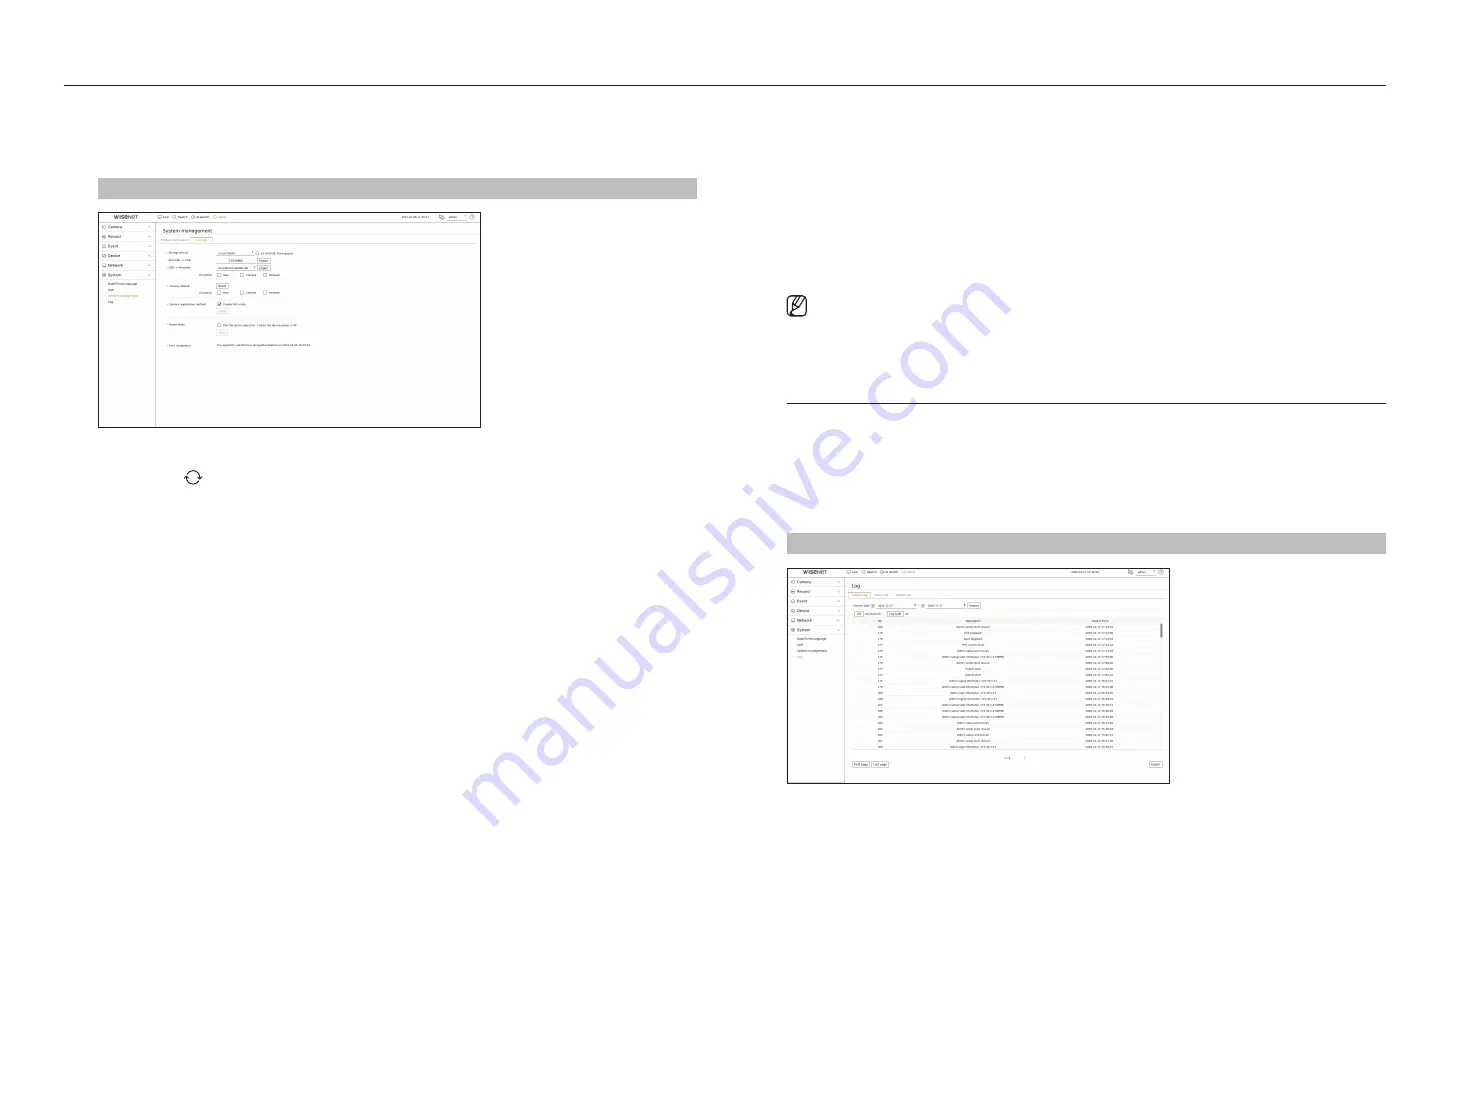
Settings
You can export the information set in the recorder to a storage device and apply the same information to other
recorders.
Setup > System > System management > Settings
●
Storage device : Shows the connected storage device.
– Press the <
> button to view the list of storage devices.
●
Recorder
➡
USB : Save the information set in the recorder to a storage device.
– If you select <
Export
>, a confirmation window will appear. If you select <
OK
>, the recorder information will
be saved as a file.
●
USB
➡
Recorder : Apply the setting information stored in the storage device to the recorder.
– If you select the exclusion setting, you can import all information but the selected information.
– If you select <
Import
>, you can recall the setting information stored in the storage device. Select <
OK
> to
apply the loaded information to the recorder.
■
The <
Export
> and <
Import
> settings can be used in the same software version only.
●
Factory default : Resets the product to its factory default settings. However, logs won't be reset. Anything
selected under Exclusion Setting won't be part of the factory reset.
A confirmation pop-up will appear when you press the <
Reset
> button. Select the <
OK
> button to reset the
selected items.
●
Camera registration method : Set the camera registration method. This function is only available for products
that support PoE. For products that support PoE, see "
Products supporting each feature
" (Page 4) in the
Product Specification Manual.
– Enable PnP mode: Cameras connected to the PoE port of the product will automatically be registered for
each channel in order of port number.
■
When the camera resets to factory defaults, it defaults to the ID and password set in the "
Setup
>
Camera
>
Camera password
" menu.
■
If the camera's ID and password have already been set, the information that matches the ID and password set in the "
Setup
>
Camera
>
Camera
password
" menu will be registered (up to 3 sets).
■
You may change the passwords of registered cameras all at once in the "
Setup
>
Camera
>
Camera password
" menu.
■
If the PnP mode is not used, you can manually register cameras connected to the product’s PoE port and cameras connected to separate switch in
the <
Channel setup
> menu. For more details on camera registration, see the "
Setup
>
Setting the Camera
>
Setting the Channel
” page in the
Table of Contents.
●
Power down : If the power is off, the first alarm is generated. Select the <
use the alarm output no. 1 when the
device power is off
> check box and click <
Apply
> to clear all alarms set for alarm output 1, and then selecting
alarm 1 with another alarm out will not be possible.
■
This function is provided only for products that support alarm output.
■
If that function is set, the first alarm-out checkbox and all alarms in the alarm setup screen are deactivated, to Off.
●
Face recognition : Clicking <
usage Consent
> enables you to view the terms and conditions for the face
recognition function. When a window pops up, click <
Agree
>.
■
If you do not agree to the terms and conditions, you cannot use the face recognition function.
■
Face recognition option may not be displayed depending on the recorder model.
■
If you export setup information, then the data will be saved as a file in the recorder folder of your storage device.
■
If you want to import setup information, you have to first make sure that the setup information file is located in the recorder folder of the
storage device.
log
You can check the log information related to system, events, and export.
Checking the system log
System Log shows log and timestamp on every system start up, system shutdown, and changes on system
settings.
Setup > System > log > System log
●
Search date : Click the Calendar icon to display the calendar window, or use the direction buttons to specify the
search period of the system log.
●
Search : Specify the date and press this button to display the search result in the log list.
●
CH : Select a channel to search.
●
Log type : When there are too many logs, you can display logs of the desired format by selecting the type.
Select the desired type and click <
Apply
>.
●
First page/Last page : Move to the first/last page when there are many search results.
●
Export : Save all the logged information recorded in the Recorder into the storage device.
Содержание Wisenet XRN-6410RB2-24TB
Страница 1: ...NETWORKVIDEO RECORDER User Manual Wisenet NVR...
Страница 124: ......


