Built-in oven 65M90D0-E11319G
GB-14
Preparation
Removing transport locks
1. Remove any polystyrene, cardboard and
plastic safety parts from the oven and sides
of the baking trays.
2. Remove all blue protective films.
Operating the toggle switches
The toggle switches
9
and
16
are retractable.
When pushed in they are level with the control
panel.
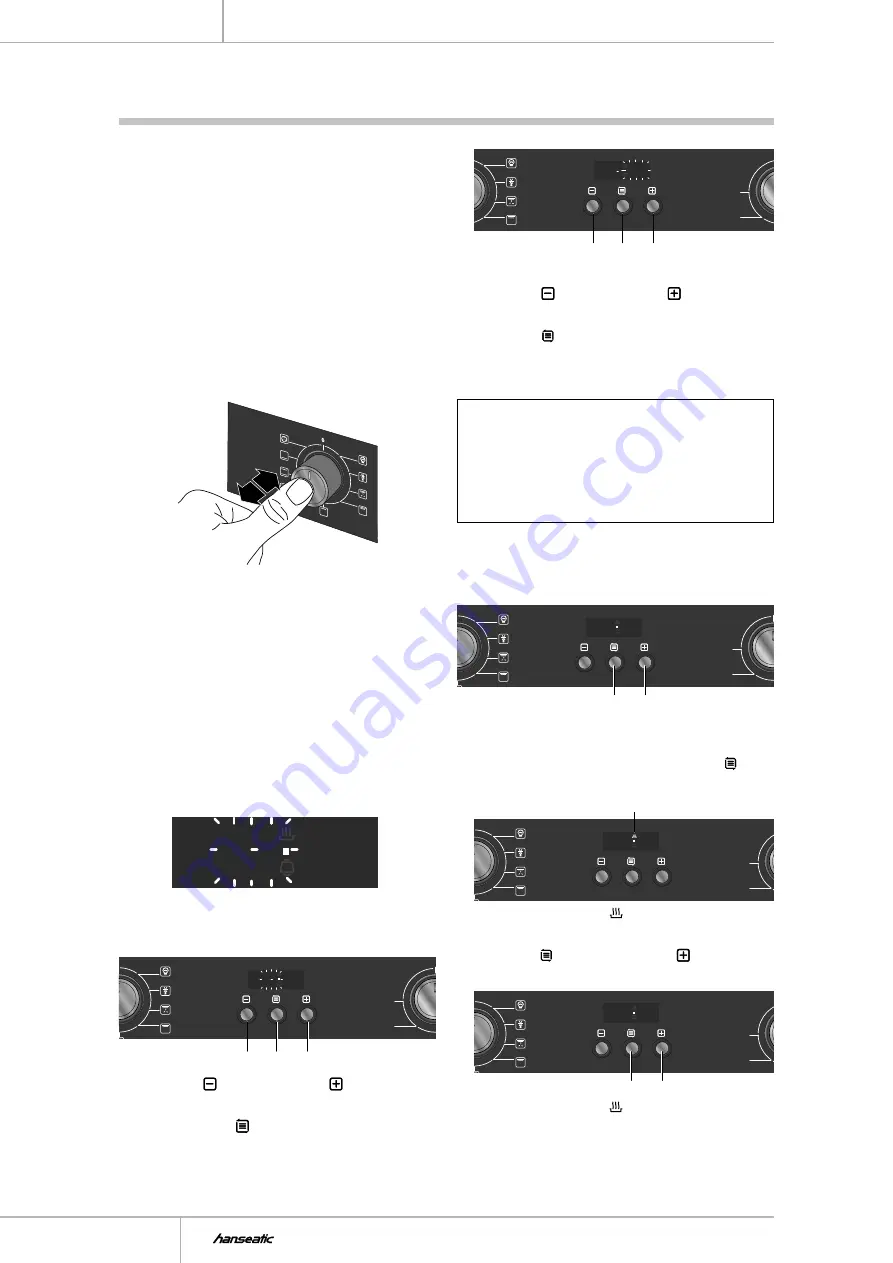
To operate the toggle switches,
• tap the middle of the toggle switch. To hide it
again, push it in.
Setting the time
Set the clock:
– if the oven has been newly connected;
– after a power failure.
If the oven has been newly connected, or after a
power failure, the display will show the following:
88 88
A
12 30
A
How to set the clock:
0
0
250
200
88 88
A
12 30
A
10 11 13
1. Press the button
10
or the button
13
,
several times if necessary, to set the hour.
2. Now press the button
11
.
Final preparations
250
200
88 88
A
8 30
A
10 11 13
The minute indicator will start to flash.
3. Press the button
10
or the button
13
,
several times if necessary, to set the minute.
4. Press the button
11
again. The indicator
stops flashing; the time has been set. The
appliance is now in standby mode.
Please note!
• After a power failure (or when you pull out
the plug) you will need to reset the time.
• You will also need to change the time from
CET to “summertime” and vice versa man-
ually.
Switching the appliance on and
switching to standby mode
0
0
250
200
88 88
A
8 17
A
11 13
The display will show this image in standby
mode.
• To switch on the appliance, press the but-
ton
11
for approximately 3 seconds.
0
250
200
88 88
A
8 19
A
17
The power indicator
17
now lights up.
• To switch the appliance to standby mode,
press the button
11
and the button
13
simultaneously for approximately 3 seconds.
0
250
200
88 88
A
8 23
A
11 13
The power indicator
17
and interior lighting
will turn off.
Содержание 268 880
Страница 72: ......


