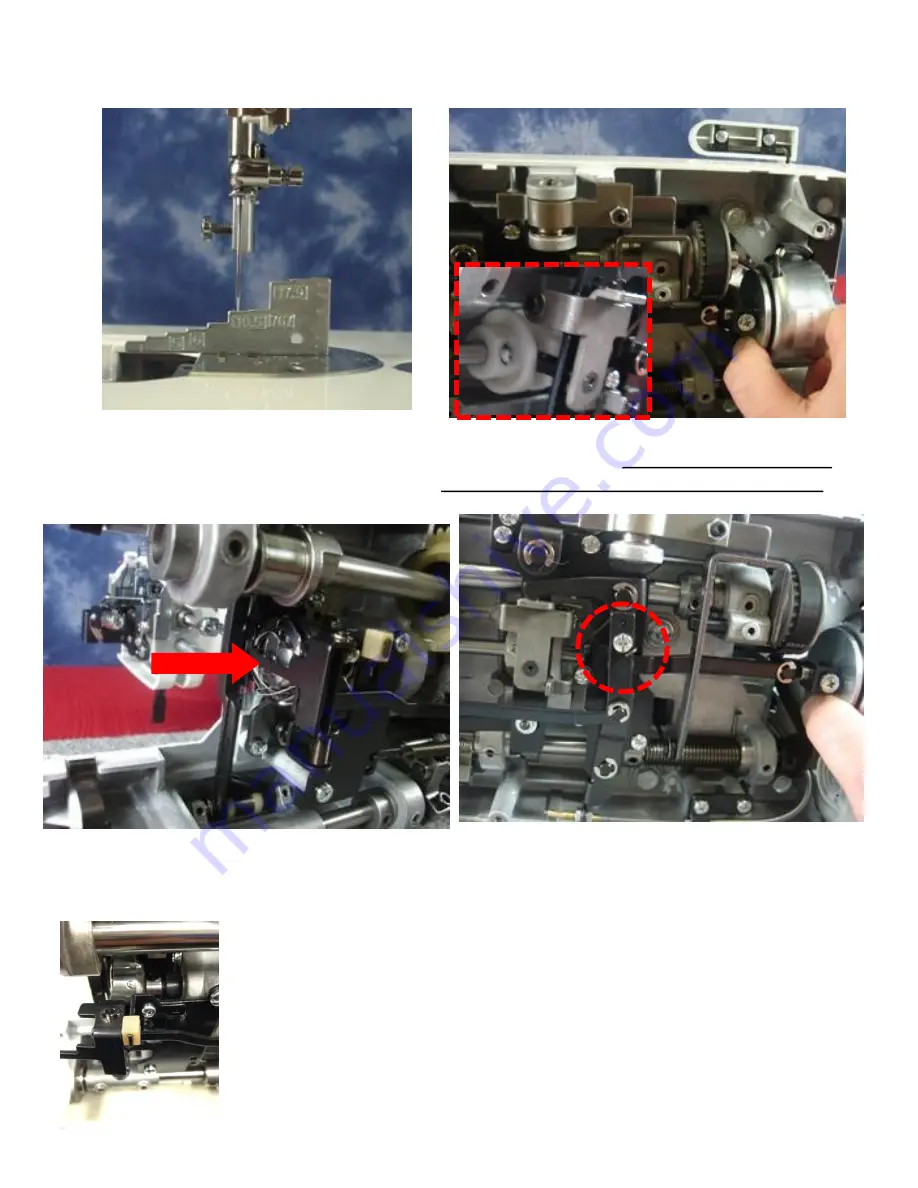
THREAD DRAWING LEVER
ADJUSTMENT
(1 of 2)
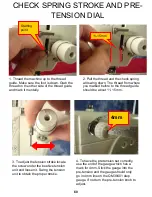
1. Turn the hand wheel toward you
to raise the needle bar from the
lowest position to a point above the
needle plate that is 10.5 mm.
2. Push the solenoid disk closed to move the
thread drawing arm.
When doing this the link
body should lock into the thread cutter cam.
3. The thread drawing lever should also tap
against the bobbin in the bobbin case very
lightly,
4. If an adjustment is needed, push the
solenoid disk closed and loosen the screw
on the thread drawing arm and move it left
or right so the tip of the thread drawing
lever lightly makes contact with the bobbin
case.
5. With the solenoid open, in its relaxed
position, and with the thread drawing lever
down
, the stopper should be up against the
thread drawing lever. If not loosen the
Phillips screw holding it and move it over to
touch and then retighten the screw.
46
Содержание HQ STITCH 510
Страница 1: ...HQ Stitch 510 SERVICE MANUAL 10 11 16...
Страница 6: ...HQ Stitch 510 Lubrication 4...
Страница 12: ...Oil Put a drop of oil on the following 4 The felt at the top of the needle bar bushing under top cover 10...
Страница 13: ...Oil Put a drop of oil on the following 5 The take up lever crank at the three orifices under top cover 7 11...
Страница 23: ...Grease Put a small amount of grease on the following 15 The thread cutter linkage under bottom cover 21...
Страница 24: ...Grease Put a small amount of grease on the following 16 The thread cutter linkage under bottom cover 22...
Страница 51: ...IDENTIFYING ELECTRONIC COMPONENTS CONNECTIONS 49...


