4
Note
The amount of storage space available depends on
your computer’s performance. You can increase it by
reducing the scanning resolution under
Settings
.
•
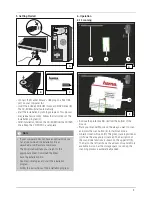
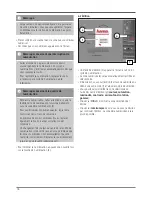
Move the Scanner Mouse over the area you want to
scan.
•
The areas you have scanned appear on the screen.
Note – Interruptions in scanning
•
Make sure you do not lift up the Scanner Mouse
while scanning. The scanning process will be
automatically interrupted if you lift up the Scanner
Mouse.
•
To continue, put the mouse back in the position
where the scanning process was interrupted.
Note – Scanning quality
•
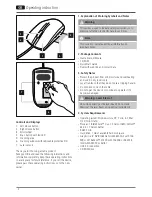
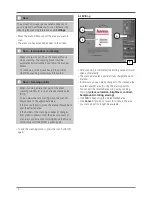
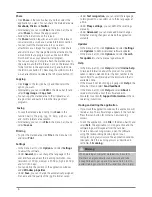
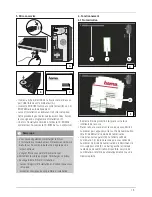
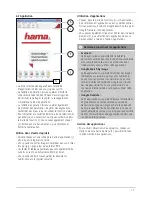
When scanning, ensure that part of the green
scanning window (c) is on an already scanned area
(d) (E).
•
To scan areas that are missing, move the Scanner
Mouse back to the appropriate area.
•
If the scans are blurry, move the Scanner Mouse back
over the affected area.
•
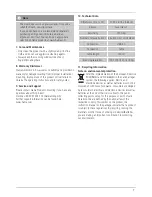
If the border of the scanning window (c) changes
from green to yellow or red, the areas you want to
scan may not be scanned correctly. Move the mouse
more slowly until the border is green again.
•
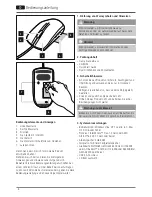
To end the scanning process, press the scan button (4)
again.
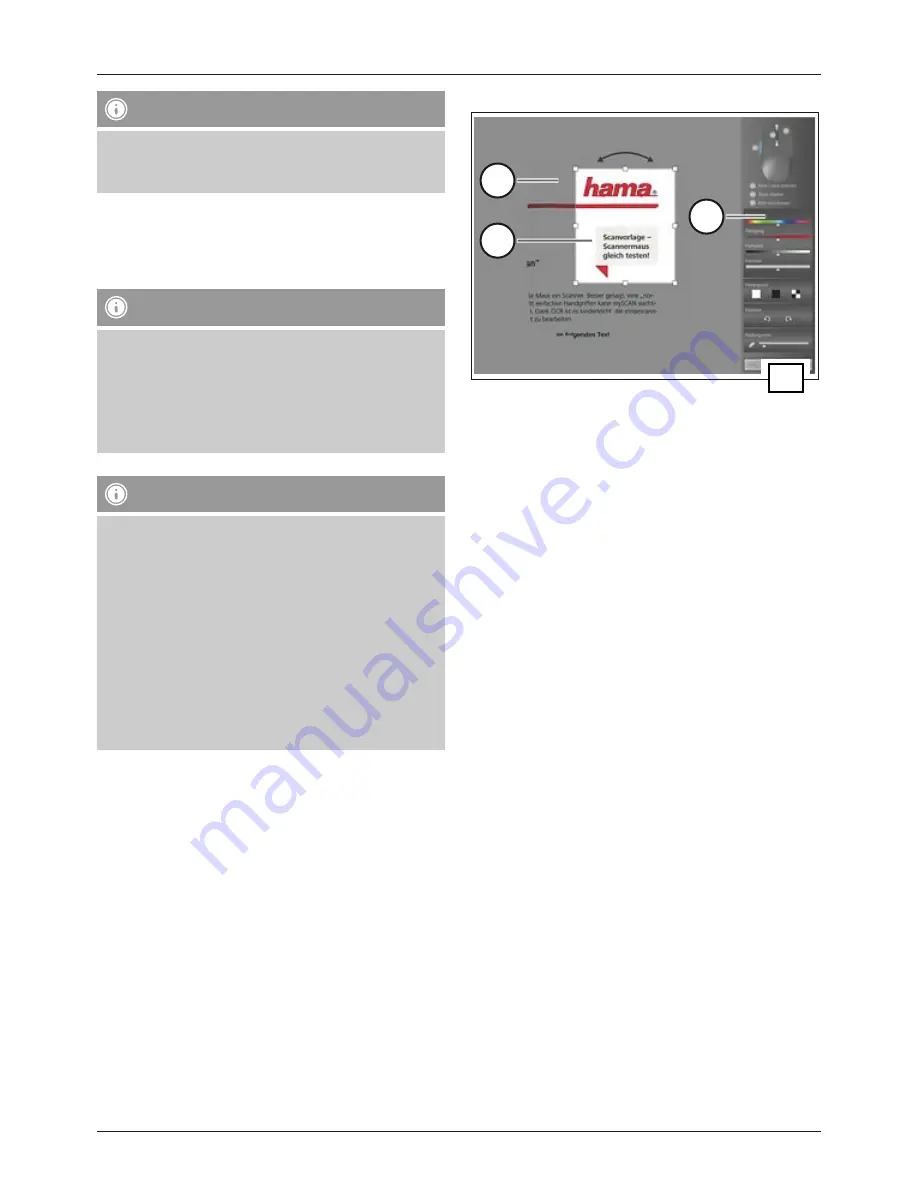
6.2 Editing
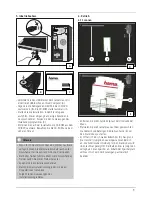
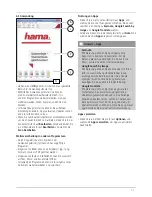
F
e
f
g
•
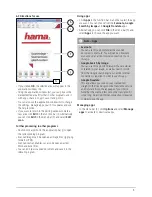
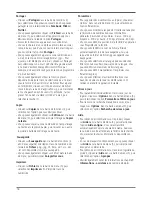
After scanning is completed, the editing window (F) will
open automatically.
•
The scanned area (e) is automatically straightened and
marked.
•
If necessary, you can make changes to the scanned area
or select another area (f) using the marking points.
•
You can edit the selected area using various editing
tools (g)
(colour, saturation, brightness, contrast,
background, rotating, erasing)
.
•
Click
OK
to keep using the marked/edited area.
•
Click
Cancel
if you do not want to continue. The area
you scanned will no longer be available.


