6
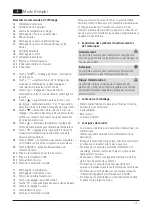
Alarm
•
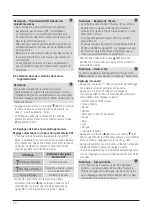
Press the button (B3) to display the alarm time.
•
Press and hold the button (B3) for approx. 3 seconds
to set the signal time of the alarm displayed. The hours
display begins to flash.
•
Press the button (B4) or the button (B5) to select
the hour for the alarm time and confirm your selection by
pressing the button (B3). The minutes display begins
to flash.
•
Repeat the process to set the minutes for the alarm time.
•
If you do not make an entry for 20 seconds, Settings
mode is exited automatically.
•
If the alarm is triggered, the alarm symbol will begin to
flash and an alarm will sound.
•
Press any button (except the “ / ” button, B1) to stop
the alarm. Otherwise, it will stop automatically after 2
minutes.
•
The alarm does not need to be reactivated. It will trigger
again at the set alarm time 24 hours later.
Enabling/disabling the alarm
•
To enable the daily alarm, slide the alarm switch to the
“ ” (B9) position. If the alarm is activated, the alarm
symbol “ ” is displayed.
•
To disable the daily alarm, slide the alarm switch to the “
” (B9) position. The alarm symbol “ ” disappears from
the display.
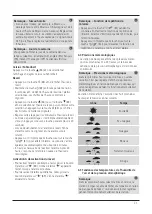
Hinweis – Snooze function
•
While the alarm signal is sounding, press the “ / ”
button (B1) to activate the snooze function. The alarm
signal will stop for 5 minutes, after which it will sound
again.
•
Press any button (except the “ / ” button, B1) to
stop the snooze function and the alarm.
6.4 Weather forecast
•
Based on changes in the atmospheric pressure and the
data saved, the base station is able to make weather
forecasts for the next 12 to 24 hours.
Note – Weather forecast
The weather forecast function is not available during the
first few hours of operation because it requires data that
is collected during operation.
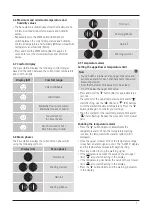
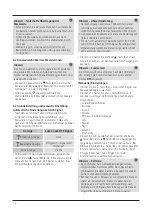
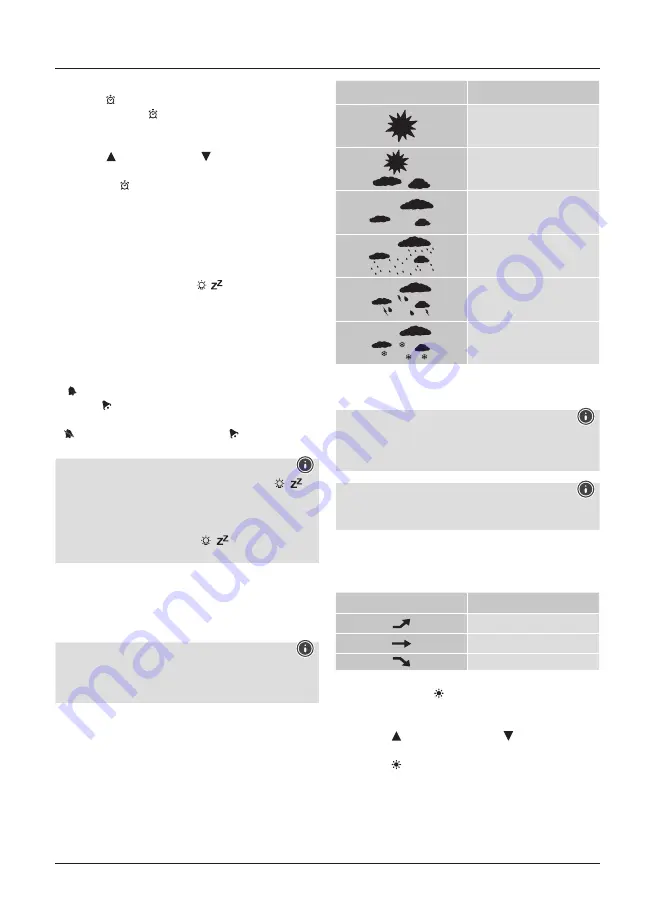
The weather station shows the trend of the weather for the
next 8 hours using the following weather symbols:
Symbol
Weather
Sunny
Slightly cloudy
Cloudy
Rainy
Very rainy
Snow
6.5 Temperature, humidity and atmospheric
pressure trends
Note
The trend displays are not available during the first few
hours of operation because they require data that is
collected during operation.
Note
All measurement values are subject to a certain amount
of measurement error.
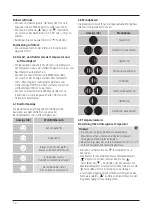
The weather station indicates a trend as to how the values
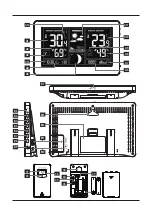
for the outdoor temperature/humidity (A1/A2), room
temperature/humidity (A10/A8) and atmospheric pressure
(A6) are likely to develop over the next few hours.
Display
Trend
Increasing
Constant
Decreasing
Unit of air pressure
•
Press and hold the “ ” button (B7) for approx. 3
seconds until the measurement unit of the air pressure
starts to flash.
•
Press the “ ” button (B4) and the “ ” button (B5) to
switch between the units “mb hPa” and “inHg”.
•
Press the “ ” button (B7) to confirm your selection.
Air pressure record
•
The air pressure recorded in the last 24 hours is displayed
(A7).
Содержание Premium 00186380
Страница 35: ...34 4 4 1 C7 10 B12 4 2...
Страница 36: ...35 2 AA 2 C7 2 AA 2 B12 5 6 50 5 1 B13 5 2 C8 B13 C8 6 B4 B5 6 1 3 A12 A1 A2 A8 A10 3 B5 DCF WLAN...
Страница 38: ...37 B3 3 B3 B4 B5 B3 20 B1 2 24 B9 B9 B1 5 B1 6 4 12 24 8 6 5 A1 A2 A10 A8 A6 B7 3 B4 B5 B7...
Страница 39: ...38 24 A7 6 6 MEM B8 MIN MAX MEM B8 3 6 7 A9 6 8 A5 A5 6 9 1 C 1 F B6 2 B4 B5 B6...
Страница 40: ...39 B6 3 ALERTS 3 B6 6 10 1 C 3 C 3 6 11 5 USB USB 11 USB 6 12 B1 15 7 8 Hama GmbH Co KG...
Страница 58: ...57 4 4 1 C7 B10 B12 AA 4 2...
Страница 59: ...58 2 2 AA 2 C7 2 AA 2 B12 5 6 50 m 1 25 m 4 5 1 B13 5 2 C8 B13 C8 6 B4 B5 6 1 3 A12 A1 A2 A8 A10 B5 3...
Страница 61: ...60 DCF CET 3 3 3 DCF GE EN FR IT SP DU DA C F B4 B3 B3 3 B4 B5 B3 20 B1 2 24 B9 B9 B1 5 T B1 6 4 12 24 8 6 5...
Страница 62: ...61 A1 A2 A10 A8 A6 B7 3 B4 B5 mb hPa inHg B7 24 A7 6 6 MEM B8 MIN MAX MEM B8 3 6 7 A9 6 8 A5 A5...
Страница 63: ...62 6 9 1 C 1 F B6 2 B4 B5 B6 B6 A3 ALERTS A3 B6 6 10 1 C 3 C A3 6 11 5 W USB B11 USB USB 6 12 B1 15 7...
Страница 128: ...127 AC 4 4 1 C7 10 12 AAA 4 2...
Страница 129: ...128 AA 2 7 AA AA 2 12 AA 5 6 50 1 25 4 5 1 B13 5 2 C8 B13 C8 6 B4 B5 6 1 3 12 A1 A2 A8 A10 B5 3...
Страница 131: ...130 GE EN FR IT SP DU DA B4 C F 3 3 3 4 5 3 20 1 2 24 Alarm B9 Alarm B9 1 5 1 6 4 12 24 8 6 5 A1 A2 A10 A8 A6...
Страница 132: ...131 B7 3 B4 B5 mb hPa inHg B7 24 A7 6 6 MEM 8 24 MIN MAX MEM 8 3 6 7 A9 6 8 5 A5 6 9 1 C 1 F 2 6 B4 B5 B6...
Страница 133: ...132 B6 A3 ALERTS A3 B6 6 10 1 C 3 C A3 6 11 5 W USB USB 11 USB 6 12 1 15 7 8...


