5
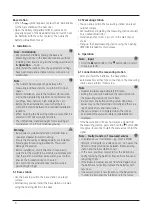
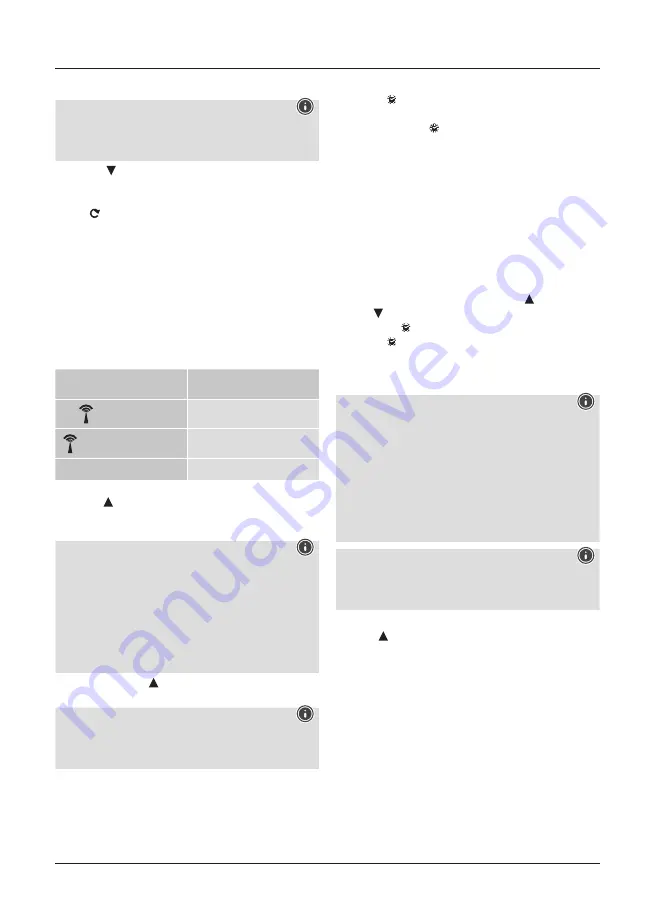
6.2 Selecting the channel/other measuring stations
Note
You can install two more measuring stations in addition
to the included measuring station. Ensure that the base
and measuring stations are set to the same channel.
•
Press the button (B5) repeatedly to set the channel to
that set on the respective measuring station. Channel 1,
2 or 3 is displayed.
•
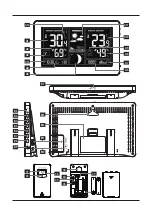
If the symbol is displayed, the weather station will
automatically switch the displayed channel every five
seconds.
6.3 Basic and manual settings
Automatic setting using the DCF signal
•
After the first time the base station is switched on and
successful transmission is established between the
base station and the measuring station, the clock will
automatically search for a DCF signal. During the search,
the wireless symbol (A13) will flash.
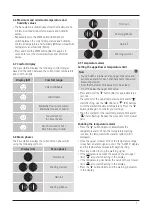
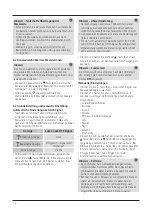
Display
Searching for the DCF
signal
Display flashing
Active
Displayed continuously
Successful – signal is being
received
No display
Inactive
•
If the station still does not receive a signal, press and
hold the button (B4) for approx. 3 seconds to start the
manual search for the DCF signal. The wireless symbol
(A13) will start to flash.
Note – Time settings
•
The search process takes about 7 minutes. If the search
fails, it ends and is repeated at the next clock hour.
•
In the meantime you can, however, set the time and the
date manually.
•
The clock automatically continues to search for the DCF
signal on a daily basis (between 1:00 a.m. and 5:00
a.m.). If the signal is received successfully, the manually
set time and date are overwritten.
•
Press and hold the button (B4) again for approx. 3
seconds to stop the manual search.
Note – Summer time
The clock automatically switches to summer time.
DTS
appears on the display as long as summer time is
activated.
(Manual) settings
•
Press the button (B2) to switch between display of the
date and seconds.
•
Press and hold the button (B2) for approx. 3 seconds
to make the following settings one after the other:
•
12/24-hour format
•
Time zone
•
Hour
•
Minute
•
Month and date display
•
Year
•
Month
•
Day
•
Language
•
Day of the week
•
To select the individual values, press the button (B4)
or the button (B5), and confirm each selection by
pressing the button (B2).
•
Press the button (B2) immediately to adopt the set
value displayed and skip ahead.
•
If you do not make an entry for 20 seconds, Settings
mode is exited automatically.
Note – Time zone
•
The DCF signal can be received over long distances,
but always transmits the current Central European
Time in Germany. Make sure you account for the time
difference in countries with another time zone.
•
If you are in Moscow, the time is 3 hours later than in
Germany. This means that you should set +3 for the
time zone. The clock then automatically sets the time
to 3 hours after the DCF signal received or relative to
the manually set time.
Note – Day of the week
You can choose from German (GE), English (EN), French
(FR), Italian (IT), Spanish (SP), Dutch (DU) and Danish
(DA) for the day of the week display.
Celsius / Fahrenheit
Press the button (B4) to switch between °C and °F for
the temperature display.
Содержание Premium 00186380
Страница 35: ...34 4 4 1 C7 10 B12 4 2...
Страница 36: ...35 2 AA 2 C7 2 AA 2 B12 5 6 50 5 1 B13 5 2 C8 B13 C8 6 B4 B5 6 1 3 A12 A1 A2 A8 A10 3 B5 DCF WLAN...
Страница 38: ...37 B3 3 B3 B4 B5 B3 20 B1 2 24 B9 B9 B1 5 B1 6 4 12 24 8 6 5 A1 A2 A10 A8 A6 B7 3 B4 B5 B7...
Страница 39: ...38 24 A7 6 6 MEM B8 MIN MAX MEM B8 3 6 7 A9 6 8 A5 A5 6 9 1 C 1 F B6 2 B4 B5 B6...
Страница 40: ...39 B6 3 ALERTS 3 B6 6 10 1 C 3 C 3 6 11 5 USB USB 11 USB 6 12 B1 15 7 8 Hama GmbH Co KG...
Страница 58: ...57 4 4 1 C7 B10 B12 AA 4 2...
Страница 59: ...58 2 2 AA 2 C7 2 AA 2 B12 5 6 50 m 1 25 m 4 5 1 B13 5 2 C8 B13 C8 6 B4 B5 6 1 3 A12 A1 A2 A8 A10 B5 3...
Страница 61: ...60 DCF CET 3 3 3 DCF GE EN FR IT SP DU DA C F B4 B3 B3 3 B4 B5 B3 20 B1 2 24 B9 B9 B1 5 T B1 6 4 12 24 8 6 5...
Страница 62: ...61 A1 A2 A10 A8 A6 B7 3 B4 B5 mb hPa inHg B7 24 A7 6 6 MEM B8 MIN MAX MEM B8 3 6 7 A9 6 8 A5 A5...
Страница 63: ...62 6 9 1 C 1 F B6 2 B4 B5 B6 B6 A3 ALERTS A3 B6 6 10 1 C 3 C A3 6 11 5 W USB B11 USB USB 6 12 B1 15 7...
Страница 128: ...127 AC 4 4 1 C7 10 12 AAA 4 2...
Страница 129: ...128 AA 2 7 AA AA 2 12 AA 5 6 50 1 25 4 5 1 B13 5 2 C8 B13 C8 6 B4 B5 6 1 3 12 A1 A2 A8 A10 B5 3...
Страница 131: ...130 GE EN FR IT SP DU DA B4 C F 3 3 3 4 5 3 20 1 2 24 Alarm B9 Alarm B9 1 5 1 6 4 12 24 8 6 5 A1 A2 A10 A8 A6...
Страница 132: ...131 B7 3 B4 B5 mb hPa inHg B7 24 A7 6 6 MEM 8 24 MIN MAX MEM 8 3 6 7 A9 6 8 5 A5 6 9 1 C 1 F 2 6 B4 B5 B6...
Страница 133: ...132 B6 A3 ALERTS A3 B6 6 10 1 C 3 C A3 6 11 5 W USB USB 11 USB 6 12 1 15 7 8...


