Operation
EN-15
Haier LED HDTV
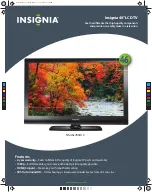
Date/Time
Auto
On
Date
2009/01/01
Time
11:54 AM
Timer
Off
On Time
11:54 AM
Off Time
12:00 AM
Select
Back
EXIT
Video
Audio
Channel
Lock
Function
CH+/-
VOL+/-
Auto:
Press
VOL+/-
button to select On or Off . When
Auto mode on , the time can not be adjusted. Select
Off , you can operate to set the time manually.
Date
: Press
VOL+/-
button to select the position and
digits button to set the date.
Time:
Press
VOL+/-
button to select the position and
digits button to set the time.
Timer:
Press
VOL+/-
button to select On or Off . To
select Off, the time can not be adjusted.
On Time/Off Time:
Press
VOL+/-
button to select
the position and digits button to set the time. Press
ENTER
button to switch on
AM
and
PM
.
Sleep Timer:
q
Press
VOL+/-
button to select the
number of minutes: To select Off, 5Min, 10Min,15Min,
30Min,45Min,60Min,90Min,120Min,180Min or 240Min.
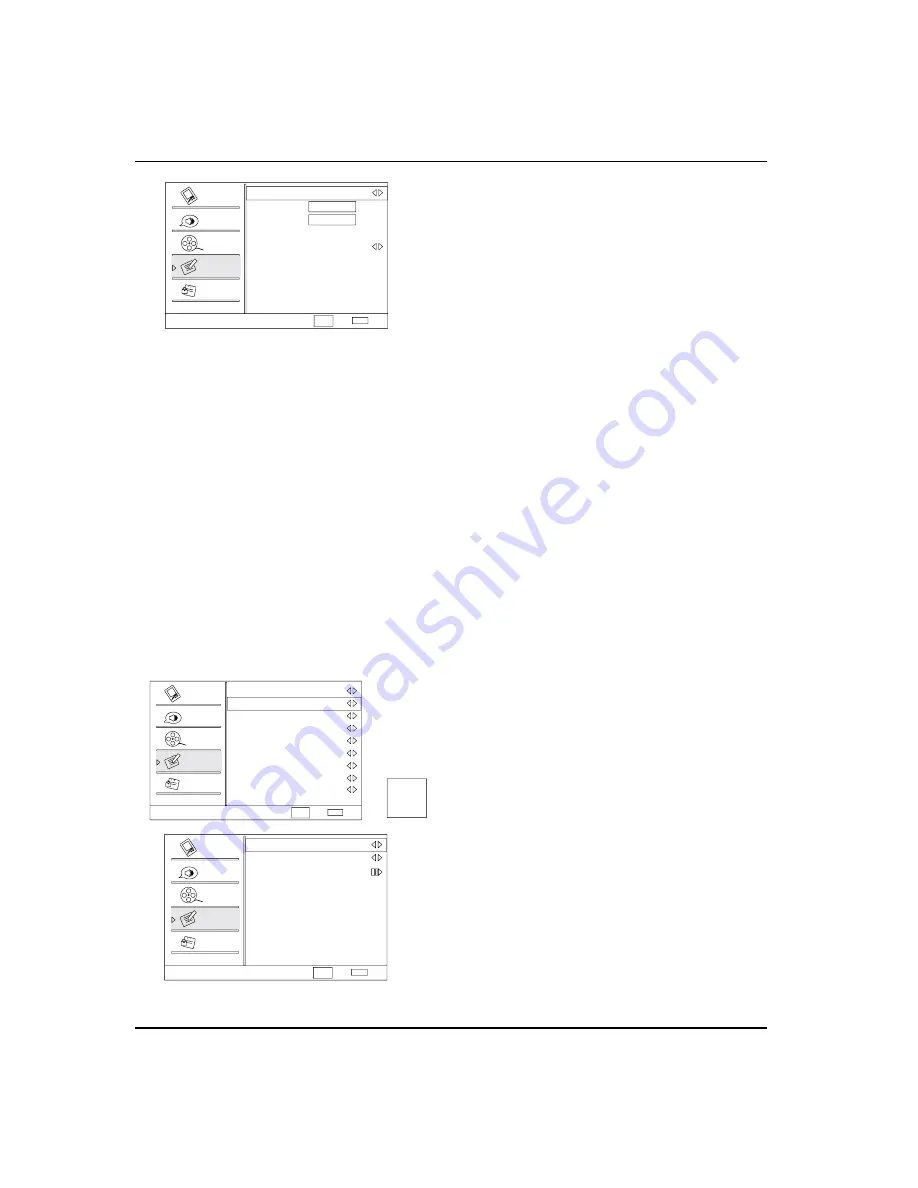
Closed Caption
Y
:Press
VOL+
/
ENTER
button to enter
the submenu.
Closed Caption
Analog Caption Off
Digital Closed Caption Off
Digital Caption Style
Select
Back
EXIT
Video
Audio
Channel
Lock
Function
CH+/-
VOL+/-
Analog Caption
q
: Press
VOL+/-
button to
select the Closed Caption options. It helps the
hearing impaired with the broadcast program,
as well as helping children learn how to read. A
built in decoder displays the audio portion of a
program as text on the screen when this option
is selected.
CC1: When CC1is displayed on TV means CC
mode is turned on.
CC2 to CC4: For other modes of video related
broadcast information.
Text1: For program guide and other information
displayed by broadcasters. (This blocks a large
portion of the picture on your screen).
Text2 to Text4 :For other modes of information
displayed by broadcasters. (This blocks a large
portion of the picture on your screen).
IMPORTANT:Closed captioning availability
entirely depends on broadcasters supplying the
signal. Therefore, closed captioning might not
always be available and language availability will
differ by broadcast.
Select CC1 for full translation of the primary
language such as English in your area. Select
CC2 for secondary language translation such
as French or any other language that may be
broadcast in your area.
Digital Closed Caption:
q
Press
VOL+/-
button
to select Service1/Service2/Service3/Service4/
Service5/Service6/Off.
Digital Caption Style:
q
Press
VOL+
/
ENTER
button to e
nter the submenu.
Caption Style: To display the digital closed caption by
head-end defined or user defined: As Broadcaster and
Custom.
Font Size :To adjust the font size: Large, Small or
Medium.
Font Style :To adjust the font style: Style1, Style2,
Style3,Style4, Style5, Style6 and Style7.
Font Color: To adjust the font color: White, Green, Blue,
Red, Cyan, Yellow, Magenta and Black.
Font Opacity: To adjust the font opacity: Solid,
Translucent and Transparent.
Background Color: To adjust the background color:
Black, White, Green, Blue, Red, Cyan, Yellow and
Magenta.
Background Opacity: To adjust the background
opacity: Solid, Translucent and Transparent.
Window Color
:
To adjust the window color: Black,
White, Green, Blue, Red, Cyan, Yellow and Magenta.
Window Opacity: To adjust the window opacity:
Translucent, Transparent or Solid.
DTV Caption Style
Caption Style
Font Size
Font Style
Font Color
Background Color
Background Opacity
Font Opacity
Window Color
Window Opacity
Select
Back
EXIT
Video
Audio
Channel
Lock
Function
Custom
Large
Style 1
White
Solid
Black
Solid
Black
Solid
ABC
CH+/-
VOL+/-