Operation
Haier LED HDTV
EN-14
Play
Fast forward
Pause
Fast reverse
3.Playback speed.1x,2x,4x,8x,16x,32x.
4.Playback position. The playback position is always at
the center of the time bar.
5.Time scale, which shows the scales of every half hour.
The text would move smoothly as the time go by. And
the time scale text could be cut-off if the text is on the
boundary.
Note
Time Shift function is only available in DTV
R
mode.
The maximum recording duration is determined
R
bduration time can be calculated by the formula.
The timeshift record only supports FAT32 file-
R
system.
The timeshift record supports more than 4GB
R
recording. That is, the timeshift data is stored in
multi-file to resolve the FAT32 4 GB limitations.
The recording buffer is a ring buffer. For ring buffer,
R
if the maximum recording duration is reached,
the oldest program would be discarded and keep
recording the latest program.
When changing channel or changing input source,
R
the timeshift would stop automatically.
Timeshift record will store the fact of no signal.
R
Timeshift record will store the video, audio and
R
data service. But because of the limited number of
PID filter in hardware, we only support:
Video streams: Max 1 stream
Audio streams: Max 8 streams
CC stream: No limited.
In recording, the data is not guaranteed to be
R
stored in the disk. If the timeshift playback plays
a corrupted data block, it would show “Data lost”
message to indicate that the current data is not
stored correctly
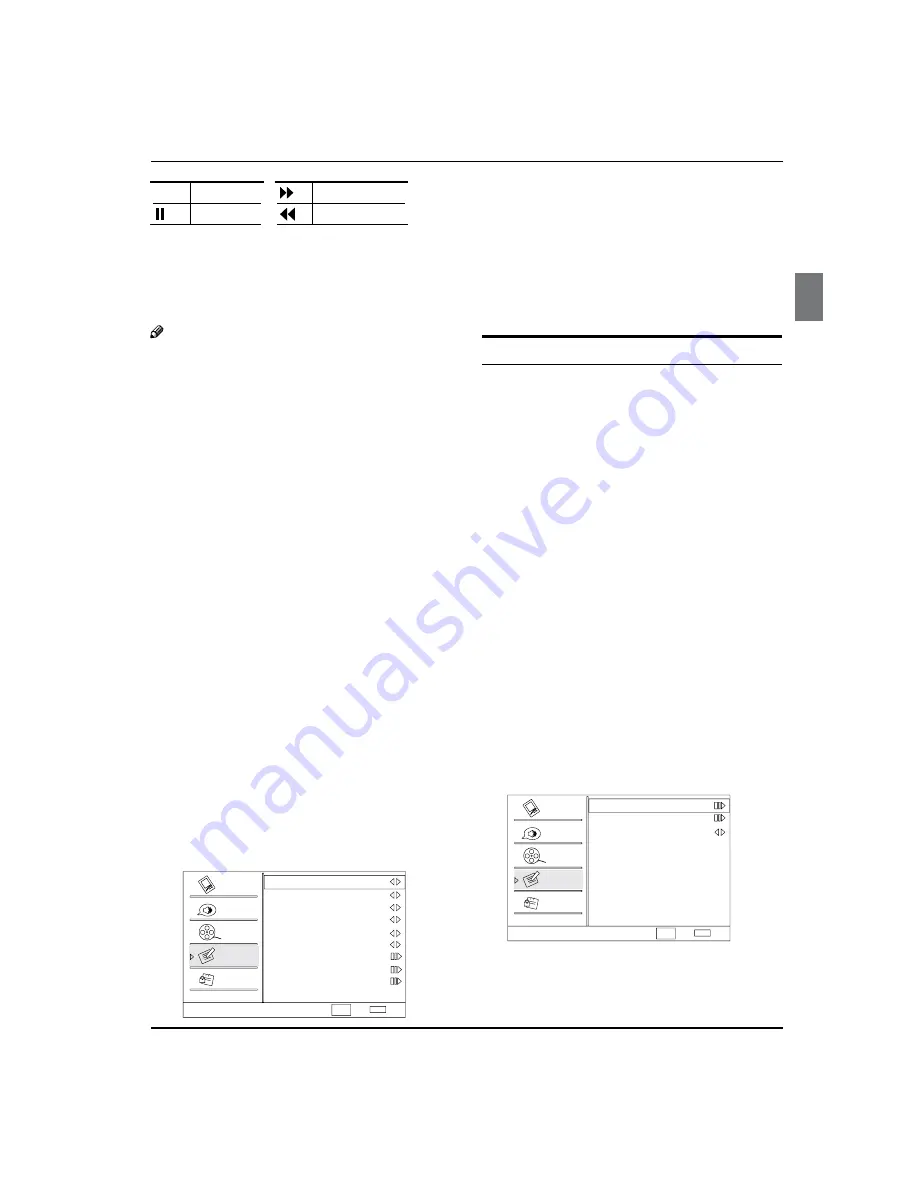
Function Menu Options
Press
A
MENU
button and
CH+/-
button until the
following menu appears on the screen.
Function
Language
English
OSD Timeout
Short
OSD Transparency
Middle
DCR On
Blue Screen
On
Time Setup
Closed Caption
Default
Select
CH+/-
VOL+/-
Back
EXIT
Video
Audio
Channel
Lock
Function
DPMS On
Press
B
VOL+
/
ENTER
button to enter the menu and
CH+/-
button to go up and down to select the
desired option.
Press
C
VOL+
/
ENTER
button to confirm and
VOL+/-
button increase and decrease the level to adjust the
selected option to your preference.
Repeat step 2 and step 3 until desired quality has
D
been achieved.
Function
Language
Y
:Press
VOL+/-
button to select language of
the OSD.
OSD Timeout
Y
: Press
VOL+/-
button to select
Middle
/Short
and
Long
to change thetime of the OSD
display.
OSD Transparency
Y
: Press
VOL+/-
button to select
among
Low/High
and
Middle
to change the
transparency of the OSD. To select Low, the OSD is
opacity.
DPMS
Y
: PC Power Management. To set On, the set
will be in standby mode automatically if no signal
in 2 minutes; if signal input , the set will be on again
automatically.
Blue Screen:
Y
Press
VOL+/-
button to select On, the
screen will be in blue after 3 seconds if there is no
signal.
DCR:
Y
Pr
ess
VOL+/-
button to select On or Off.
Time Setup:
Y
Press
VOL+
/
ENTER
button to enter the
submenu.
Time Zone:
q
Press
VOL+/-
button to select the
appropriate time zone.
Time Setup
Time Zone
Date/Time
Sleep Timer
Off
Select
Back
EXIT
Video
Audio
Channel
Lock
Function
CH+/-
VOL+/-
Date/Time:
q
Press
VOL+
/
ENTER
button to enter
the submenu.