Manutenzione
20
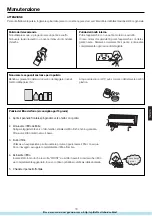
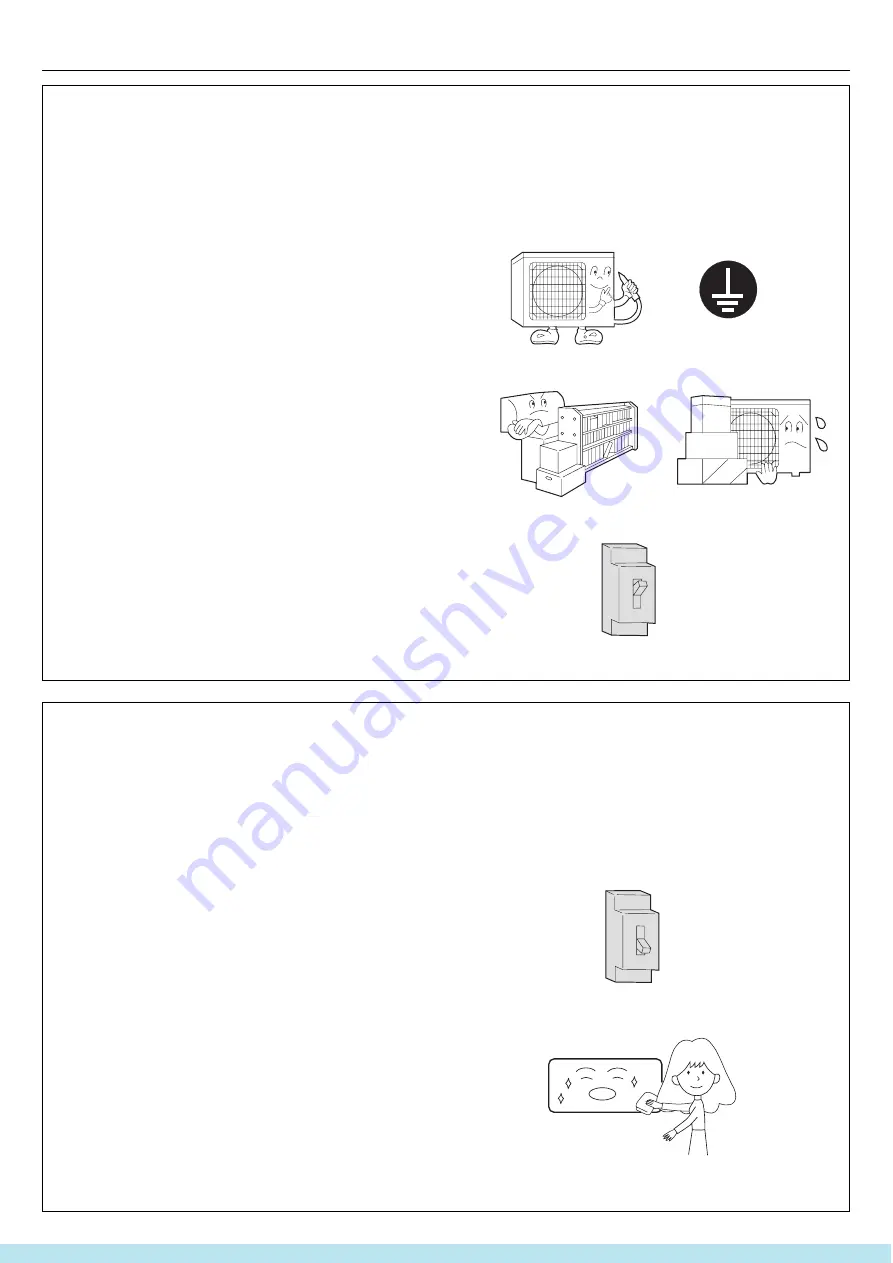
A inizio stagione
1. Pulire i filtri dell'aria
Se il climatizzatore viene fatto funzionare senza filtri dell'aria, ciò potrebbe causare anomalie. Accertarsi di inserire entrambi i
filtri destro e sinistro (di forma diversa) prima di avviare il climatizzatore.
2. Collegare il cavo di messa a terra
ATTENZIONE
Una messa a terra incompleta può causare scosse elettriche.
3. Rimuovere eventuali ostacoli davanti alle griglie
di aspirazione e di uscita
4. Dare tensione con l’apposito interruttore a monte
dell’impianto (non fornito)
MESSA A TERRA
ON
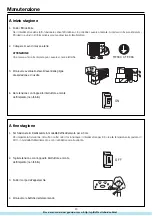
A fine stagione
1. Far funzionare il climatizzatore in modalità Raffreddamento per 2-3 ore
Per impedire la formazione di muffe o cattivi odori, far funzionare il climatizzatore per 2-3 ore alla temperatura impostata di
30°C, in modalità Raffreddamento e con il ventilatore ad alta velocità.
2. Togliere tensione con l’apposito interruttore a monte
dell’impianto (non fornito)
3. Pulire il corpo dell'apparecchio
4. Rimuovere le batterie dal telecomando
OFF
Все каталоги и инструкции здесь:
http
:
//splitoff.ru/tehn-doc.html
Содержание AS072XVERA
Страница 6: ...Все каталоги и инструкции здесь http splitoff ru tehn doc html ...
Страница 7: ...Все каталоги и инструкции здесь http splitoff ru tehn doc html ...
Страница 8: ...Все каталоги и инструкции здесь http splitoff ru tehn doc html ...
Страница 9: ...Все каталоги и инструкции здесь http splitoff ru tehn doc html ...
Страница 10: ...Все каталоги и инструкции здесь http splitoff ru tehn doc html ...
Страница 11: ...Все каталоги и инструкции здесь http splitoff ru tehn doc html ...
Страница 12: ...Все каталоги и инструкции здесь http splitoff ru tehn doc html ...
Страница 13: ...Все каталоги и инструкции здесь http splitoff ru tehn doc html ...
Страница 14: ...Все каталоги и инструкции здесь http splitoff ru tehn doc html ...
Страница 15: ...Все каталоги и инструкции здесь http splitoff ru tehn doc html ...
Страница 16: ...Все каталоги и инструкции здесь http splitoff ru tehn doc html ...
Страница 17: ...Все каталоги и инструкции здесь http splitoff ru tehn doc html ...
Страница 18: ...Все каталоги и инструкции здесь http splitoff ru tehn doc html ...
Страница 19: ...Все каталоги и инструкции здесь http splitoff ru tehn doc html ...
Страница 20: ...Все каталоги и инструкции здесь http splitoff ru tehn doc html ...
Страница 21: ...Все каталоги и инструкции здесь http splitoff ru tehn doc html ...
Страница 22: ...Все каталоги и инструкции здесь http splitoff ru tehn doc html ...
Страница 23: ...Все каталоги и инструкции здесь http splitoff ru tehn doc html ...
Страница 24: ...Все каталоги и инструкции здесь http splitoff ru tehn doc html ...
Страница 25: ...Все каталоги и инструкции здесь http splitoff ru tehn doc html ...
Страница 26: ...Все каталоги и инструкции здесь http splitoff ru tehn doc html ...
Страница 27: ...Все каталоги и инструкции здесь http splitoff ru tehn doc html ...
Страница 28: ...Все каталоги и инструкции здесь http splitoff ru tehn doc html ...
Страница 29: ...Все каталоги и инструкции здесь http splitoff ru tehn doc html ...
Страница 30: ...Все каталоги и инструкции здесь http splitoff ru tehn doc html ...
Страница 31: ...Все каталоги и инструкции здесь http splitoff ru tehn doc html ...
Страница 32: ...Все каталоги и инструкции здесь http splitoff ru tehn doc html ...
Страница 33: ...Все каталоги и инструкции здесь http splitoff ru tehn doc html ...
Страница 34: ...Все каталоги и инструкции здесь http splitoff ru tehn doc html ...
Страница 35: ...Все каталоги и инструкции здесь http splitoff ru tehn doc html ...
Страница 36: ...Все каталоги и инструкции здесь http splitoff ru tehn doc html ...
Страница 37: ...Все каталоги и инструкции здесь http splitoff ru tehn doc html ...
Страница 38: ...Все каталоги и инструкции здесь http splitoff ru tehn doc html ...
Страница 39: ...Все каталоги и инструкции здесь http splitoff ru tehn doc html ...

