INSTALLATION
PAGE 33
ENGLISH
SE
C
TION E
NOTE: The display backlight must be illumi-
nated before proceeding. To turn the back-
light on, press any key (MODE, FAN,
pq
,
TIME, or SET) located at the bottom of the
display, or press the ON/OFF key located at
the top of the display.
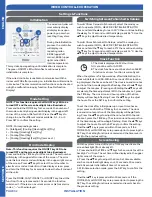
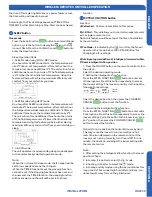
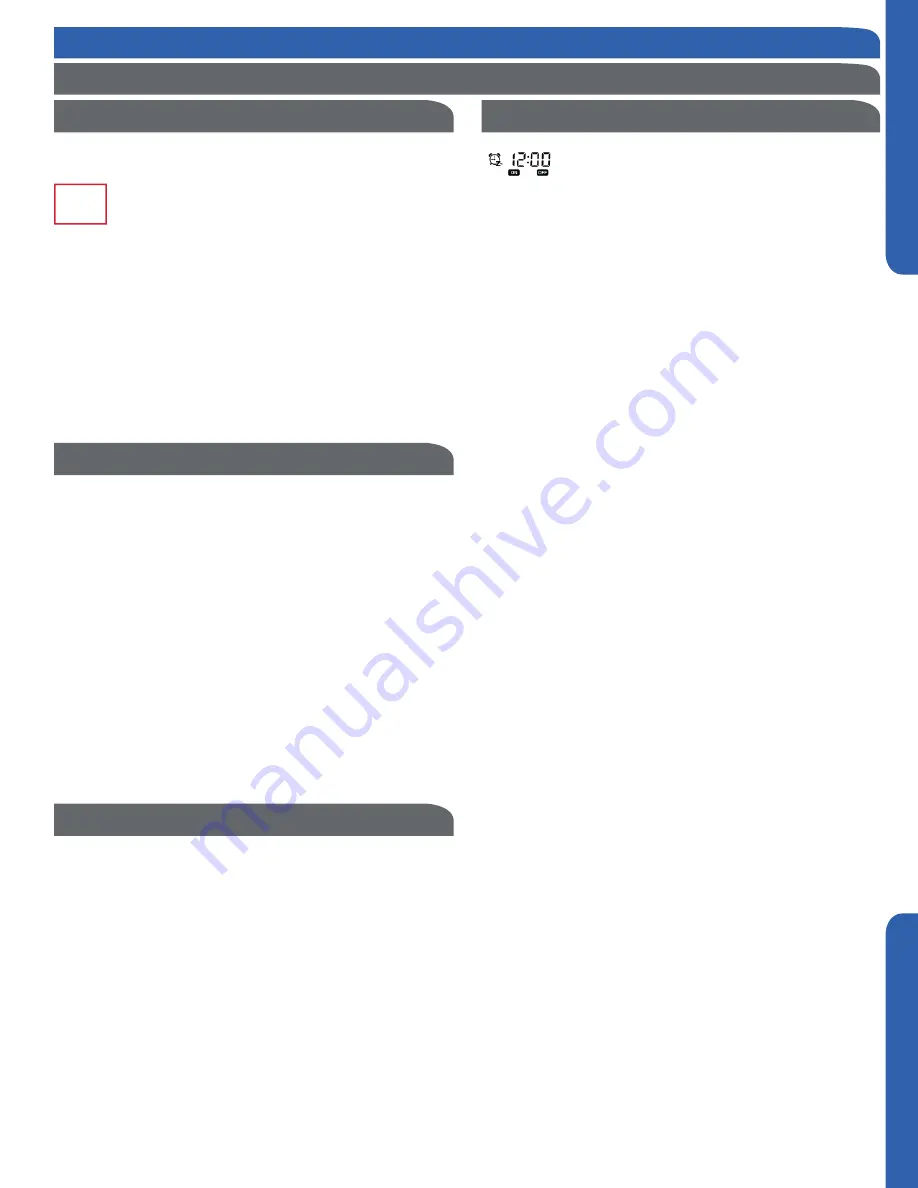
Timer ON
Press the TIMER key once, the ON timer icon will appear in the
upper right corner of the screen. The ON icon and hour posi-
tion are flashing. Press the
pq
keys to set the hour. Press
the TIMER key again, the ON icon and minutes position are
now flashing. Press the
pq
keys to set the minutes. Press the
SET key to confirm the setting.
Timer OFF
Press the TIMER key 3 times, the OFF timer icon will appear in
the upper right corner of the screen. The OFF icon and hour
position are flashing. Press the
pq
keys to set the hour.
Press the TIMER key again, the OFF icon and minutes position
are now flashing. Press the
pq
keys to set the minutes. Press
the SET key to confirm the setting.
Timer ON/OFF
Press the TIMER key 5 times, the ON/OFF timer icon will ap-
pear in the upper right corner of the screen. The ON icon and
hour position are flashing. Press the
pq
keys to set the hour.
Press the TIMER key again, the ON icon and minutes position
are now flashing. Press the
pq
keys to set the minutes. Press
the TIMER key again, the OFF icon and hour position are now
flashing. Press the
pq
keys to set the hour. Press the TIMER
key again, the OFF icon and minutes position are now flashing.
Press the
pq
keys to set the minutes. Press the SET key to
confirm the setting. Based on the times set, the indoor unit
will determine which event happens first (ON-OFF or OFF-
ON) and adjusts the arrow direction accordingly.
If neither
pq
key is pressed within 10 seconds, or if the
MODE, FAN, or ON/OFF keys are pressed prior to pressing the
SET key, the setting function is canceled and reverts back to
the previous setting.
Timer Cancel
Press the TIME key up to 9 times to cycle through the timer
settings. When the timer icon disappears, the timer function is
canceled.
Note: An active timer function will remain displayed on screen
until the set time has been reached and command completed.
Timer Function Setting
WIRED CONTROLLER OPERATION
Settings & Functions
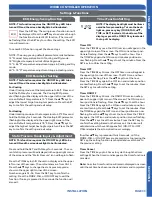
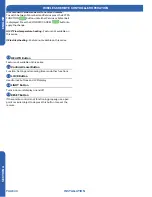
Press the SET key. The swing louver function icon will
be displayed. Press the
pq
keys to advance through
the functions to select ECO function. (The icon will
be flashing) Press the SET key to confirm the setting. The ECO
icon will remain on.
To cancel ECO function, repeat the above steps.
NOTE: The energy saving default parameters are listed below:
74°F Lowest temperature limit of Cooling and Dry mode.
78°F Highest temperature limit of Heating mode.
74°F – 86°F Temperature adjustment range in Cooling and Dry
mode.
60°F – 78°F Temperature adjustment range in Heating mode.
ECO
For Cooling
Under Cooling mode, set the temperature to 86°F. Press and
hold the FAN key for 5 seconds. The Cooling ECO param-
eter (flashing) will be displayed in the upper left corner of the
screen. Default temperature is 74°F. Press the
pq
keys to
adjust the lowest target cooling temperature. Press the SET
key to confirm the setting and exit setup.
For Heating
Under Heating mode, set the temperature to 60°F. Press and
hold the FAN key for 5 seconds. The Heating ECO parameter
(flashing) will be displayed in the upper right corner of the
screen. Default temperature is 78°F. Press the
pq
keys to
adjust the highest target heating temperature. Press the SET
key to confirm the setting and exit setup.
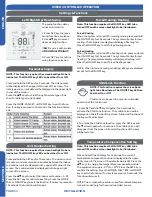
Press and hold the SET and FAN keys for 5 seconds. The cur-
rent static pressure will be displayed in the upper right corner
of the screen and the “Static Pressure” icon will begin to flash.
Press the TIME key to shift the unit no. displayed in the upper
left corner of the screen. The unit numbers are from 00-15.
Press the
pq
keys to change the static pressure grade,
shown in the upper right corner of the screen.
Number range is 01-04. Press the SET key to confirm the
setting. Press the MODE, FAN, or ON/OFF key to exit the
function. If no key is pressed in 10 seconds, the function will
also exit.
NOTE: This function requires the ON/OFF key LED to be
turned ON and the screen backlight to be illuminated.
NOTE: This function requires the ON/OFF key LED to be
turned ON and the screen backlight to be illuminated.
NOTE: This function requires the ON/OFF key LED to be
turned ON and the screen backlight to be illuminated.
ECO Energy Saving Function
ECO Parameter Setting
Static Pressure Grade Inquiry & Adjustment
Содержание 1U12LC2VHA
Страница 6: ... This page intentionally left blank ...
Страница 12: ... This page intentionally left blank ...
Страница 16: ... This page intentionally left blank ...
Страница 36: ... This page intentionally left blank ...
Страница 41: ... This page intentionally left blank ...


