732.28.424
HDE 26.07.21
1/12
en
Connect Mesh 4-Channel InterfaceVers
i
on 2.0
Страница 1: ...732 28 424 HDE 26 07 21 1 12 en Connect Mesh 4 Channel Interface Version 2 0 ...
Страница 2: ...732 28 424 HDE 26 07 21 2 12 en 1 Change history Version Date Changes 1 0 06 2020 Initial Documentation 2 0 05 2021 Added New functions ...
Страница 3: ... Mode_______________________________________________________________________________________________________6 3 1 Standalone Mode with 4 Channel Interface as Provisioner ____________________________________________________________________6 3 1 1 4 Channel Interface Standalone Mode with Monochrome Lights _____________________________________________________________6 3 1 2 4 Channel Interface Standa...
Страница 4: ... identify that the mesh Interface is ready Afterwards it can be provisioned as described within the Connect Mesh App After its initial provisioning the device will go to sleep 5 seconds after the last button interaction and wakes up by the next interaction 2 3 Switching a group The Connect Mesh 4 Channel Interface can be provisioned in the Connect Mesh App After provisioning you can start coniguri...
Страница 5: ...Update Modus 3 The Mesh device will be displayed Select Mesh device to start the Firmware Update 2 6 Reset Option 1 Reset via App If the Mesh device is provisioned and the reset can be done by 1 Click on Mesh device and click on edit icon and scroll down to the bottom of the page 2 You can ind the Delete Device icon 3 Click on this icon and select Reset option to reset the mesh device Option 2 Man...
Страница 6: ...e search for mesh boxes by pressing the two upper buttons for 4 seconds The led will start blinking slowly 2 Find and conigure Mesh Box When the led starts to blink fast a mesh device is found and will get conigured 3 To stop searching for other mesh boxes press any button of the switch To start searching again continue with step 1 The buttons of the switch will control the mesh box in the followi...
Страница 7: ...again continue with step 1 The buttons of the switch will control the mesh box in the following way First button MW Light connected to port 1 and 2 Second button MW Light connected to port 3 and 4 Third button MW Light connected to port 5 and 6 Forth button All lights connected Controls are Single tap On Of Long press Dim up down Tap and long press Temperature up down Group 3 ON OFF Single Click D...
Страница 8: ...ue with step 1 The buttons of the switch will control the mesh box in the following way Control RGB Light 1 connected to port 1 2 and 3 Controlled by irst and third button Control RGB Light 2 connected to port 4 5 and 6 Controlled by second and fourth button Upper button Single tap On Of Long press Dim up down Tap and long press Saturation up down Lower button Long press Change Color Group 1 RGB C...
Страница 9: ...e Multi White or RGB Lights as described in section 3 2 of the Remote Control technical documentation Provisioning the 4 Channel Interface using the Standalone Mode of the Remote Control will provision the 4 Channel Interface with the following described functions The 4 Channel Interface behaves as group 7 on the Remote Control Group 7 Scene A Scene B Scene C image 6 Button Group or Scene Action U...
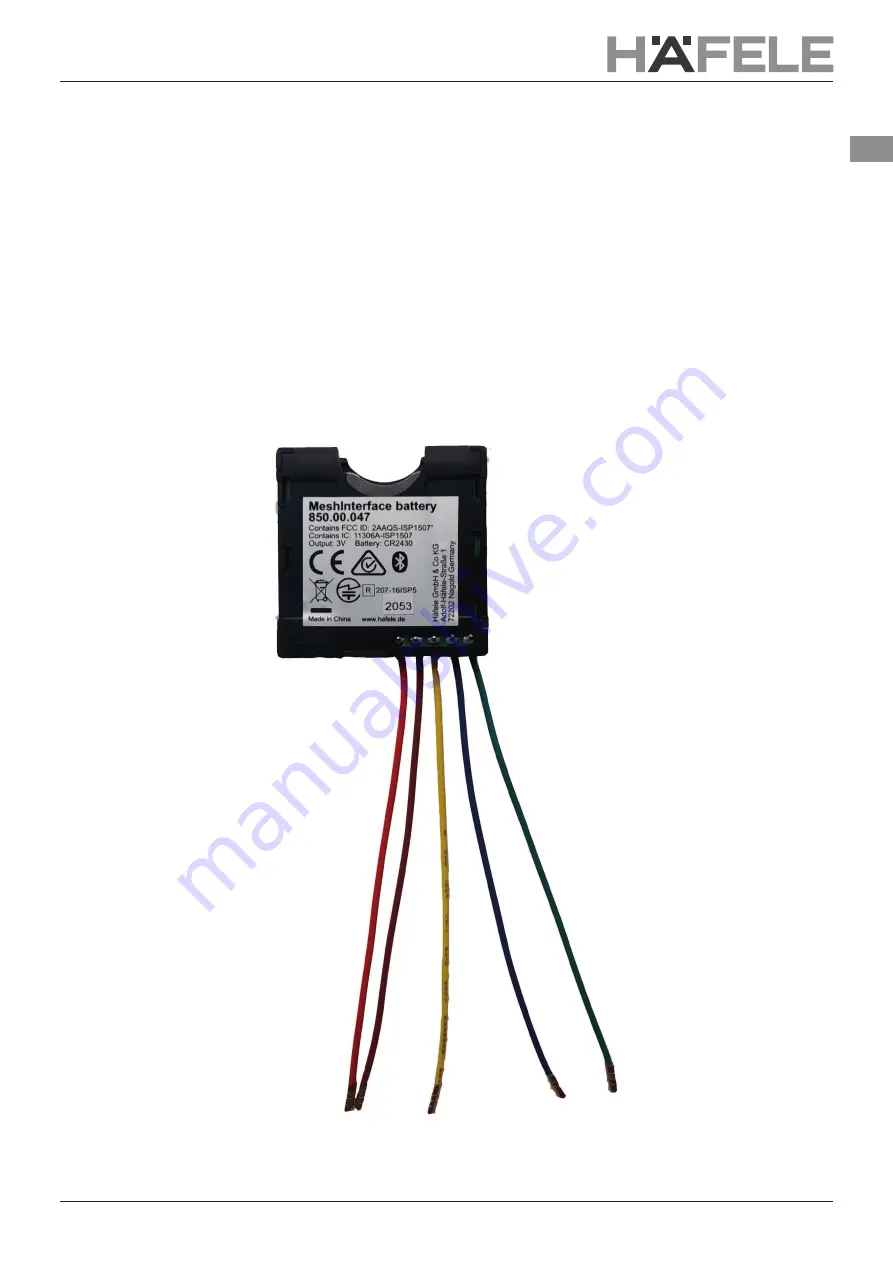
Страница 10: ...ep by step procedure to install a Connect Mesh 4 Channel Interface with a GIRA Switch In this case we used GIRA 014700 4 way push switch as an example You can also use any similar type of 4 way push switch 1 Power Supply Connect the Red wire in the GIRA Switch power supply slot as illustrated in image 8 2 Bridge Wire The Black wire is used as Bridge between the two sides of the GIRA switch One sid...
Страница 11: ...rminal of Channel 1 Connect the Green wire in the 3rd slot of the GIRA Switch Top Side as shown in image 10 image 10 4 Channel 2 Blue Wire is negative terminal of Channel 2 Connect the Blue wire in the 1st slot of the GIRA Switch Top Side as presented in image 11 image 11 ...
Страница 12: ...ttom Side as demonstrated in image 12 image 12 6 Channel 4 Brown Wire is negative terminal of Channel 4 Connect the brown wire in the 3rd slot of the GIRA Switch Bottom Side as shown in image 13 image 13 5 List of Compatible Switches S No Manufacturer Model Number EAN 1 GIRA 014700 4010337147008 2 JUNG 532 4U 4011377021044 3 Berker 503404 4011334255994 Apart from this list of compatible Switches y...