Model G0952 (Mfd. Since 09/21)
-19-
Installing/Changing
Belt
The grinding belt should be changed whenever
there is a noticeable change in grinding quality/
performance. You may also need to change grit
sizes for quick material removal or finer finishes.
Required Belt Size ................................3" x 79"
Items Needed
Qty
Belt Access Door Key........................................ 1
Replacement Belt .............................................. 1
To install/change belt:
1. DISCONNECT MACHINE FROM POWER!
2. Use key to unlock and open belt access door.
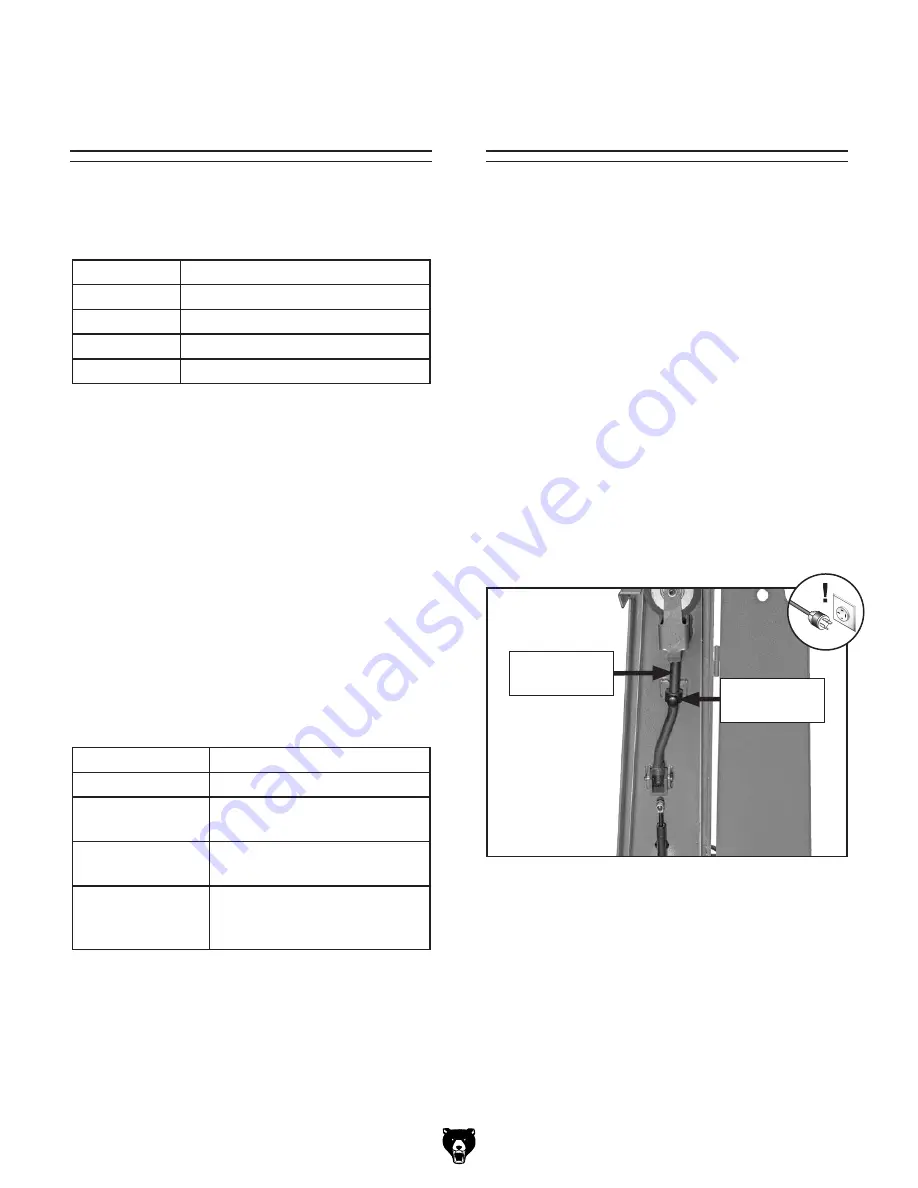
3. Turn belt tension lock knob counterclockwise
to loosen lock collar and release belt tension
lever (see
Figure 12).
Figure 12. Location of belt tension lock knob
and belt tension lever.
Belt Tension
Lever
Belt Tension
Lock Knob
This machine uses a 3" x 79" belt. Below is a
chart that groups abrasives into different classes,
and shows which grits fall into each class.
The general rule of thumb is to grind a workpiece
with progressively higher grit numbers. Avoid
skipping grits; the larger the grit increase, the
harder it will be to remove the scratches from the
previous grit.
Ultimately, the type of metal you use and your
stage of finish will determine the best grit types to
install on your grinder.
Belts are also made with different materials, and
your workpiece and intended operation will deter-
mine which belt material will produce the best
results for you. The chart below illustrates some
common belt materials and the situations that
they are most effective.
Grit
Class
36
Extra Coarse
60
Coarse
80–100
Medium
120–180
Fine
Choosing
Grinding Belts
Belt Material
Operation
Aluminum Oxide Finishing. Ferrous metals.
Zirconia Alumina Finishing; wet or dry grinding.
Ferrous metals, some steels.
Ceramic
Aggressive grinding; deburr-
ing. Heat-sensitive metals.
Silicon Carbide
Cutting; stock removal; wet
or dry grinding. Cast iron,
steel, non-ferrous metals.
Содержание G0952
Страница 36: ......


