❏
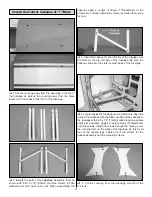
4. Side the cowl over the engine. Remove the muffler,
needle valve, etc. if they prevent the cowl from sliding over
the engine. Install the cowl tool onto the prop shaft. Tighten
the prop nut and washer against the cowl tool. When
properly installed, the cowl tool will rest tightly against the
drive washer.
❏
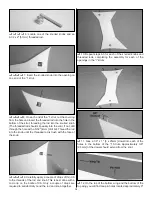
5. Press the cowl tightly against the cowl tool. Align the
paint lines of the cowl with the covering on the fuselage.
Starting with the top right cowl block, measure forward on
the line you have drawn 3" [76mm] and mark the cowl. On
the mark drill a 3/32" [2.4mm] hole through the cowl and the
mounting block. Insert a #4 x 1/2" [13mm] screw into the
hole. Continue this for all five mounting blocks.
❏
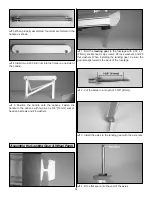
6. Remove each of the screws; apply a couple of drops
of thin CA into each of the holes in the cowl mounting block
to harden the threads.
❏
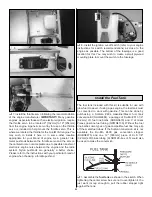
7. Cut the cowl as needed to allow clearance for the muffler
and needle valve, access to the glow plug, etc. When you have
completed this, mount the cowl with five 1/2" [13mm] screws and
five #4 flat washers. As you can see here, the cowl tool has
provided the proper spacing for the spinner.
❏
1. Glue two 1/4" x 3/8" x 2-1/2" [6 x 9.5 x 64mm] hardwood
sticks onto the inside of the fuselage formers.
❏
2. Drill a 1/16" [1.6mm] hole through the corners of the
tray and into the hardwood stick. Use four #2 x 3/8" [9.5mm]
screws and #2 flat washers to mount the tray to the sticks.
Install the Receiver, Battery & Complete
the Aileron Connections
25
Содержание ultimate!
Страница 33: ...33 Fuji IMVAC BT 43 EIS Engine Mounting Template O S 1 60 Engine Mounting Template...
Страница 34: ...34...

