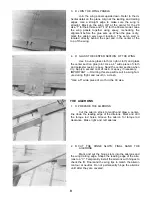
7. D DRILL 1/4" DOWEL HOLES THROUGH THE
DOWEL JIG HOLES INTO BULKHEAD #2; GLUE
DOWELS INTO THE WING
Use the holes in the dowel jig as a guide and drill
1/4" holes into bulkhead #2. Remove the dowel jig and now
permanently install this jig with epoxy using the drilled
holes to align the jig in the exact position. Glue the dowels
into the wing with epoxy. A little less than 1/2" of the
dowels should extend beyond the leading edge of the
wing. Put the wing on the fuselage and check your work.
The wing should be aligned correctly.
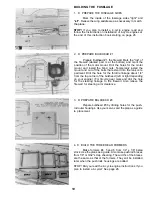
8. D INSTALL THE REAR WING BOLTS
With the wing aligned to the fuselage, drill 5/32 pilot
holes (at a slight angle so the bolt head will rest flat on the
center trailing edge piece) for 10-32 bolts through the
center trailing edge piece and rear hold down in the
fuselage. Remove the wing. Redrill the wing with a 13/64"
drill for 10-32 bolt clearance. Tap the holes in the fuselage
hold down for 10-32 bolts with a 10-32 tap. Bolt the wing to
the fuselage to check your work.
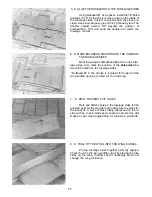
9. D SAND THE WING FAIRINGS TO SHAPE; GLUE
FAIRINGS TO WING
Refer to steps 3 and 4 under 40 and 60 wing mount-
ing instructions on page 21.
10. D FINISH COCKPIT AREA; FUEL PROOF FUSE;
FINAL SAND MODEL
Finish the cockpit area any way you wish. You
may want to add a pilot, paint the cockpit area and/or add
an instrument panel. Fuelproof the engine compartment
by coating all the balsa and ply parts with resin or epoxy.
Now final sand the entire model.
NOTE: You can cover your Sportster now, but waiting until
later after the radio and other equipment is installed will
save dents and damage to your finished model. Plus you
may find that additional carving, gluing or sanding is
necessary before covering.
23
Содержание Super Sportster 20
Страница 33: ...33...
Страница 34: ...34...
Страница 35: ...35...
Страница 36: ...36...
Страница 37: ...37...
Страница 41: ...Use trim MonoKote and these letters to create your trim scheme on your Sportster 41...
Страница 43: ...PUSHROD LINKAGES 43...

