❏
1. The set screws on the wheel collars should be
secured with liquid thread-locking compound. On the 60
floats, it is recommended that a small flat spot be filed on
each strut where the set screw locks.
❏
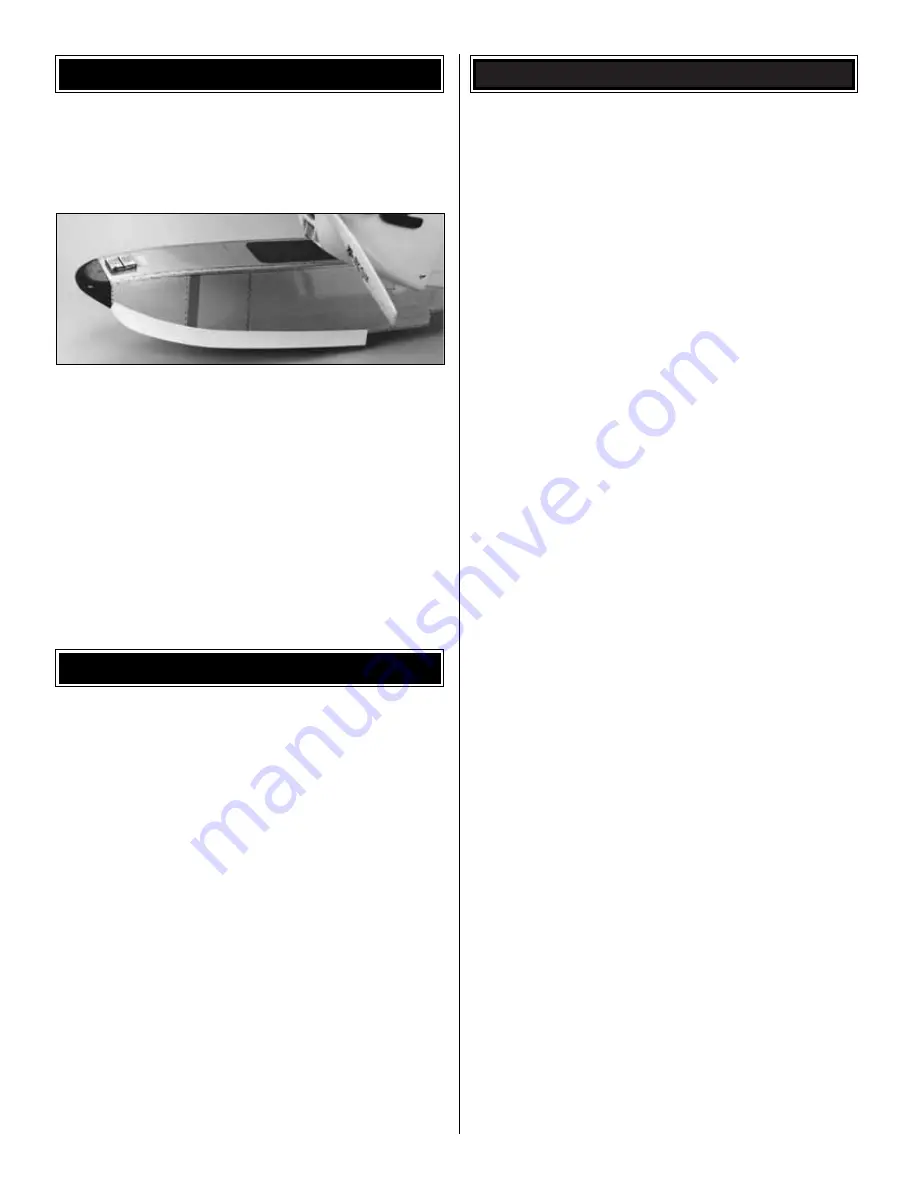
2. Plastic “splash strips” that protrude below each inner
float side by 1/2" may be added if too much water gets
splashed up onto the propeller – you'll be surprised at the
damage water can do to the propeller. This is highly
recommended for the 20 floats and can be fastened directly
to the covering with double-sided foam tape or Pacer brand
ZAP-A-DAP-A-GOO cement. A template is provided in the
middle of the manual for the float splash strips. They may
be cut from .06" ABS, styrene or other plastic sheet.
Salt water flyers should pay special attention
to these instructions.
❏
1. Where possible, seal pushrod exits and the receiver
switch or other openings with petroleum jelly or similar.
❏
2. Seal screw holes with clear RTV silicone. This
includes screws on the floats that hold on the water rudder,
strut mount bearings, and hump straps, as well as the
screw holes that hold the straps on the fuselage, etc.
❏
3. Lightly oil the moving parts of the rudder and the
cable inside the outer pushrod tube.
❏
4. Make sure you have a good seal between the wing
and the fuselage. If not, make a “gasket” out of RTV
silicone or foam wing tape.
❏
5. Enclose the receiver and battery in plastic bags, then
wrap with rubber bands.
Before setting the model in the water, be sure the water
rudder on the float is extended. A reliable, slow idle is a
must – unless you can swim well! First flight attempts with
floats should be reserved for relatively calm days when the
water is not so choppy. Practice taxiing around in the water
to learn the handling characteristics and see if you have
built in enough throw on the water r udder. Make
adjustments if required. During taxiing, hold “up” elevator to
keep the nose of the airplane high and the propeller out of
the water. Always takeoff into the wind. Gently add throttle
and gradually release some of the up elevator as the speed
increases. Just like the model takes off the ground, when it
has enough speed it will lift into the air – don't force it off.
Continue a gradual, conservative climbout until you are at
an altitude where you are comfor table making the
downwind turn.
Learn the flight characteristics of the model with the added
weight and drag of the floats. A model that was not
marginal on power to begin with will do fine – you'll
probably be surprised. Our Cub 60 with the O.S. 91
Surpass while not overpowered, does have plenty of
reserve and is perfectly capable of loops, rolls, stall turns
and inverted flight with the Sport Floats.
Landing approach is the same on water as it is on land.
Touch down slow to avoid bouncing the airplane off the
water back into the air. “Crabbing” is a great technique used
to bleed off airspeed during approach of “floater” models like
a Cub. This is done by applying a balance of rudder and
opposite aileron to make the airplane fly “sideways.” The
path of the model is “down the runway” while the nose is
pointing off to one side. Just before the floats contact the
water, release the rudder and opposite aileron.
Although it is difficult to do, the model can contact the water at
such an angle as to allow the tips of the floats to “catch,” thus
flipping the model immediately. Avoid letting the floats contact
the water at anything but a level or slightly positive attitude.
Be considerate to others at the lake and
enjoy your Great Planes Sport Floats!
FLYING
WATERPROOFING
BEFORE GOING TO THE LAKE
Содержание Sport Floats
Страница 4: ...4 DIE CUT PATTERNS 60 SIZE...
Страница 5: ...5 DIE CUT PATTERNS 20 SIZE 40 SIZE...
Страница 21: ......


