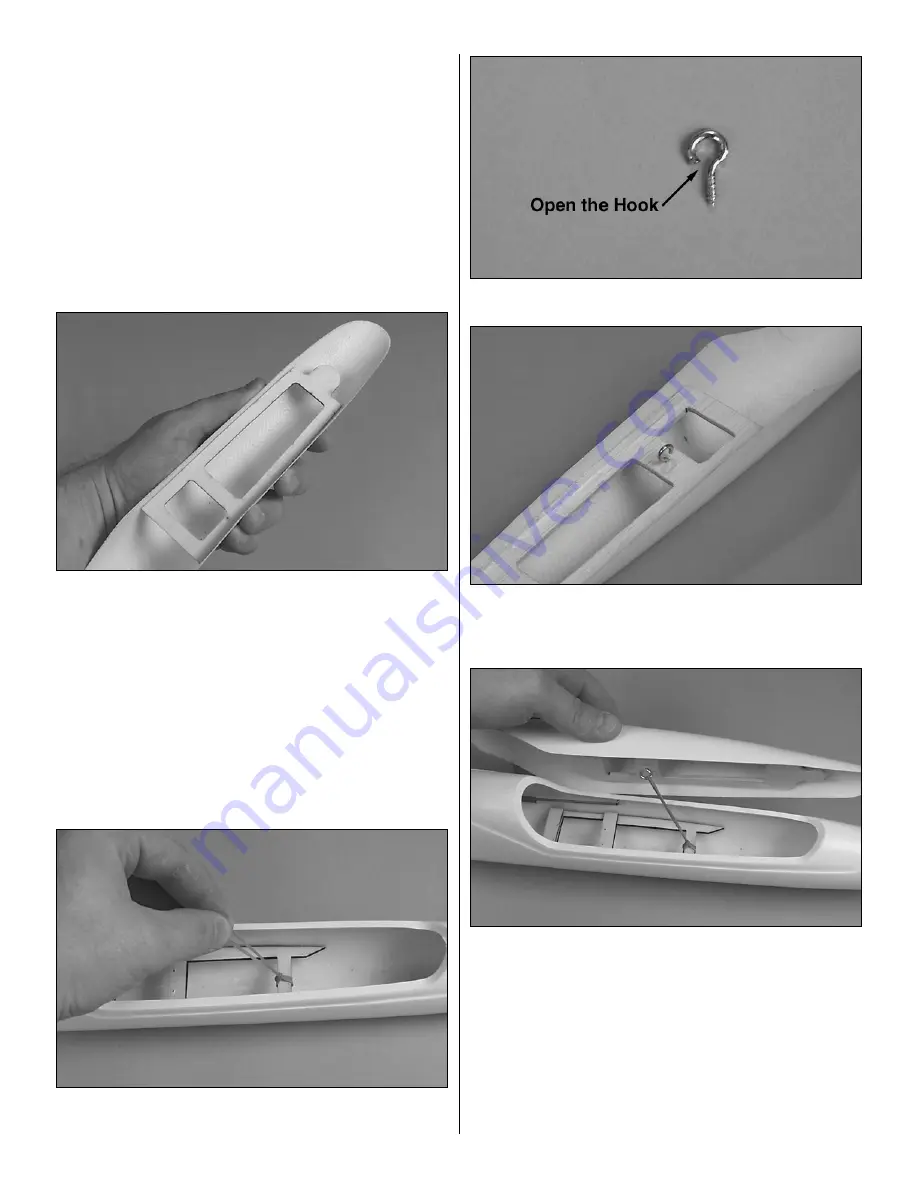
❏
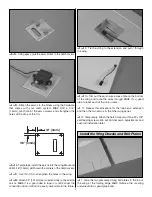
3. Using sandpaper, rough up the inside of the canopy where
the canopy frame will be glued. Clean with isopropyl alcohol.
❏
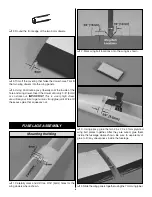
4. Place the canopy in position on the fuselage. Carefully
grip the sides and remove the canopy WITH the plywood
frame. Practice this several times until you are confident you
can pick up the assembly without it moving.
❏
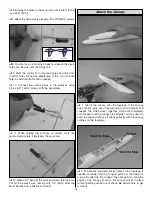
5. Being careful not to move the canopy frame, tack glue
the frame to the canopy with thin or medium CA. Recheck
the fit onto the fuselage. Adjust its position as needed for a
good fit.
❏
6. Once satisfied with the fit, use epoxy to glue the frame
to the canopy.
❏
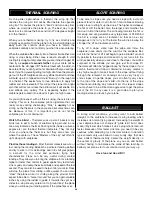
7. Attach a small rubber band around the servo tray
frame as shown.
❏
8. Use pliers to bend the eyelet as shown.
❏
9. Attach the eyelet to the canopy frame. Make sure the
opening of the eyelet faces the back. Use a drop or two of
thin CA to secure the threads.
❏
10. Connect the rubber band to the eyelet. This will hold
the canopy in place. Use a second rubber band if you need
the canopy held on tighter.
Congratulations!!! Your plane is built. Now proceed
through the next VERY IMPORTANT section about
balancing and setting up your radio.
17


