❏
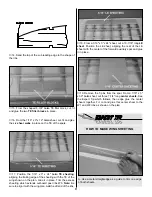
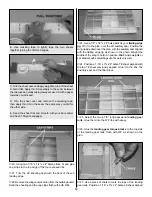
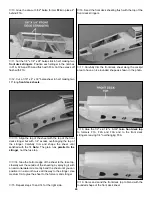
12. Position and pin the die-cut 1/8" ply servo tray on
the plan.
❏
13. Glue the fuse top in place against the servo tray.
❏
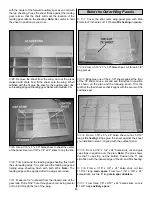
14. Align the aft end of the two fuse sides over the plan,
making sure to keep them perpendicular to the work
surface. When satisfied with the fit, glue the trailing edges
of the fuse sides together.
❏
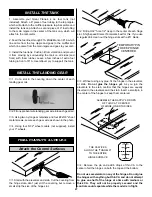
15. Fit and glue the shaped 2-3/4" long balsa tail post
in place.
❏
16. Drill a 3/16" hole through each of the two punchmarks
in the die-cut 1/8" ply former F5 and the die-cut 3/32" balsa
former F4B.
❏
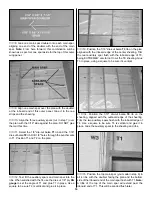
17. Pull the fuse sides against the fuse top, fitting the die-
cut 1/8" balsa formers F3 and F5 as you go. Note: The
embossed labels on F3 and F5 face the front of the plane
and are upside down on the work surface at this time.
❏
18. Confirm that the fuse sides are perpendicular to the
work surface with a square, then glue the fuse sides to the
formers and the fuse top.
❏
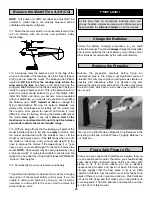
19. Fit and glue the fuse bottom in place, aligning it with
the front edge of F5.
❏
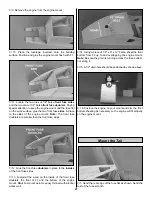
20. Keeping the fuse sides aligned over the plan, position
the die-cut 1/8" ply formers F1 and F2. Using a square to be
sure your fuse sides are vertical while still keeping them
aligned over the plan, glue F1 and F2 to the fuse sides.
❏
21. Glue the die-cut 1/8" ply F2B former to the front of F2,
aligning the slots and the bottoms of the formers.
❏
22. Laminate the two die-cut 1/8" ply wing bolt plates
(WBP) together.
18
Содержание SlowPoke
Страница 6: ...6 DIE CUT PATTERNS...
Страница 32: ...TWO VIEW...

