❏
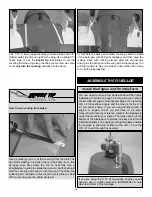
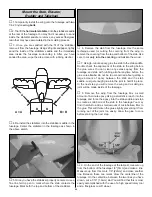
1. Paint the pilot and install it in the cockpit area.
❏
2. Trim, then glue the canopy in place. You can use either
aliphatic glue or if done carefully you can use 6-minute epoxy
as we did on our prototype.
❏
3. Use scissors or a sharp hobby knife to cut the decals
from the sheet.
❏
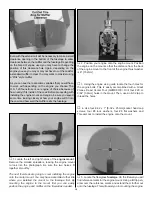
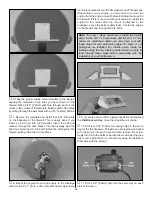
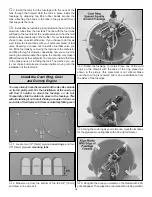
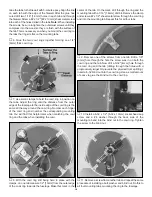
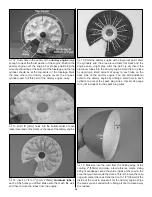
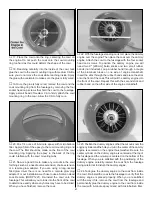
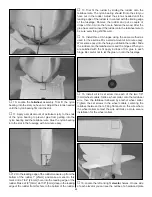
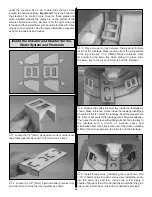
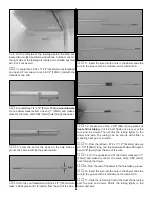
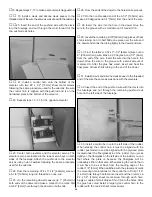
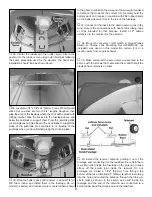
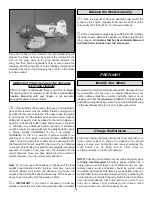
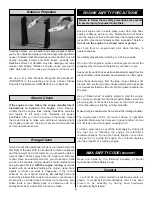
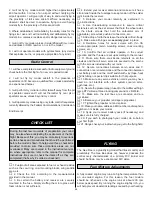
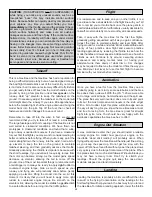
4. These photos will help you in placing the decals. On
the decal sheet there are sections of red and black material
that can be used to fill the gap on the numbers between the
wing and the aileron. Note: The bottom of the wing has the
same decals as the top but the N-number is on the left side
and the number “7” is on the right.
❏
5. Be certain the model is clean and free from oily
fingerprints and dust. Prepare a dishpan or small bucket with
a mixture of liquid dish soap and warm water–about one
teaspoon of soap per gallon of water. Submerse the decal in
the soap and water and peel off the paper backing. Note:
Even though the decals have a “sticky-back” and are not the
water transfer type, submersing them in soap & water allows
accurate positioning and reduces air bubbles underneath.
❏
6. Position decal on the model where desired. Holding the
decal down, use a paper towel to wipe most of the water away.
❏
7. Use a piece of soft balsa or something similar to
squeegee remaining water from under the decal. Apply the
rest of the decals the same way.
❏
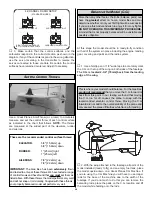
1. Turn on the transmitter and receiver and center the
trims. If necessary, remove the servo arms from the servos
and reposition them so they are centered. Reinstall the
screws that hold on the servo arms.
❏
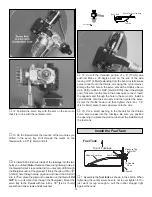
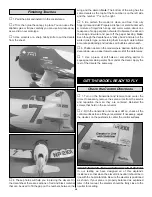
2. With the transmitter and receiver still on, check all the
control surfaces to see if they are centered. If necessary, adjust
the clevises on the pushrods to center the control surfaces.
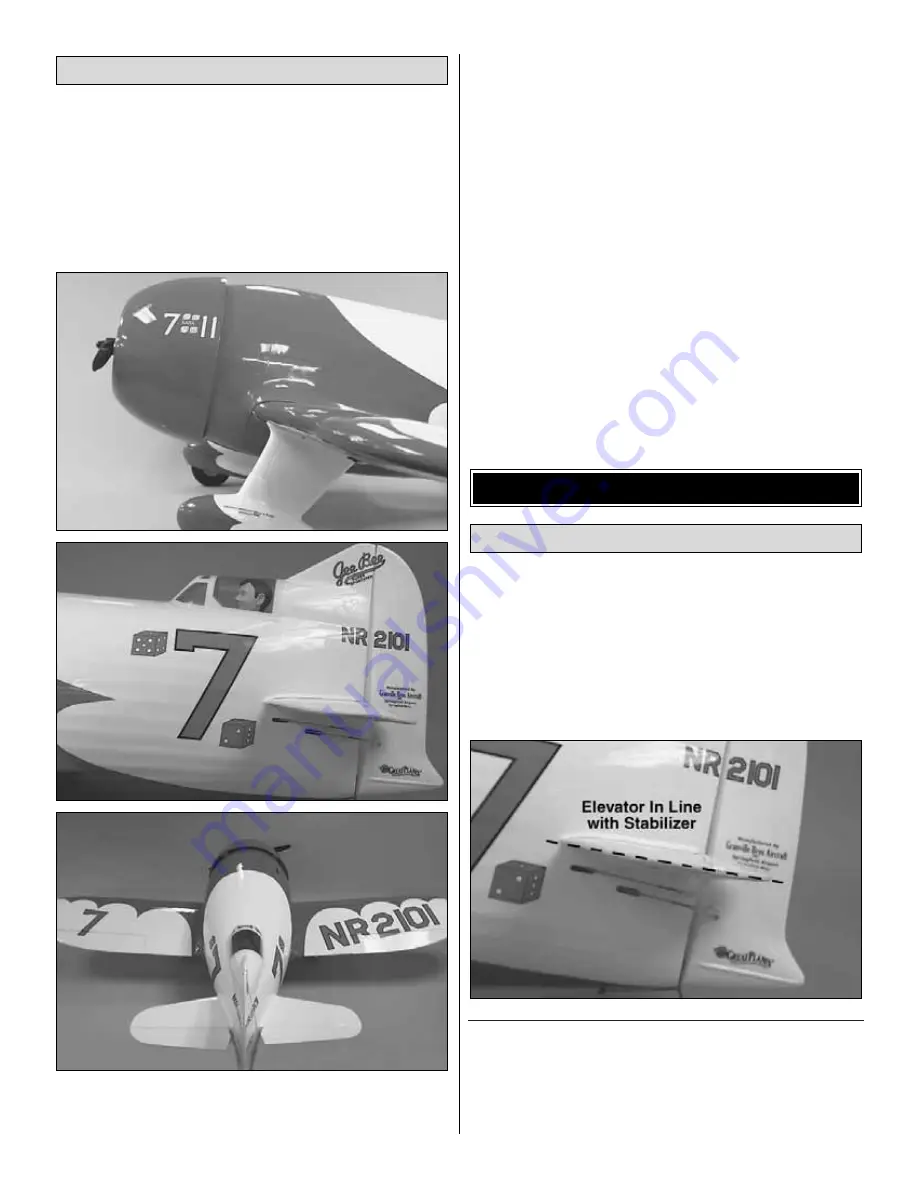
IMPORTANT NOTE ABOUT SETTING UP THE ELEVATOR.
In our testing we have designed all of this airplane’s
incidences so that when the elevator is neutral it should be in
line with the horizontal stab. Be sure the elevator is positioned
as shown. If your plane is properly balanced as explained
later in this manual, the elevator should be fairly close to the
neutral trim setting.
Check the Control Directions
GET THE MODEL READY TO FLY
Finishing Touches
28

