


1. If you have not done so already, remove the major parts
of the kit from the box and inspect for damage. If any parts
are damaged or missing, contact Product Support at the
address or telephone number listed in the “Kit Inspection”
section on page 6.
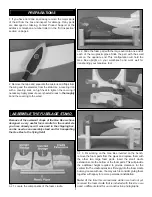
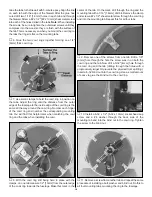
2. Remove the tape and separate the ailerons and flaps from
the wing and the elevators from the stab. Use a covering iron
with a covering sock on high heat to tighten the covering if
necessary. Apply pressure over sheeted areas to thoroughly
bond the covering to the wood.
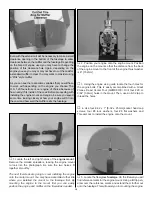
Because of the awkward shape of the Gee Bee we have
designed a very useful foam cradle for the model. As
you have already seen it was used in the shipping box,
can be used as an assembly stand and for transporting
the Gee Bee to the flying field!
❏
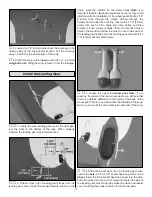
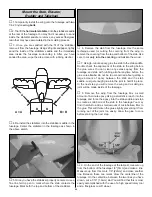
1. Locate the components of the foam cradle.
❏
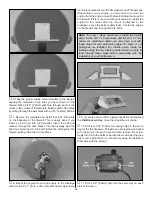
2. Slide the foam part with the large oval onto one end of
each of the two plastic pipes. Slide the part with the small
oval on the opposite end. This configuration will hold the
Gee Bee upright on your workbench and work well for
transporting your Gee Bee too!
❏
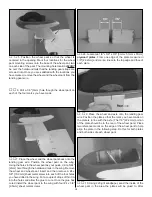
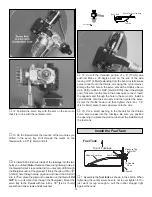
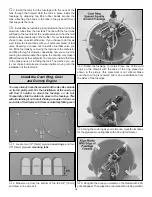
3. For working on the Gee Bee inverted on the bench,
remove the foam parts from the pipes and replace them with
the other two large foam parts. Insert the small cradle
extensions onto the bottom of the foam parts. This will provide
the additional height required to provide clearance for the
vertical fin. The cradle extensions fit snugly into the foam cradle
but may loosen with use.You may wish to consider gluing them
together with epoxy for a more permanent installation.
Note: At the time this manual was written we had not yet
received the foam cradle that is included with this kit so we
used a different stand for our construction photographs.
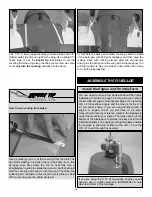
ASSEMBLE THE FUSELAGE STAND
PREPARATIONS
7


