© Gebr.Graef Mai 2002
Technische Änderungen vorbehalten
40
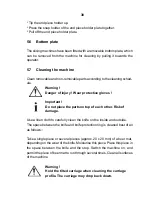
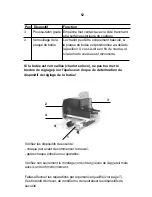
External view
4
stop nose
5
adjusting knob
6
deburring position
7
grinding position
8
zero position
7
Sharpening of blade
7.1
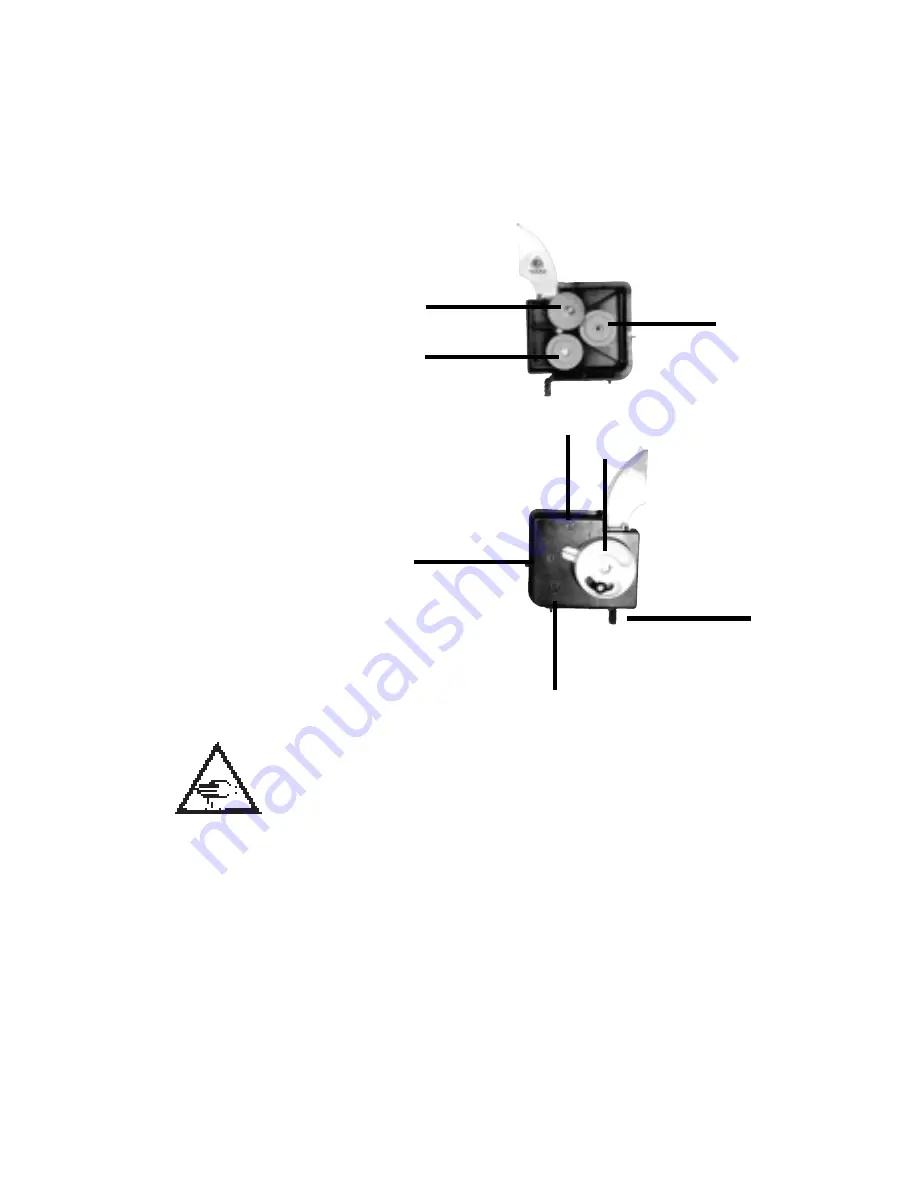
Description of the sharpening unit
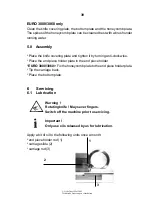
Internal view
1
grindstone
2
whetstone
3
spare stone
Warning !
Rotating knife ! Can sever fingers. Only use the sharp
ening unit supplied along with the machine for sharp
ening. The knife may be sharpened by trained expert
staff only.
7.2
Sharpening of blade
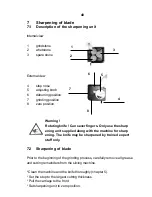
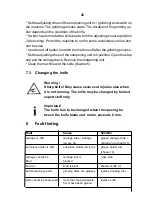
Prior to the beginning of the grinding process, carefully remove all grease
and cutting remainders from the slicing machine.
* Clean the machine and the knife thoroughly (chapter 5).
* Set the stop to the largest cutting thickness.
* Pull the carriage to the front.
* Set sharpening unit to zero position.
1
2
3
4
5
6
7
8
57
4
Utilisation
4.1
Avant la mise en marche
* Contrôlez les dispositifs de sécurité (paragraphe 1.9)
* Nettoyez la machine à fond (chapitre 6)
4.2
Tranchage
Danger !
Couteau rotatif! Peut couper vos doigts.
N’approchez pas votre main du couteau en rotation!
Fixez toujours la denrée à trancer avec le pousse-talon. Tenez celui-ci
exclusivement par la poignée.
* Choisissez l’épaisseur voulue.
* Tirez complètement le chariot vers vous.
* Posez la denrée à découper sur le chariot et poussez-la contre la
plaque de butée.
* Appuyez le pousse-talon:
- pour les pièces importantes au-dessus de la denrée à découper,
- pour les petites pièces sur le côté de la denrée à découper.
* Appuyez sur le bouton vert de mise en marche. La machine tourne.
* Pour trancher, faites glisser le chariot d’avant en arrière et vice-versa.
Содержание EURO 2200
Страница 21: ... Gebr Graef Mai 2002 Technische Änderungen vorbehalten 21 ...
Страница 44: ...44 ...
Страница 67: ... Gebr Graef Mai 2002 Technische Änderungen vorbehalten 67 ...
Страница 90: ...90 ...


