background image

14

Selecting the Picture Mode

You can set the Picture mode to 

User

Standard

Dynamic

, or 

Mild

according to your personal preference.

Shortcut:

Press the 

VIDEO

button.

Whenever you press this button the Picture
mode is changed to 

Standard

Dynamic

Mild


User

.

Œ

Press the 

MENU

button. The OSD MENU will be

displayed.

´

Select 

Picture 

using the 

/

buttons and then

press the 

button.

ˇ

Select the desired Picture mode using the 

/

buttons.

Picture Modes

Standard

: Select this mode when the surrounding 

light is bright.

Dynamic

: Select this mode to increase picture clarity and 

sharpness. 

Mild

: Select this mode when the surrounding light is low.

User

: Select this mode if you want to adjust the settings 

according to your personal preferences.
(For procedures to customize the picture, refer to

Adjusting Picture Settings.)

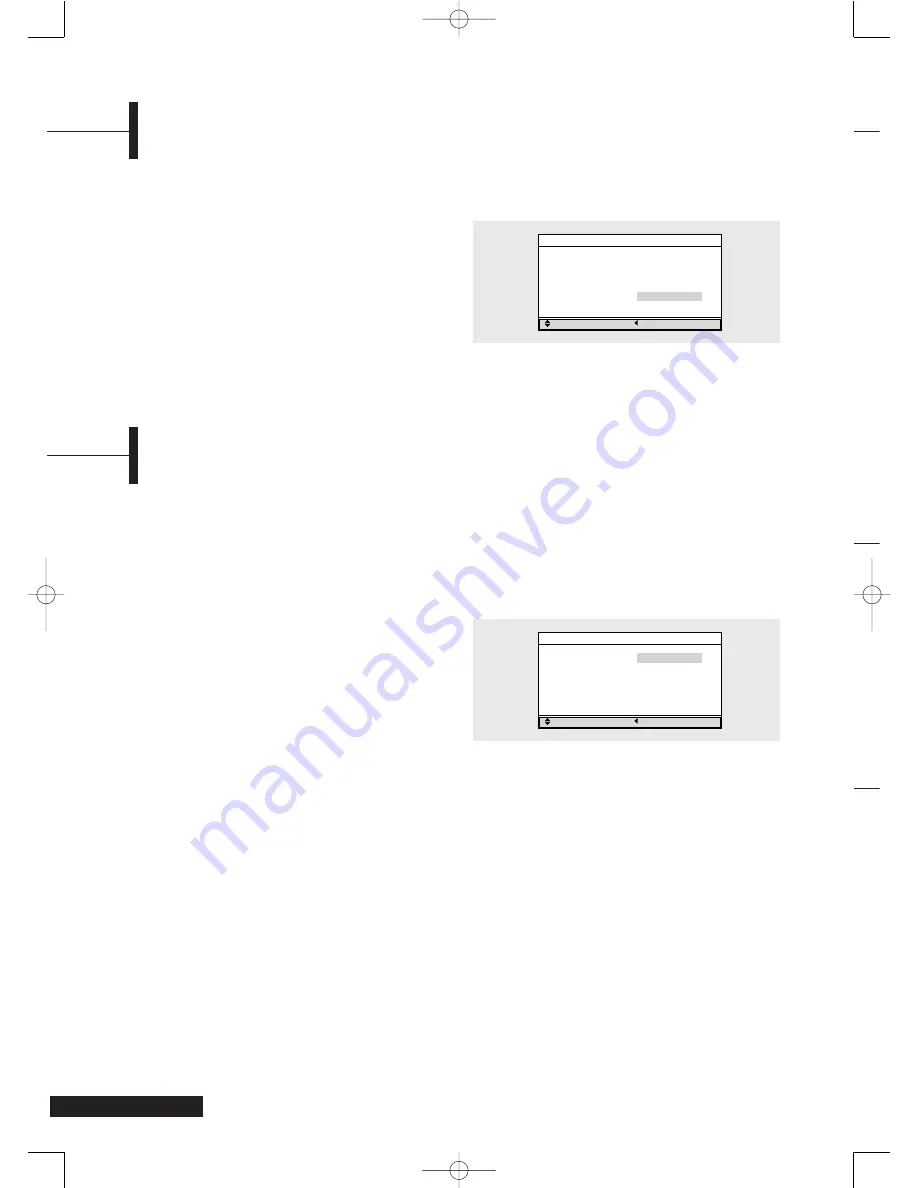
Picture

Adjust

Previous

Picture mode

Standard

Contrast

90

Brightness

50

Sharpness

50

Color

50

Tint

R 50 G 50

Using the Low Noise Amplifier (LNA)

If the TV is operating in a weak signal area, sometimes the Low Noise Amplifier (LNA) function can improve
reception by boosting the incoming signal.

Œ

Press the 

MENU

button. The OSD MENU will be

displayed.

´

Select 

Setup

using the 

/

buttons and then

press the 

button.

ˇ

Select 

LNA

using the 

/


buttons and then press

the 

button.

¨

Select 

On

using the 

/


buttons.

Setup

Adjust

Previous

Antenna

TV

Fine tune

+ 1M

Add/Erase

Favorite CH.

LNA

On

Auto program

TA2050 UG 2-23-05.qxd  2/23/05  10:05 AM  Page 14

Содержание TA2050

Страница 1: ...TA2050 UG 2 23 05 qxd 2 23 05 10 05 AM Page 1 ...

Страница 2: ...orized changes or modifications to this equipment may void the user s authority to operate it Caution To prevent electric shock match the wide blade of plug to the wide slot and fully insert the plug Attention Pour éviter les chocs électriques introduire la lame le plus large de la fiche dans la borne correspondante de la prise et pousser jusqu au fond Important One Federal Court has held that una...

Страница 3: ...ur safety When the provided plug does not fit into your outlet consult an electrician for replacement of the obsolete outlet 10 Protect the power cord from being walked on or pinched particularly at plugs convenience receptacles and the point where they exit from the apparatus 11 Only use the attachments accessories specified by the manufacturer 12 Use only with a cart stand tripod bracket or tabl...

Страница 4: ...damaged If liquid has been spilled on the unit or if objects have fallen into the unit If the LCD TV has been exposed to rain or water If the LCD TV does not operate normally by following the operating instructions If the LCD TV has been dropped or the cabinet has been damaged When the LCD TV exhibits a distinct change in performance If you make adjustments yourself adjust only those controls that...

Страница 5: ...booklet was prepared by the Federal Communications Commission It is available from the U S Government Printing Office Washington DC 20402 Stock Number 004 000 00345 4 Warning User must use shielded signal interface cables to maintain FCC compliance for the product Provided with this monitor is a detachable power supply cord with IEC320 style terminations It may be suitable for connection to any UL...

Страница 6: ...Changing the Screen Size 15 Selecting the Sound Mode 15 Choosing a Multi Channel Television Sound MTS Soundtrack 16 Adjusting the Balance 16 Adjusting the Equalizer 16 Setting the Clock 17 Setting the On Off Timer 17 Setting the Startup Channel Volume 17 Setting the Sleep Timer 18 Displaying a Blue Screen for Weak Channels 18 Setting the On Off Melody 18 Restoring Factory Settings 18 Viewing Close...

Страница 7: ...te control here ˆ CHANNEL Changes channels Also use to adjust items in the on screen menu Ø TV VIDEO Selects among external devices connected to the TV POWER Rotate the switch downward to turn on the TV Please make sure the following parts are included with your LCD TV Remote Control Batteries 1 5V AAA AC Adapter Power Cord Audio Video Connection Cables User s Guide List of Parts TA2050 UG 2 23 05...

Страница 8: ...when using the Component Video input HEADPHONES INPUT Connects to stereo headphones sold separately When you are listening with headphones the sound from the speakers is muted ˆ S VIDEO INPUT Connects to the S Video output of a DVD player or other device Ø AUDIO VIDEO INPUT Connects to a VCR DVD player or camcorder TV ANTENNA INPUT Connects to an antenna or cable TV source TA2050 UG 2 23 05 qxd 2 ...

Страница 9: ... screen menu 15 DISPLAY Displays the current channel and audio video settings 16 VIDEO Selects among various Picture modes 17 AUDIO Selects among various Sound modes 18 EXIT Cancels the current setting 19 NUMBER BUTTONS Selects channels directly on the TV 20 100 Selects channels over 100 For example to select channel 121 press 100 then press 2 and 1 21 LAST CH Selects the previous channel 22 FAVOR...

Страница 10: ...ing the LINE button If you have connected an S Video cable select S VIDEO Connecting to the Video or S Video Audio Jacks VHF UHF or Cable VCR DVD Player STB Video Cable Audio Cable OR S Video Cable 75 ohm coaxial cable OR OR 300 ohm twin lead cable Antenna adapter Not supplied U V mixer Not supplied VHF UHF Connection Procedures Connect the COMPONENT VIDEO AUDIO INPUT jacks on the TV to the COMPON...

Страница 11: ...t of the TV and within 30 degrees of the remote control sensor on the TV Have you searched for channels using Auto Program or manual Add Erase ˆ Are any external devices connected properly Before Using Your TV Turning the TV On and Off Turn the power switch on the front panel of the unit downward to turn on the unit When you turn the power ON the screen appears and the POWER STANDBY light is turne...

Страница 12: ...tton The TV will begin scanning all available channels After all available channels have been stored the Setup menu reappears Press the EXIT button to exit from the menu Viewing Saved Channels Press the buttons Only saved channels are selected The Auto program function can select channels using the buttons only when more than 2 channels have been saved Setup Move Previous Storing Channels in Memor...

Страница 13: ...button Fine Tuning Picture Quality You can fine tune a particular channel for better picture quality if noise interferes color quality is poor or the screen is unstable Œ Select the channel to tune using the number 0 9 or TV CH buttons Press the MENU button The OSD MENU will be displayed ˇ Select Setup using the buttons and then press the button Select Fine tune using the buttons and then press th...

Страница 14: ...light is low User Select this mode if you want to adjust the settings according to your personal preferences For procedures to customize the picture refer to Adjusting Picture Settings Picture Adjust Previous Picture mode Standard Contrast 90 Brightness 50 Sharpness 50 Color 50 Tint R 50 G 50 Using the Low Noise Amplifier LNA If the TV is operating in a weak signal area sometimes the Low Noise Amp...

Страница 15: ...u press the ASPECT button the screen size is changed to Normal Zoom in this order Screen Size Normal Sets the picture to 4 3 normal mode This is a standard TV screen size Zoom Magnifies the picture size in a vertical direction Selecting the Sound Mode You can set the Sound mode to User Standard Music or Speech according to your personal preference Shortcut Press the AUDIO button Whenever you press...

Страница 16: ...r Move Previous Standard Music Speech User 120 500 1K 5K 10K Adjusting the Balance Depending on availability you can listen to Stereo Mono or SAP Secondary Audio Program SAP is often a foreign language translation or unrelated information like news or weather Shortcut Press the MTS SAP button Whenever you press this button the MTS mode is changed to Stereo Mono SAP Œ Press the MENU button The OSD ...

Страница 17: ...utes to the correct time using the buttons Setting the Clock Setting the On Off Timer Œ ˇ Follow Steps 1 3 under Setting the Clock Select Channel using the buttons and then press the button ˆ Select the desired channel to watch when the TV is turned on using the buttons and then press the button Ø Select Volume using the buttons and then press the button Select the desired volume level using the b...

Страница 18: ...tting the Sleep Timer Function Adjust Previous Language English TIme Blue screen On Melody Off Caption V CHIP Function Adjust Previous Language English TIme Blue screen On Melody On Caption V CHIP Sleep off You can have a blue screen appear instead of noise when weak channels are received You can have a melody play whenever the TV is turned on or off Œ Press the MENU button The OSD MENU will be di...

Страница 19: ...ress the button Misspellings and unusual characters sometimes occur during closed caption transmissions especially during live events There may be a small delay before captions appear when you change channels This is not a malfunction Ø Select Mode using the buttons and then press the button Select Caption or Text using the buttons and then press the button ln Caption mode captions appear at the b...

Страница 20: ...in a safe place so you can refer to it later If you lose your password you can always use 2 4 8 1 to access the V CHIP function 20 Using the V CHIP The V CHIP feature automatically blocks TV programs based on their ratings You must first enter a password before any of the V CHIP restrictions can be set up or changed The V chip does not function when Picture in Picture is active Enter Password Prev...

Страница 21: ...n MPAA Rating will be displayed Ø Select one of the categories using the buttons and then press the button The MPAA categories are as follows G General audience no restriction PG Parental guidance suggested PG 13 Children under 13 should be accompanied by an adult R Restricted Viewers should be 17 or under NC 17 Not classified X Adults only N R Not rated Select U Unblocked or B Blocked using the b...

Страница 22: ... with a cushion or some type of soft material to protect the screen 4 Remove the supplied stand Using a screwdriver remove the 6 screws attached to the stand and set it aside 5 Attach the wall mount arm s steel frame Insert the 4 supplied screws through the frame and into the screw holes on the back of the LCD TV and then fasten the screws using a screwdriver Notes Do NOT use the stand screws to a...

Страница 23: ...V Adjust Color density closer to 100 Check for tall objects such as skyscrapers near your house and adjust the direction of your antenna accordingly Adjust direction of antenna Ensure antenna cable is connected to the ANTENNA jack on the back of the LCD TV Use the Fine Tune feature to adjust channel reception default is 0 Note The TFT LCD panel uses a panel consisting of subpixels which requires s...

Страница 24: ...ay not be used in countries with different television system types or power voltages This device has been registered in regards to EMI for residential use It may be used in all areas 20 INCH LCD TV 20 1 Inch Diagonal TFT LCD 16 7M VHF Channel 2 Channel 13 UHF Channel 14 Channel 69 CATV Channel 1ch Channel 125ch Television Broadcasting System NTSC M VHF UHF 75ohm NTSC COMPOSITE S VHS COMPONENT 480i...

Страница 25: ...Educational use has the same warranty coverage as stated in this warranty What are the Exceptions This warranty does not cover 1 Normal maintenance service such as video head cleaning 2 Damage from misuse abuse neglect or accident natural disasters or Acts of God 3 Cabinetry decorative parts A C adapters knobs or buttons 4 The foreign country use of this product 5 GoVideo product which has been el...

Страница 26: ...TA2050 UG 2 23 05 qxd 2 23 05 10 06 AM Page 26 ...

Отзывы: