2019 | Confidential and Proprietary | Do not distribute
1. Sign customer into account or create one
●
If customer is new to Nest: Go to the
or
to download the Nest app and create
a free account.
●
If they already own a Nest product: Have them sign into their account, if they aren’t already.
Note: If they have more than one home in their account, make sure that they select the Nest home where they want
to install the lock. Tap Menu icon in the top left of the home screen to change homes.
CONNECT LOCK TO THE NEST APP
2. Setting up Nest Connect
●
The Nest × Yale lock needs to connect to the internet
through either Google Nest Guard or Google Nest
Connect. One of these must be already connected to the
Nest app to add the Nest × Yale lock.
●
If neither is connected, use the Nest app to set either of
them up. Then you can continue with setting up the lock.
●
You can also use a Nest Guard as a connection point.
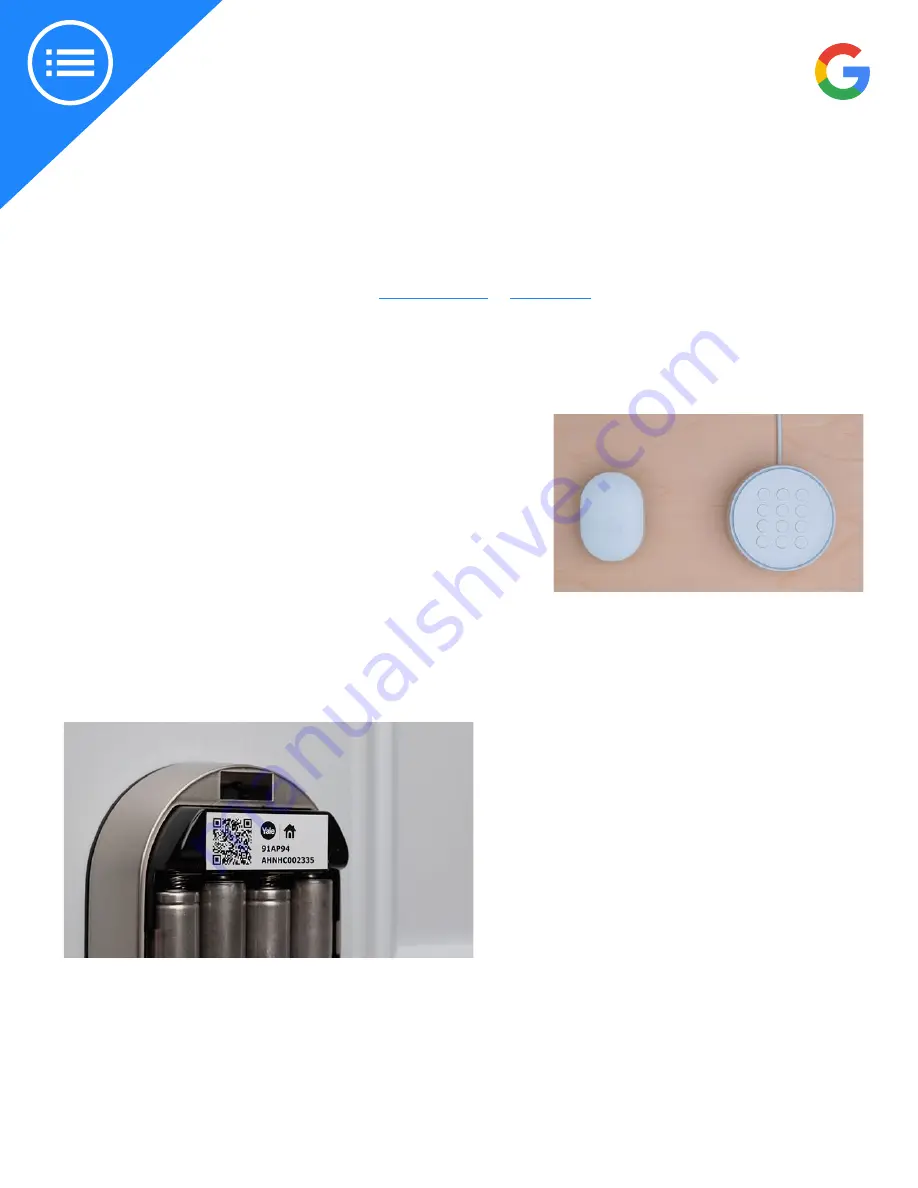
3. Scan the QR code
●
If they’re new to Nest: Tap Add New on the app
home screen.
Tip: If you’re having trouble scanning the code, make
sure you have good lighting and that you’re not
casting a shadow on the code.
Start with the phone about a foot away and slowly
move it closer to the code. It doesn’t need to fill the
box in the app to scan. If you still can’t scan the code,
tap Continue Without Scanning and type in the
numbers at the top of the QR code.
●
If they already own a Nest product: Tap
Setting in the top right corner of the app home
screen. Then select Add product.
●
The app will ask you to scan the QR code on the
product so it knows what you’re installing. The
Nest × Yale Lock code is in the battery
compartment. Once the app knows what you’re
installing it will guide you through all the steps.


