


Other functions
16
07
Mute
DON’T FORGET!
You need to use the remote
control to use this function.
Press the
MUTE
button on the remote
control to turn off the sound. MUTE will flash
in the display.
Press the
MUTE
button again to restore
the sound to the previous level.
Preset Equaliser
Choose from: CLASSIC, ROCK, POP, JAZZ, and FLAT.
Press the
EQ
button to cycle through the settings.
1
2
Resetting
Press
BASS
button on the remote control to turn
bass boost ON/OFF.
Remove the mains power lead from the
wall socket.
Leave the unit disconnected from the
power supply for 1 minute, then reconnect
and power on the unit.
DON’T FORGET!
if the power supply is disconnected.
1
Press the
FUNCTION
button repeatedly to
select AUX mode.
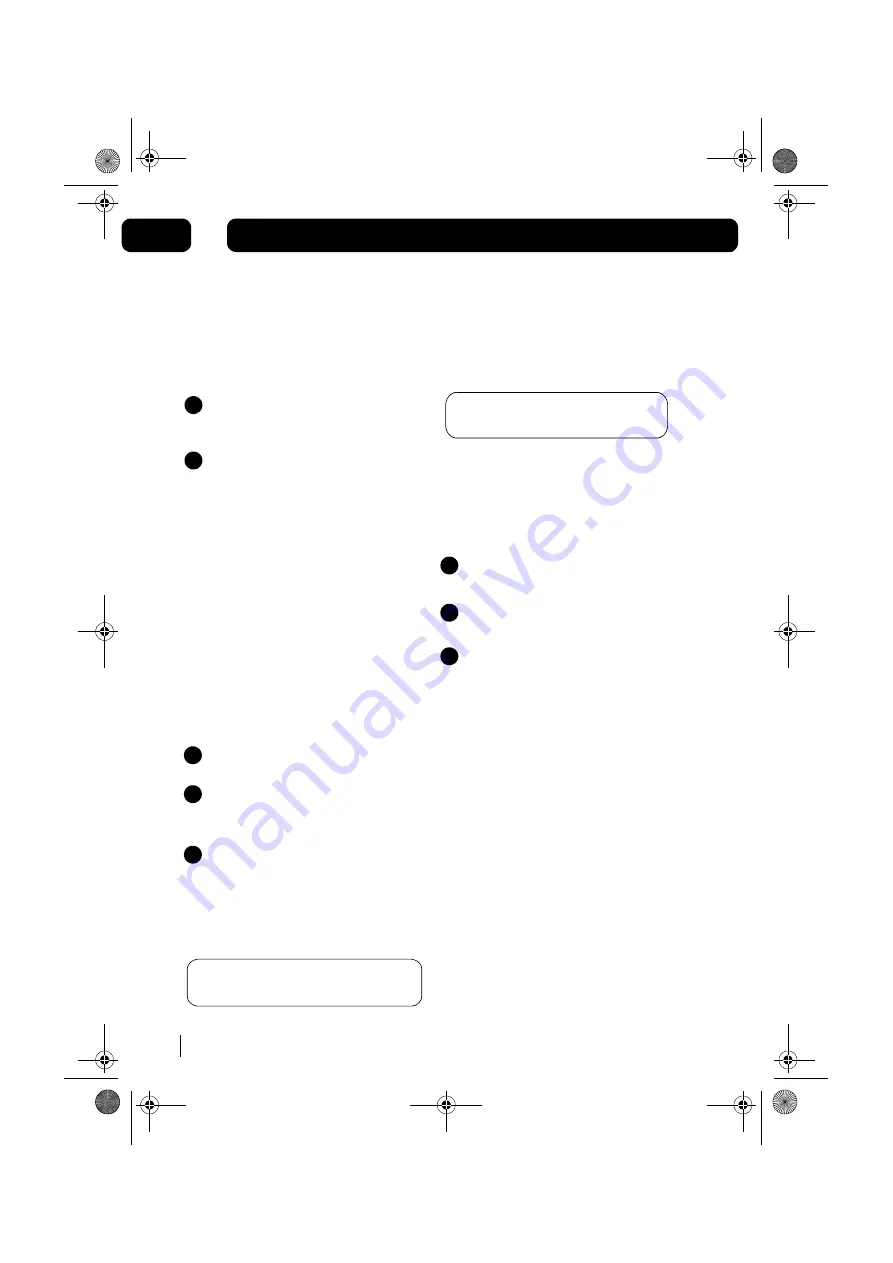
1
Connect your device to the
AUX IN
socket on the
front of the unit.
2
Control your device as usual for audio playback.
3
2
3
Note: Only ID3 tag version 1 is supported.
For music playback from an auxiliary device.
ID3 Tag (Title/Artist/Album) Function
Aux In Device
Bass
In DAB or FM mode, press the
MEMORY/
CLOCK
button (on the main unit) for 5
seconds.
Factory RESET
will show in the
display. Press the PLAY button to confirm the
reset. All preset memory stations will be
erased when the system is reset
Electronic Shock Protection
This feature helps to eliminate any break in the
playback of the disc due to errors or imperfections.
ESP
The clock time will be lost
If you experience any abnormal operation when using
the Micro System, follow the procedure below to
perform a system reset:
ID3 tag information (Title/Artist/Album) can be displayed when
playing a MP3 or WMA CD by pressing the
INFO
button during
playback.
Содержание MICRO1112DAB
Страница 21: ......


