


USING THE FEATURES
USING THE FEA
TURES
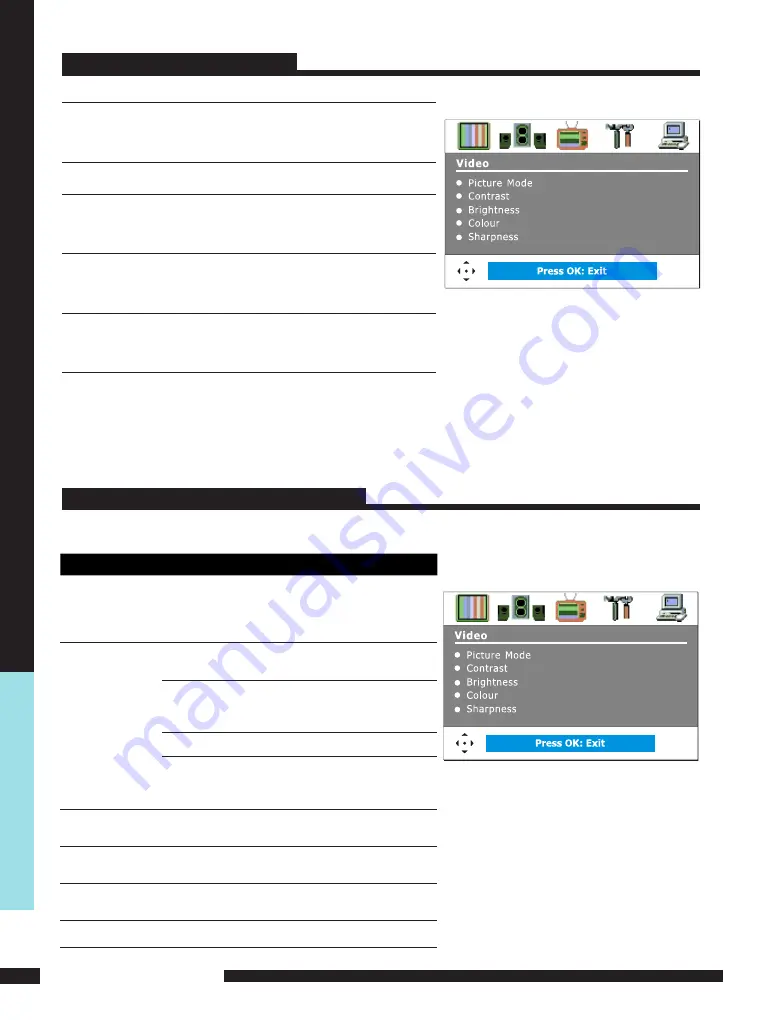
Use this
Video
setting menu to adjust the picture quality which best corresponds to your
viewing requirements.The Video Menu includes the following options:
1
The main menu provides access to the following menus:
Video
Adjust picture setting such as picture
mode, contrast,brightness,sharpness,
colour and advanced.
Audio
Adjust sound option and effects.
Setup
Adjust colour standard, sound
standard, APS, Manual search,
Channel setup.
Preferences
Adjust preferences such as OSD, blue
screen, childlock, sleep timer, OSD
timer, OSD reset.
Screen
Adjust screen such as horizontal size,
horizontal position, vertical position,
phase, auto sync.
2
Press the
MENU
button on the remote control. The main menu will appear on the screen.
3
Use
◄/►
to highlight your main menu option, then press
OK
to enter your selected
option.
Use
▲/▼
to highlight an option of the sub-menu. Use
◄/►
to change the value of the
item.Press the
EXIT
button to exit MENU.
OSD Menu Operation
Video
OPTION
DESCRIPTION
Picture Mode
Custom:Select for user’s settings.
The items of video can be adjusted when
the picture mode is for user’s settings
except advanced item.
Vivid:Select for enhanced picture contrast
and sharpness.
Standard:Select for standard picture
settings.Recommended for home
entertainment.
Mild:Select for mild picture settings.
Contrast
Adjust the difference between the
brightness and darkness regions of the
picture.
Brightness
Adjust to increase or decrease the
brightness.
Colour
Allows to adjust the colour intensity from 0
to 100.
Tint(NTSC)
Allows you to adjust the color tint of the
picture.(Only for NTSC)
Sharpness
Adjust to sharpen or soften the picture.


